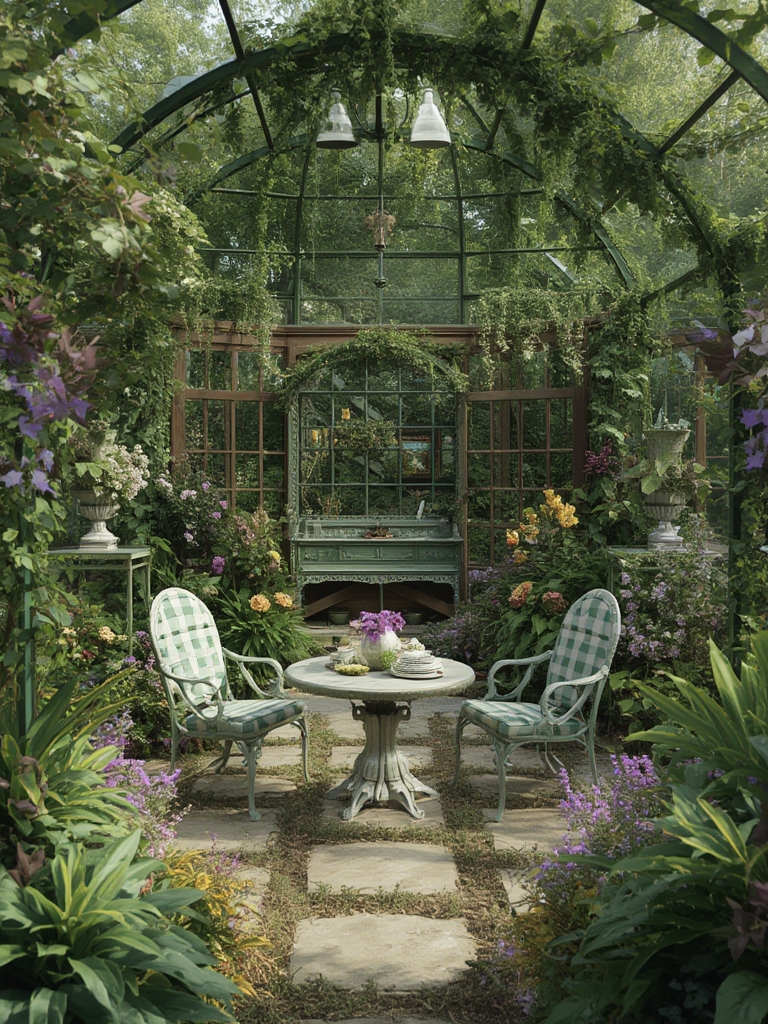

Start with a Vision: Design Your Garden Layout
Before you break ground, sketch a simple layout on graph paper or use a free garden‑design app. Identify sunny spots (at least 6 hours of direct light) for sun‑loving herbs like basil and rosemary, and shade‑tolerant areas for leafy greens such as mint or parsley. Mark pathways that are 30–45 cm wide to allow easy access for watering and harvesting. Action tip: Place taller plants (e.g., lavender) at the back of a raised bed and lower‑growing varieties (e.g., thyme) in front to create a visually appealing tiered effect.
Prepare the Soil: The Foundation of Success
1. Test and Amend
Grab a basic soil test kit from your local garden centre. Aim for a pH between 6.0 and 7.0 for most herbs and annual flowers. If the soil is too acidic, spread garden lime; if it’s alkaline, incorporate elemental sulfur. Add organic compost at a rate of 2–3 inches, mixing it thoroughly to improve texture and nutrient holding capacity.
2. Create a Well‑Draining Bed
Mix in coarse sand or perlite (about 10 % of the total volume) to prevent waterlogging. For raised beds, line the bottom with a breathable landscape fabric to keep weeds out while allowing excess water to escape.
Planting: Choose the Right Varieties and Position Them Wisely
1. Select Climate‑Appropriate Species
Research which herbs and flowers thrive in your USDA hardiness zone. In zones 5‑7, consider chives, sage, and coneflower; in warmer zones 8‑10, try lemongrass, nasturtium, and marigold. Buying seedlings from a reputable nursery ensures strong, disease‑free starts.
2. Follow Spacing Guidelines
Plant seeds or transplants at the depth recommended on the seed packet—usually twice the seed’s diameter. Space herbs 20–30 cm apart and flowers 30–45 cm apart to promote airflow and reduce fungal pressure.
3. Use Companion Planting
Pair basil with tomatoes to repel pests, and intermix marigolds with beans to deter nematodes. This natural pest‑control strategy reduces the need for chemical interventions.
Watering: Consistency Is Key
Early morning is the optimal time to water, allowing foliage to dry before nightfall. Use a soaker hose or drip‑irrigation system to deliver water directly to the root zone, minimizing evaporation. Action tip: Set a timer for 15‑20 minutes per zone, adjusting based on rainfall and soil moisture.

Check soil moisture by inserting your finger 2 cm deep; if it feels dry, water. Avoid over‑watering, which can cause root rot, especially in herbs with woody stems like rosemary.
Feeding and Mulching: Boost Growth Without Overdoing It
1. Light Fertilization
Apply a balanced, organic fertilizer (10‑10‑10) once a month during the active growing season. For a more sustainable approach, sprinkle a thin layer of compost tea around the base of each plant every two weeks.
2. Mulch for Moisture Retention
Spread 5–7 cm of shredded bark, straw, or cocoa hull mulch around plants. Mulch suppresses weeds, regulates soil temperature, and reduces watering frequency. Keep mulch a few centimeters away from stems to prevent rot.
Pruning and Harvesting: Keep Plants Productive
1. Regular Pinching
Pinch back the tips of basil, cilantro, and other fast‑growing herbs once they reach 10 cm tall. This encourages bushier growth and delays bolting. For flowering herbs like lavender, trim after the first bloom to shape the plant and promote a second flush.
2. Timely Harvest
Harvest herbs in the morning after dew has dried for maximum flavor. Use clean scissors to cut just above a leaf node, allowing new shoots to emerge. For cut flowers, snip stems at a 45° angle and place them in water immediately to extend vase life.
Labeling: Simple, Stylish Tags to Track Your Garden
Clear labeling prevents mix‑ups and adds a decorative touch. Follow these steps to create functional, attractive tags:
- Choose Materials: Use recycled cardboard, thin wood slices, or metal plant markers. All are weather‑resistant and eco‑friendly.
- Design the Layout: Write the plant name in a legible font (e.g., 12‑pt sans serif). Add a small icon or color code for categories (herb, flower, vegetable).
- Print or Hand‑Paint: If you have a printer, print on waterproof label paper and laminate. For a rustic look, hand‑paint with acrylic paint and seal with a clear spray.
- Attach Securely: Insert a thin metal or bamboo stake into the label and push it into the soil next to the plant. Ensure the label faces outward for easy reading.
Quick tip: Update labels each season with bloom dates or harvest notes—this creates a living garden journal.
Seasonal Care: Keep Your Garden Thriving Year‑Round
Spring
Start seeds indoors 6–8 weeks before the last frost. Harden off seedlings by exposing them to outdoor conditions for a few hours each day, gradually increasing exposure.
Summer
Monitor for heat stress. Provide shade cloth for delicate herbs during peak afternoon sun, and increase watering frequency if soil dries quickly.
Fall
Harvest the last of the tender herbs before frost. Mulch heavily to protect roots and consider planting a winter cover crop like clover to enrich the soil.
Winter
In colder zones, move potted herbs indoors to a sunny windowsill. Use grow lights set on a 12‑hour cycle to maintain growth.
Final Checklist: Your Garden Inspiration Blueprint
- Sketch a functional layout with sun/shade zones.
- Test soil pH and amend with compost, lime, or sulfur as needed.
- Choose climate‑appropriate herbs and flowers; follow spacing guidelines.
- Install a drip‑irrigation system and water early mornings.
- Apply organic fertilizer monthly and mulch to retain moisture.
- Pinch, prune, and harvest regularly for continuous production.
- Create stylish, weather‑proof labels for easy plant identification.
- Adjust care routines seasonally to protect against extreme temperatures.
By following these data‑driven steps, you’ll transform a simple plot into a vibrant, low‑maintenance garden that inspires both the eyes and the palate. Happy planting!

