
Indoor plants not only brighten up your living space, they also improve air quality and boost mood. The secret to a thriving indoor garden lies in a data‑driven approach: track light levels, watering frequency, and soil moisture, then adjust your routine based on real results. Below is a step‑by‑step guide that blends scientific best practices with easy‑to‑implement tips, so you can keep your indoor oasis polished and long‑living.
1. Choose the Right Plant for Your Space
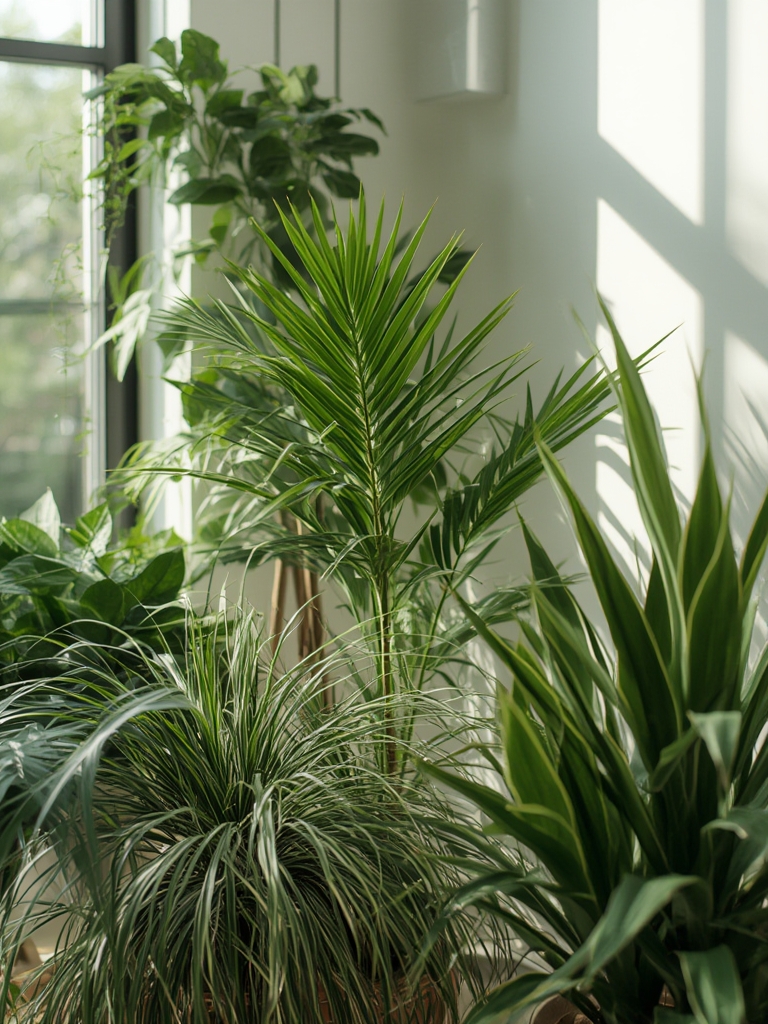
Assess Light Conditions
- Measure natural light: Use a smartphone light meter app or a simple lux meter. Aim for 100–300 lux for low‑light plants (e.g., ZZ Zanzibar, Snake Plant) and 500–1,000 lux for medium‑light varieties (e.g., Pothos, Philodendron).
- Match plant to zone: If a window receives direct sun for 4+ hours, opt for sun‑loving species like Aloe or Jade. For north‑facing windows, stick with shade‑tolerant options.
Consider Humidity & Temperature
- Most tropical indoor plants thrive at 65–75°F (18–24°C) with 40–60% relative humidity.
- Use a hygrometer to log humidity levels for a week. If it consistently falls below 40%, add a humidifier or group plants together to create a micro‑climate.
Space & Growth Habit
- Measure the floor or shelf space you have. Tall, upright plants like Monstera need 3‑4 ft of vertical clearance, while trailing vines such as String of Pearls work well on shelves.
- Check the plant’s mature size in the product description and add 20% extra room to avoid crowding.
2. Prepare the Perfect Growing Medium
Choose the Right Soil Mix
- For succulents and cacti, use a 2:1 ratio of coarse sand to potting soil to ensure excellent drainage.
- For foliage plants, a peat‑based mix with perlite (1:1) provides aeration and moisture retention.
- Test pH with a simple strip test; most indoor foliage prefers a slightly acidic range of 5.5–6.5.
Pot Selection & Drainage
- Pick a pot that’s 1‑2 inches larger in diameter than the current root ball.
- Ensure there’s at least one drainage hole. If not, drill one yourself and add a layer of broken pottery shards at the bottom to improve flow.
3. Master Watering Techniques
Understand Plant Water Needs
- Use the “finger test”: insert your finger 1‑2 inches into the soil. If it feels dry, water; if it feels moist, hold off.
- For data‑driven accuracy, place a moisture sensor probe in the pot and record readings weekly. Adjust watering schedule based on the trend.
Watering Method
- Water slowly until you see a few drops escape the drainage holes. This ensures the entire root zone is saturated.
- Empty the saucer after 5‑10 minutes to prevent root rot.
- For large foliage plants, consider bottom‑watering: place the pot in a tray of water for 5‑10 minutes, allowing the soil to soak up moisture from below.
4. Optimize Light Exposure
Supplement with Artificial Light
- Choose full‑spectrum LED grow lights with a color temperature of 5,000–6,500 K.
- Set a timer for 12‑14 hours for low‑light plants and 8‑10 hours for high‑light species.
- Place lights 12‑18 inches above the foliage; adjust height as the plant grows.
Rotate Your Plants
- Every 2‑3 weeks, rotate the pot 90° to ensure even light distribution and prevent one‑sided growth.
5. Feed Your Plants with the Right Nutrition
Choosing Fertilizer
- Use a balanced, water‑soluble fertilizer (N‑P‑K 20‑20‑20) diluted to half the recommended strength during the growing season (spring‑summer).
- For foliage plants, a fertilizer with higher nitrogen (e.g., 30‑10‑10) encourages lush leaf growth.
Fertilizing Schedule
- Apply every 4‑6 weeks. Keep a simple spreadsheet to log dates, dosage, and any observed changes in growth.
- Skip feeding in fall and winter when most indoor plants enter a dormant phase.
6. Prune, Clean, and Repot for Longevity
Pruning Tips
- Remove yellow or brown leaves promptly to redirect energy to healthy growth.
- Trim leggy stems just above a node to encourage bushier foliage.
- Use clean, sharp scissors or pruning shears to avoid disease transmission.
Cleaning Leaves
- Wipe leaves weekly with a damp microfiber cloth to remove dust, which can block photosynthesis.
- For larger plants, give a gentle shower with lukewarm water, allowing excess water to drain completely.
When & How to Repot
- Check for root bound signs: roots circling the pot or emerging from drainage holes.
- Repot every 12‑18 months in spring. Gently loosen the root ball, trim any dead roots, and place the plant in fresh, pre‑moistened soil.
- After repotting, keep the plant out of direct sun for 1‑2 weeks to reduce transplant shock.
7. Monitor for Pests & Diseases
Common Indoor Pests
- Spider mites, mealybugs, and fungus gnats are the most frequent offenders.
- Inspect the undersides of leaves weekly. Use a magnifying glass if needed.
Natural Control Methods
- Spray a solution of 1 tsp neem oil mixed with 1 cup water, covering both tops and undersides of leaves. Apply every 7‑10 days until pests disappear.
- For fungus gnats, let the top inch of soil dry out between waterings and add a thin layer of sand to deter larvae.
8. Track Progress and Adjust
Data‑Driven Journaling
- Maintain a simple digital log (Google Sheet or phone app) with columns for date, light level (lux), soil moisture, fertilizer amount, and observations.
- Review the log monthly to spot patterns—e.g., yellowing leaves after a drop in humidity—and tweak care routines accordingly.
Celebrate Milestones
- When a plant produces new growth, blooms, or reaches a size goal, treat it with a small reward—like a fresh pot or a decorative plant stand—to keep the hobby enjoyable.
By following these data‑backed steps and incorporating the practical tips above, you’ll cultivate indoor plants that stay vibrant and healthy year after year. A polished, long‑living indoor garden not only looks stunning but also creates a calming sanctuary in any home. 🌼😊

