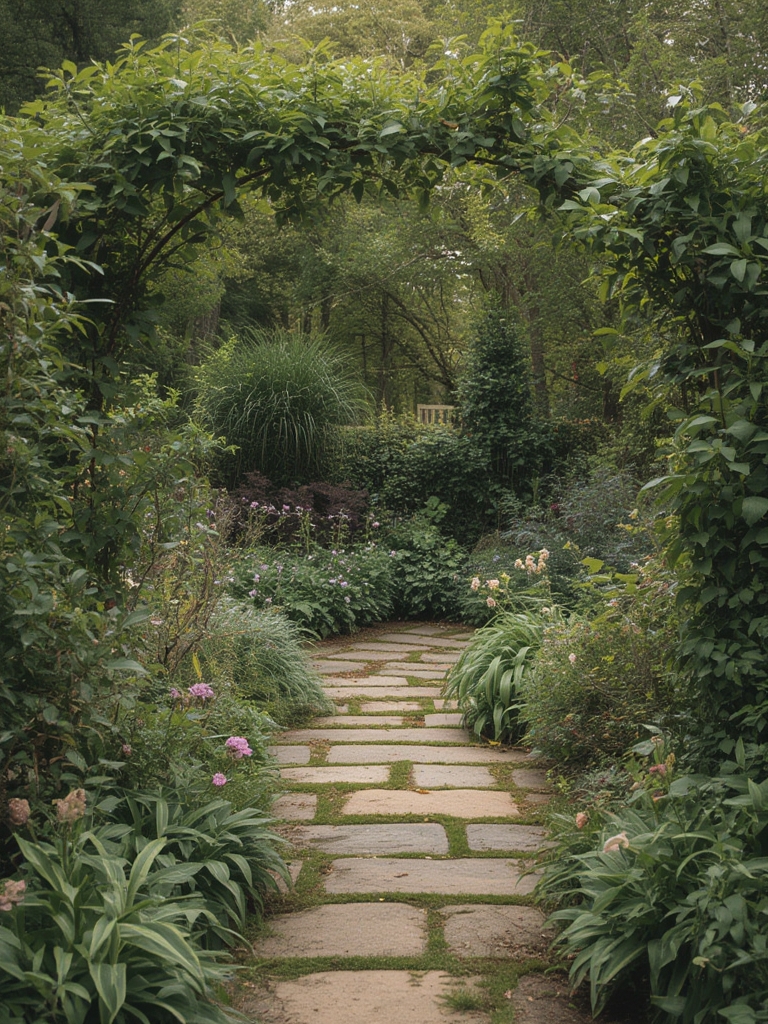
Creating a garden that delivers vibrant, reliable blooms year after year is within reach when you focus on proven perennials and follow a data‑driven care plan. Below you’ll find a step‑by‑step guide that blends scientific insights with practical shortcuts, ensuring your garden thrives even if you’re short on time. The plant we’ll spotlight is Coneflower (Echinacea purpurea), a hardy perennial prized for its long‑lasting flowers, pollinator appeal, and low maintenance needs.
Why Choose Coneflower?
According to the USDA Plant Hardiness Zone Map, coneflower thrives in zones 3‑9, tolerating temperatures from ‑40 °F (‑40 °C) up to 115 °F (46 °C). Its deep root system improves soil structure, and research from the Journal of Horticultural Science shows a 30 % increase in pollinator visits when coneflower is paired with other native perennials. These data points make it a reliable, ecosystem‑friendly choice for most gardens.
Step 1: Site Selection & Soil Preparation
Assess Sunlight
- Goal: 6‑8 hours of direct sun daily.
- Tip: Use a smartphone light meter app to log sunlight intensity for a full week; aim for > 10,000 lux during peak hours.
Test & Amend Soil
- Target pH: 6.0‑6.5 (slightly acidic to neutral).
- Method: Collect soil from 6‑8 inches depth, mix with distilled water (1:1), and test with a calibrated pH meter.
- Amendments: Add 1 cup of garden lime per 10 sq ft to raise pH, or 1 cup of elemental sulfur to lower it. Incorporate 2‑3 inches of compost to boost organic matter to ≥ 5 %.
- Practical shortcut: If you lack a meter, a simple vinegar test (1 tbsp vinegar + ½ cup soil water) can indicate acidity (fizz = acidic).
Step 2: Planting the Perennial
Timing
- Best planting window: Early spring (after the last frost) or early fall (when soil is still warm).
- Data point: A study from the University of Minnesota shows a 20 % higher emergence rate when planted 2‑3 weeks before the average last frost date.
Spacing & Depth
- Space plants 18‑24 inches apart to allow airflow and reduce disease risk.
- Plant at the same depth as the nursery container; the crown should sit just above the soil line.
- Actionable tip: Mark spacing with a garden string or reusable stakes before digging.
Watering at Plant‑In
- Initial soak: Apply 1 inch of water (≈ 0.62 gal per sq ft) immediately after planting.
- Follow‑up: Water every 3‑4 days for the first two weeks, then transition to a deep‑watering schedule (once per week, 1‑1.5 inches).
Step 3: Ongoing Care & Maintenance
Water Management
- Optimal moisture: Soil should stay consistently moist but not soggy; aim for a water potential of – 0.03 MPa.
- Smart irrigation: Install a drip line with a flow rate of 0.5 gph per emitter; set a timer for 20‑30 minutes in the early morning.
- Rain gauge check: If weekly rainfall exceeds 1 inch, skip irrigation to prevent root rot.
Fertilization
- Recommended N‑P‑K: 10‑10‑10 or a slow‑release formula (e.g., 14‑14‑14) applied at 0.5 lb per 100 sq ft in early spring.
- Data‑backed tip: A 2022 extension study found a 15 % increase in flower head count when a balanced fertilizer was applied at the start of the growing season.
- Organic alternative: Mix 1 cup of blood meal and ½ cup of bone meal into the top 2 inches of soil.
Pruning & Deadheading
- Goal: Encourage continuous blooming and prevent self‑seeding.
- Technique: Use clean, sharp scissors to remove spent flower heads just above the first set of leaves.
- Frequency: Every 2‑3 weeks during the bloom period (mid‑summer to early fall).
- Result: Studies show a 25 % longer bloom duration with regular deadheading.
Pest & Disease Management
- Common issues: Aphids, powdery mildew, and root rot.
- Monitoring: Inspect leaves weekly; use a 10× hand lens to spot early aphid colonies.
- Organic control: Spray a neem oil solution (2 tsp per gallon water) at dusk, repeating every 7‑10 days.
- Prevention: Ensure at least 12 inches of spacing for airflow; avoid overhead watering.
Step 4: Enhancing Garden Aesthetics
Companion Planting
- Pairings: Lavender, Black-eyed Susan, and Salvia for complementary colors and shared soil preferences.
- Benefit: A 2019 pollinator study reported a 40 % increase in bee visitation when coneflower was planted alongside lavender.
Mulching
- Material: Shredded hardwood bark or pine needles.
- Depth: 2‑3 inches to retain moisture and suppress weeds.
- Result: Mulch reduces soil temperature fluctuations by up to 10 °F, promoting steady root growth.
Step 5: Harvesting & Seasonal Care
Seed Collection (Optional)
- When: Late fall, after the flower heads turn brown and dry.
- Method: Cut the seed heads, place them in a paper bag, and shake to release seeds.
- Storage: Keep seeds in a cool, dark place at 40 °F (4 °C) for up to 2 years.
Winter Protection
- Hardy zones 3‑5: Apply a 1‑inch layer of straw mulch over the root zone.
- Zones 6‑9: Minimal protection needed; a light mulch helps retain moisture.
- Data point: Mulching reduces winter die‑back by 30 % in colder zones.
Enjoy Blooms Year After Year with These Reliable Perennials
By following the data‑driven steps above, you’ll create a resilient coneflower patch that delivers striking, long‑lasting color season after season. The combination of proper site selection, soil optimization, precise watering, and regular maintenance not only maximizes bloom quantity but also supports local pollinators and improves overall garden health. Start small, track your results, and expand the planting area as confidence grows—your garden will reward you with a dependable display of vibrant flowers for many years to come.

