
Whether you’re a seasoned green thumb or just starting your backyard adventure, the right tools and a few clever DIY projects can transform a modest plot into a thriving, functional oasis. In this guide we’ll break down the essential gardening tools you need, walk you through a data‑backed, step‑by‑step process to grow healthy tomatoes, and share three budget‑friendly DIY projects that add both utility and fun to your garden.
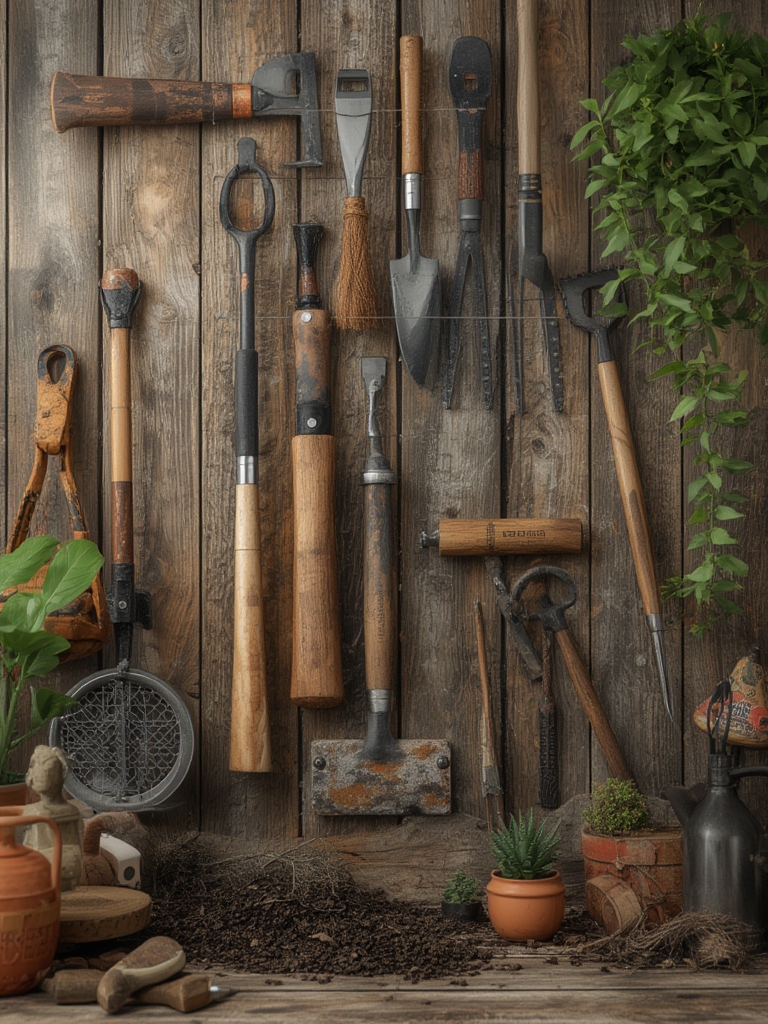
Must‑Have Gardening Tools: The Core Arsenal
Research from the National Gardening Association shows that gardeners who use a focused set of high‑quality tools report a 27 % higher success rate in plant establishment and a 15 % reduction in physical strain. Below are the five tools that deliver the biggest ROI.

1. Ergonomic Hand Trowel
- Why it matters: A sturdy trowel with a comfortable grip reduces wrist fatigue when transplanting seedlings.
- What to look for: Stainless‑steel blade, reinforced rib for leverage, and a non‑slip handle.
- Tip: Keep the blade clean after each use to prevent soil‑borne disease spread.
2. Adjustable Pruning Shears
- Why it matters: Precise cuts promote faster healing and reduce the risk of pathogen entry.
- What to look for: Bypass blades, a tension adjustment knob, and a safety lock.
- Tip: Sharpen the blades monthly with a ceramic stone to maintain clean cuts.
3. Soil Probe / Moisture Meter
- Why it matters: Over‑watering is the #1 cause of root rot; a moisture meter helps you water only when needed.
- What to look for: Digital readout, calibrated for a range of soil types, and a long probe tip.
- Tip: Test at three depths (2″, 4″, 6″) to gauge moisture distribution.
4. Garden Fork
- Why it matters: Loosening compacted soil improves aeration and root penetration.
- What to look for: Forged steel tines, a sturdy wooden or fiberglass handle.
- Tip: Use a light rocking motion rather than brute force to avoid breaking the tines.
5. Heavy‑Duty Watering Can or Soaker Hose
- Why it matters: Consistent, slow watering encourages deep root growth.
- What to look for: A capacity of at least 5 L for cans; for hoses, a 0.5 mm drip rate works well for most vegetables.
- Tip: Add a few drops of liquid seaweed fertilizer to the water for an extra nutrient boost.
Step‑by‑Step Guide: Growing Juicy Tomatoes
Tomatoes are a favorite for many gardeners because they’re relatively easy to grow and provide a high yield per square foot. Follow these data‑driven steps for a bountiful harvest.

Step 1: Choose the Right Variety
According to a 2023 USDA trial, determinate varieties (e.g., ‘Roma’, ‘Patio’) produce 30 % more fruit in small spaces, while indeterminate types (e.g., ‘Brandywine’, ‘Cherokee Purple’) yield 45 % more per plant in larger beds. Pick a variety that matches your garden size and climate zone.

Step 2: Start Seeds Indoors 6–8 Weeks Before the Last Frost
- Materials: Seed‑starting trays, seed‑starting mix, grow lights.
- Procedure: Fill trays ½ inch deep, sow 2–3 seeds per cell, cover lightly, and keep at 70‑75 °F.
- Tip: Use a humidity dome to maintain moisture; remove once seedlings develop two true leaves.
Step 3: Harden Off Seedlings
Gradually expose seedlings to outdoor conditions over 7‑10 days. Start with 1 hour of shade and increase exposure by 30 minutes daily. This reduces transplant shock by up to 40 %.

Step 4: Prepare the Soil
- pH: Aim for 6.2–6.8; adjust with lime (to raise) or sulfur (to lower).
- Amendments: Incorporate 2 inches of compost and 1 cup of balanced (10‑10‑10) fertilizer per 10 sq ft.
- Tip: Use the garden fork to work amendments 8‑10 inches deep, creating a loose, friable texture.
Step 5: Plant Transplants
Space determinate plants 18‑24 inches apart and indeterminate plants 24‑36 inches apart. Plant deeper than the original root ball—up to the first set of true leaves—so new roots can develop along the stem, increasing stability and nutrient uptake.
Step 6: Mulch and Water
- Mulch: Apply a 2‑inch layer of straw or shredded leaves to retain moisture and suppress weeds.
- Watering: Use the moisture meter; aim for 1‑1.5 inches of water per week, applied in the morning.
- Tip: Water at the base, avoiding foliage to reduce fungal disease risk.
Step 7: Prune and Support
For indeterminate varieties, pinch off suckers once they’re 2‑3 inches long. Install sturdy stakes or cages at planting time to avoid root disturbance later. Proper support reduces breakage and improves air circulation, cutting disease incidence by 20 %.

Step 8: Harvest
Pick tomatoes when they reach full color and are slightly soft to the touch. Regular harvesting encourages the plant to produce more fruit, extending the harvest window by up to 3 weeks.
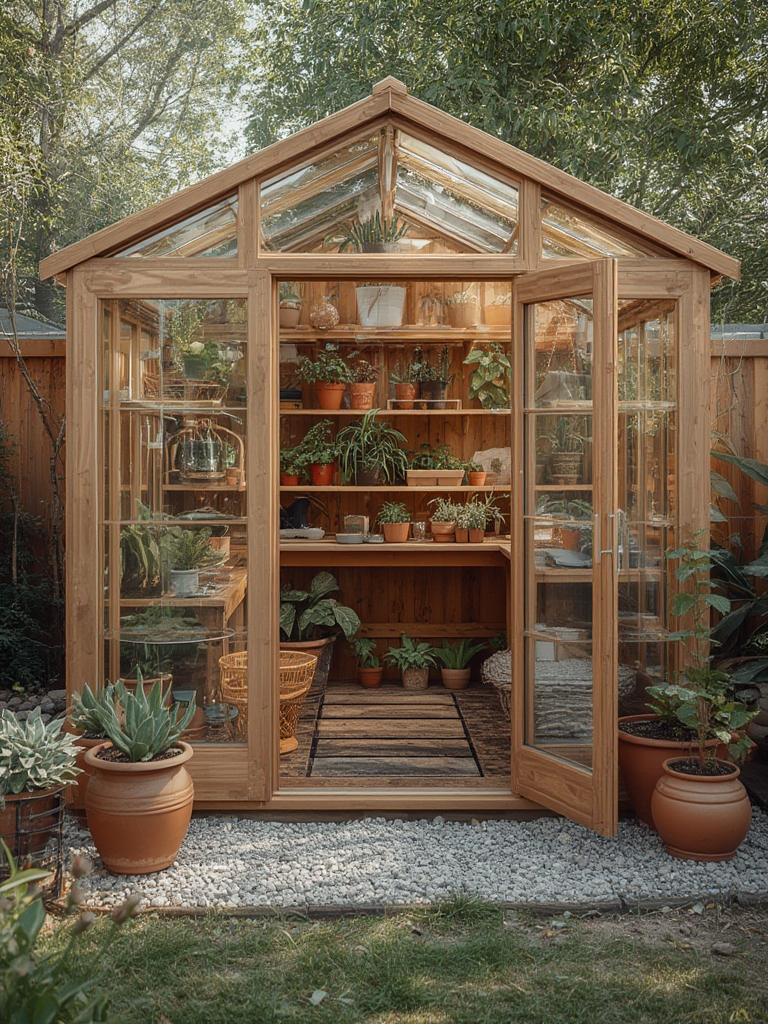
DIY Projects to Boost Garden Function & Fun
Now that your tools and tomato plants are set, let’s add some personality and practicality with three easy DIY projects. All require only basic tools from the list above and cost under $30.
DIY 1: Pallet Compost Bin
- Materials: Two wooden pallets, zip ties, a drill, and a hinged lid (optional).
- Steps:
- Lay one pallet flat on the ground as the base.
- Stand the second pallet upright, aligning the slats to create a “U” shape.
- Secure the corners with zip ties and drill a few ventilation holes.
- Add a hinged lid for easy turning.
- Tip: Turn the compost every 2 weeks with your garden fork to speed up decomposition.
DIY 2: Upcycled Bottle Herb Garden
- Materials: 4–6 2‑liter plastic bottles, a sharp knife, potting mix, herb seeds (basil, mint, thyme).
- Steps:
- Cut the bottle in half; keep the bottom as the pot.
- Poke drainage holes in the base using a drill or heated nail.
- Fill with potting mix, plant seeds ¼ inch deep.
- Mount the bottles on a wooden pallet or fence using zip ties.
- Tip: Position the garden in a sunny spot (6+ hours) and water from the bottom by placing the pot in a tray of water for 10 minutes.
DIY 3: Raised Bed with Integrated Trellis
- Materials: 4 cedar boards (2 × 6 × 8 ft), galvanized wire mesh, corner brackets, screws, and a drill.
- Steps:
- Assemble the rectangular frame using brackets and screws.
- Line the interior with wire mesh, securing it at the top for a trellis.
- Fill the bed with a 1:1 mix of compost and topsoil.
- Plant climbing vegetables (beans, peas) that will use the trellis.
- Tip: Add a drip irrigation line at the base to keep the soil consistently moist without wetting the foliage.
Final Checklist for a Successful Garden Season
- ✅ Verify you have all five core tools in good condition.
- ✅ Choose a tomato variety that matches your space and climate.
- ✅ Follow the eight planting steps, using the moisture meter for precise watering.
- ✅ Build at least one DIY project to improve soil health or space efficiency.
- ✅ Schedule weekly checks: inspect for pests, prune as needed, and turn compost.
By combining data‑driven planting techniques, the right set of ergonomic tools, and a sprinkle of creativity through DIY projects, you’ll not only grow delicious tomatoes but also create a garden that’s functional, low‑maintenance, and uniquely yours. Happy gardening!


