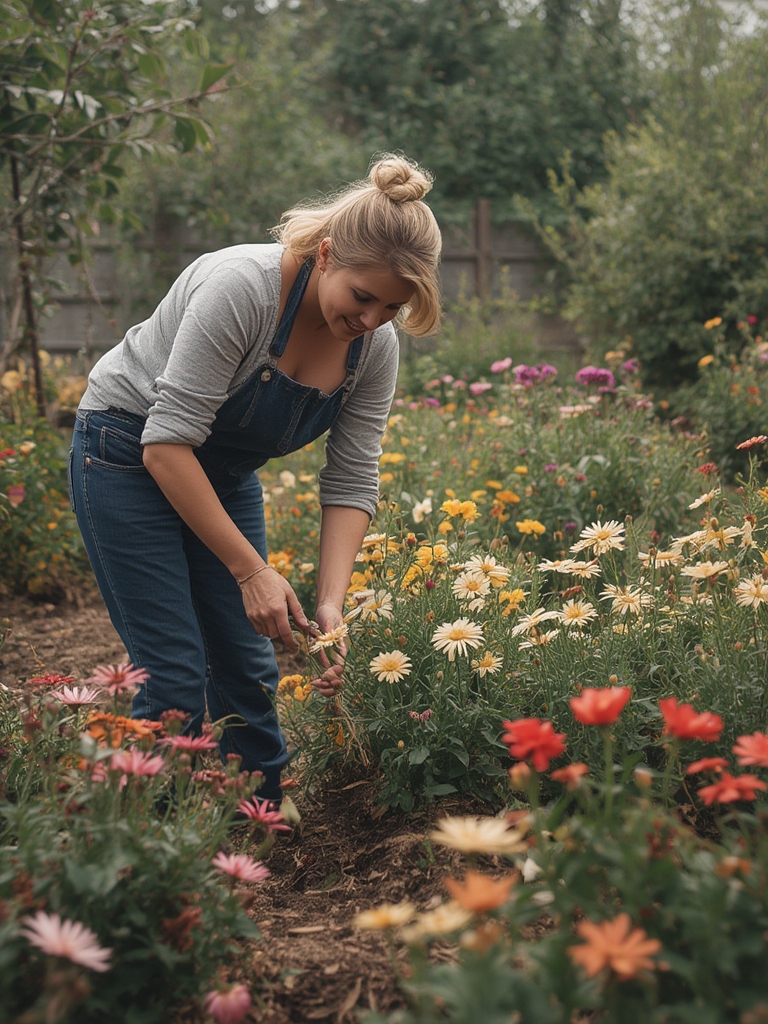


Creating a thriving flower garden is both an art and a science. By blending data‑driven decisions with creative design, you can transform any outdoor space into a vibrant, low‑maintenance oasis. Below is a step‑by‑step guide that walks you through every phase—from site selection to seasonal care—while offering practical tips, tricks, and actionable advice to ensure success.
1. Choose the Right Site and Assess Conditions
Sunlight Exposure
Most flowering plants need 6–8 hours of direct sunlight daily. Use a smartphone light meter app or a simple shade‑clock: place a notebook on the ground at your intended planting spot and track the sun’s path for three consecutive days. If the area receives less than 4 hours, opt for shade‑tolerant varieties like impatiens, begonias, or ferns.
Soil Type & pH
Conduct a quick soil test using a home kit (available at garden centers). Ideal pH for most flowers ranges from 6.0 to 7.0. If your soil is too acidic (<6.0), amend it with garden lime; if it’s alkaline (>7.0), incorporate elemental sulfur. Aim for a loamy texture—loose enough for roots to expand but capable of holding moisture.

Drainage Check
Dig a 12‑inch hole and fill it with water. If it drains within 30 minutes, you have good drainage. Slow drainage indicates compacted soil; break up the subsoil with a garden fork and add coarse sand or perlite to improve aeration.

2. Plan Your Layout Using Creative Design Principles
Color Theory & Seasonal Bloom
Map out a color wheel and select complementary or analogous palettes. For continuous color, stagger bloom times: plant early‑season pansies, mid‑season roses, and late‑season asters. This ensures visual interest from spring through fall.

Height & Layering
Follow the “tall‑back, short‑front” rule. Place 3–4‑foot tall perennials (e.g., delphiniums) at the back, medium‑height shrubs (e.g., lavender) in the middle, and low‑growers (e.g., marigolds) at the front. Space plants according to their mature spread—generally 1–1.5 times the plant’s width to prevent crowding.
Pathways & Focal Points
Incorporate a 2‑foot wide pathway using stepping stones or mulch to improve accessibility. Add a focal point—such as a decorative urn, birdbath, or a striking specimen like a peony clump—to draw the eye and give the garden structure.

3. Prepare the Soil and Install Infrastructure
Soil Amendment
Mix in 2–3 inches of compost per square foot to boost organic matter. For heavy clay soils, add 1 part coarse sand to 3 parts soil. This improves texture and nutrient retention.
Mulching
Apply a 2‑inch layer of organic mulch (shredded bark, straw, or leaf mold) after planting. Mulch conserves moisture, suppresses weeds, and gradually enriches the soil as it decomposes.
Irrigation Setup
Install a drip‑irrigation system with emitters set to 0.5–1 gallon per hour. Position emitters at the base of each plant to deliver water directly to the root zone, reducing evaporation by up to 40% compared to overhead sprinklers.
4. Planting: Timing, Technique, and Immediate Care
Optimal Planting Time
Most perennials thrive when planted in early fall (September–October) or early spring (March–April) when soil temperatures are between 55°F and 65°F (13°C–18°C). This allows roots to establish before extreme heat or frost.
Planting Depth & Spacing
Dig a hole twice as wide and as deep as the root ball. Gently loosen the roots, place the plant so the crown sits 1–2 inches above ground level, and backfill with amended soil. Firm the soil lightly and water thoroughly.
Immediate Watering
After planting, give each plant 10–15 gallons of water (depending on size) to settle the soil and eliminate air pockets. Use a soaker hose or a watering can with a gentle shower head to avoid root damage.
5. Ongoing Care: Watering, Feeding, and Maintenance
Watering Schedule
During the first 4 weeks, water deeply 2–3 times per week, aiming for 1 inch of water per session. After establishment, reduce frequency to once a week, adjusting for rainfall. Use a rain gauge to track natural precipitation.
Fertilization
Apply a balanced, slow‑release fertilizer (10‑10‑10) at a rate of 1 pound per 100 square feet in early spring and again after the first major bloom cycle. For container plants, use a water‑soluble formula at half the recommended strength every 4 weeks.
Pruning & Deadheading
Remove spent blooms (deadheading) weekly to encourage repeat flowering. Prune woody stems in late winter (January–February) to shape plants and stimulate new growth. For herbaceous perennials, cut back foliage to 2–3 inches above ground after the final bloom.
Pest & Disease Management
Implement Integrated Pest Management (IPM): inspect plants weekly, encourage beneficial insects (ladybugs, lacewings) with nectar‑rich companion plants, and apply neem oil or insecticidal soap only when thresholds exceed 5% leaf damage. Rotate crops annually to reduce soil‑borne diseases.
6. Seasonal Adjustments and Long‑Term Success
Winter Protection
In zones 5–7, mulch a 4‑inch layer of straw around perennials after the first hard freeze. For tender annuals, cut back foliage and cover with a frost blanket (minimum 6‑mil polyethylene) during extreme cold snaps.
Spring Refresh
In early spring, rake away winter mulch, test soil pH again, and top‑dress with a thin layer of compost. Divide overcrowded perennials (e.g., hostas, daylilies) every 3–4 years to maintain vigor.
Continuous Learning
Keep a garden journal: record planting dates, varieties, soil amendments, watering volumes, and observed pests. Over time, this data will reveal patterns—such as which micro‑climates in your yard favor certain colors or bloom times—allowing you to refine future designs.
By following these data‑driven steps and infusing creative layout ideas, you’ll cultivate a flower garden that not only looks stunning but also thrives with minimal effort. Happy planting!
