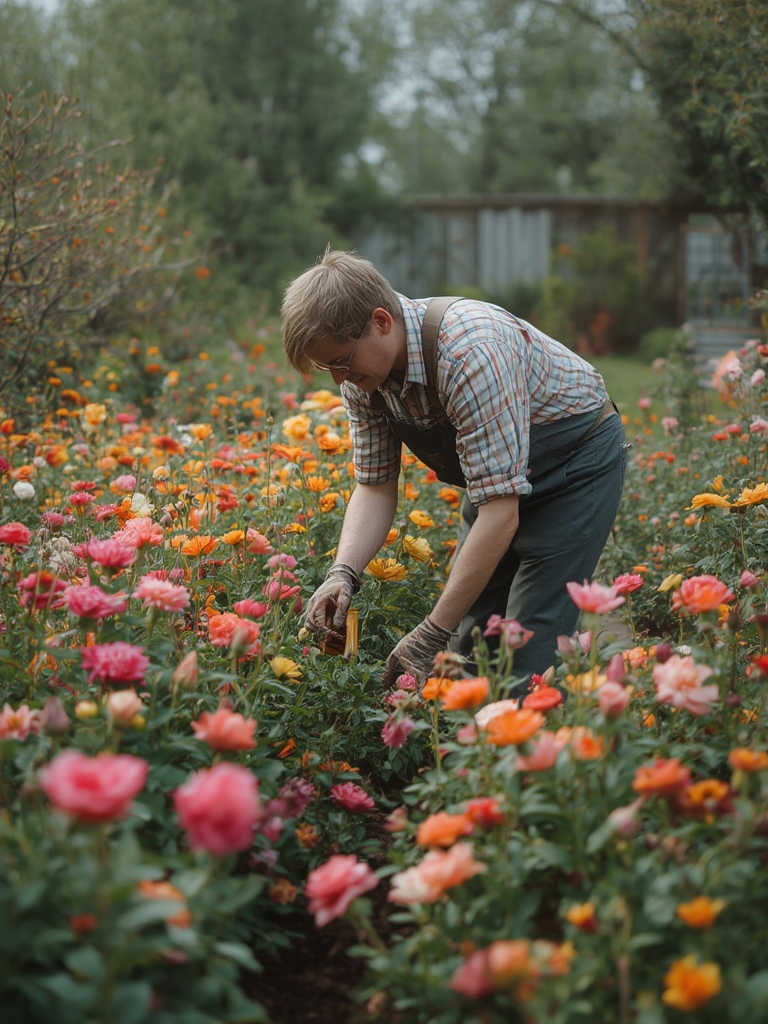

Why Flower Gardening Is Worth the Effort
Flower gardening not only adds vibrant color to your yard, but it also boosts pollinator activity, improves mental well‑being, and can increase property value. Recent surveys from the National Gardening Association show that 68% of gardeners report higher satisfaction when they include flowering plants in their beds. By following a data‑driven approach, you can maximize bloom performance while minimizing trial‑and‑error.
Step 1: Choose the Right Flowers for Your Climate
Analyze Your USDA Hardiness Zone
Start by locating your USDA hardiness zone (e.g., Zone 5a–9b in the U.S.). This number tells you the average annual minimum temperature, which directly influences plant survival. Use the USDA map to confirm your zone.
- Cool‑season zones (3–6): Pansies, snapdragons, and dwarf iris thrive.
- Mid‑range zones (7–8): Coreopsis, coneflower, and lavender perform best.
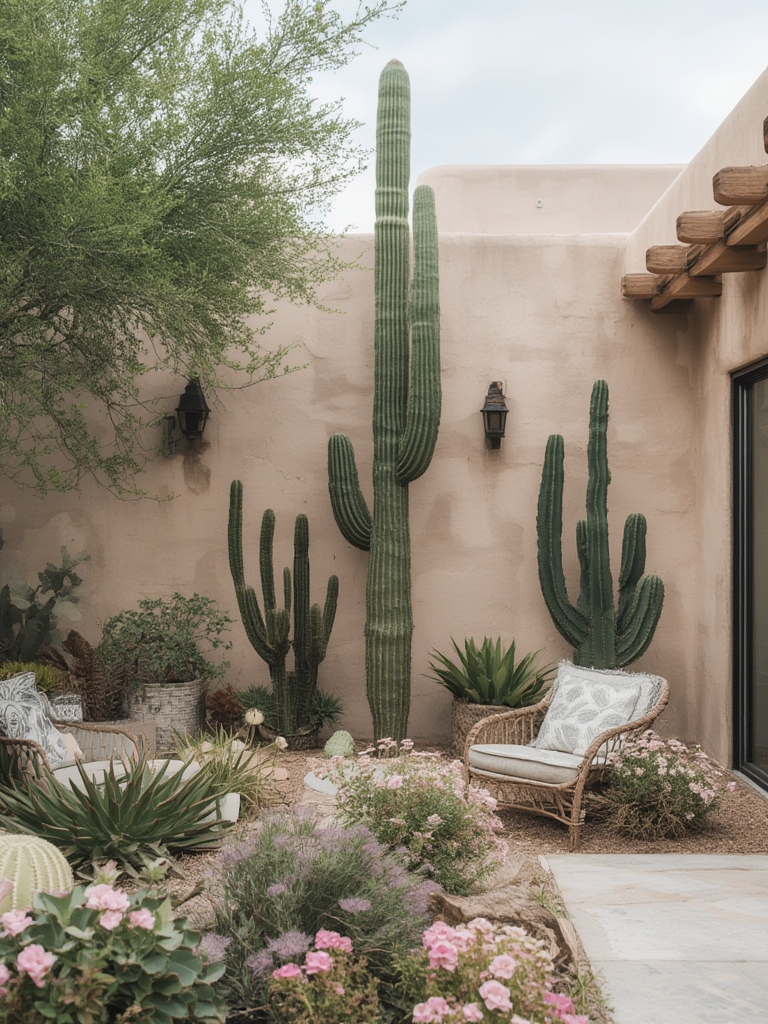
- Warm‑season zones (9–11): Hibiscus, bougainvillea, and marigold are top choices.
Match Flowers to Sunlight Exposure
Collect data on the daily sunlight each planting area receives:

- Full sun (6+ hours): Most annuals and many perennials.
- Partial shade (3–6 hours): Impatiens, begonias, and foxglove.
- Full shade (<3 hours): Hostas, ferns, and certain hydrangeas.
Use a simple sunlight log (paper or smartphone app) for one week to verify your estimates before planting.

Step 2: Prepare Soil for Optimal Growth
Test Soil pH and Nutrient Levels
Most flowering plants prefer a slightly acidic to neutral pH (6.0–7.0). Purchase an inexpensive soil test kit or send a sample to a local extension service. Record the results in a spreadsheet to track changes over time.

Amend the Soil Based on Test Results
- If pH is low (<6.0): Add lime at 5 lb per 100 sq ft.
- If pH is high (>7.0): Incorporate elemental sulfur, 2 lb per 100 sq ft.
- Organic matter: Mix in 2–3 inches of compost to improve moisture retention and nutrient availability.
Compact the amended soil lightly with a garden fork, then water thoroughly to settle the particles.
Step 3: Planting Techniques That Boost Success
Timing Is Key
Plant cool‑season flowers 4–6 weeks before the last frost date; warm‑season varieties should be set out after soil temperatures consistently reach 65 °F (18 °C). Use historical frost data from your local weather service to pinpoint the ideal window.

Spacing and Depth Guidelines
- Seedlings: Plant at the same depth they were in the pot; space according to label (usually 12–18 in).
- Seeds: Sow at a depth of ¼ × seed diameter; thin seedlings to recommended spacing after the first true leaves appear.
Proper spacing improves air circulation, reducing fungal disease risk by up to 30% according to university extension studies.
Step 4: Watering, Feeding, and Ongoing Care
Smart Watering Schedule
Use a moisture meter or the “finger test” (check 2 inches deep) to determine watering needs. General rule of thumb:
- Newly planted: 1 inch of water per week for the first 3 weeks.
- Established plants: 1 inch per week, adjusted for rainfall.
Drip irrigation or soaker hoses can reduce water waste by up to 40% compared with overhead sprinklers.
Fertilization Strategy
Apply a balanced, slow‑release fertilizer (10‑10‑10) at a rate of 1 lb per 100 sq ft in early spring. For a boost during peak bloom, use a liquid fertilizer with a higher phosphorus ratio (e.g., 5‑10‑5) every 4 weeks.
Pruning and Deadheading
Remove spent blooms (deadheading) weekly to encourage repeat flowering. For perennials, cut back foliage to about 2 inches above ground after the first frost to promote healthy regrowth in spring.
Step 5: Pest and Disease Management
Identify Common Culprits
Keep a log of any visual symptoms (e.g., chewed leaves, powdery spots). Common issues include aphids, spider mites, and powdery mildew. Early detection can prevent up to 70% loss in yield.
Integrated Pest Management (IPM) Tactics
- Physical barriers: Use row covers for seedlings.
- Biological controls: Release ladybugs or apply neem oil (2 tbsp per gallon of water) every 7–10 days.
- Cultural practices: Rotate planting locations yearly and avoid overhead watering.
Step 6: Harvesting and DIY Flower Arrangements
When to Cut
Harvest blooms in the morning when temperatures are cool and buds are just opening. Cut stems at a 45° angle, leaving at least 2 inches of stem above the first set of leaves.
Quick‑Drying Technique for Long‑Lasting Arrangements
- Gather 5–7 stems of similar length.
- Tie the stems loosely with twine.
- Hang upside down in a dark, well‑ventilated area for 7–10 days.
- Once dried, spray lightly with a floral sealant to preserve color.
Enjoy Creative Moments with Easy DIY Flower Arrangements 🌼💖
Turn your garden bounty into stunning tabletop displays:
- Mix textures: Pair soft roses with spiky thistles for visual contrast.
- Color theory: Use a 60‑30‑10 rule (60% dominant color, 30% secondary, 10% accent) for balanced bouquets.
- Vase tricks: Add a teaspoon of sugar and a few drops of bleach to the water to extend vase life by up to 5 days.
Final Checklist for a Thriving Flower Garden
- ✅ Verify USDA zone and match plants accordingly.
- ✅ Test and amend soil pH; incorporate compost.
- ✅ Plant at the right time, depth, and spacing.
- ✅ Water consistently; use drip irrigation if possible.
- ✅ Fertilize with balanced and bloom‑boosting formulas.
- ✅ Deadhead weekly; prune perennials after frost.
- ✅ Monitor for pests; apply IPM methods.
- ✅ Harvest in the cool morning; create DIY arrangements.
By following these data‑driven steps and sprinkling in a few creative DIY moments, you’ll enjoy a vibrant, low‑maintenance flower garden that rewards you with beauty all season long.
