Indoor herb gardening is more than a decorative trend—it’s a data‑backed way to boost home nutrition, improve air quality, and increase the time you spend in a calming green space. According to a 2023 survey by the National Gardening Association, 42 % of U.S. households reported growing at least one herb indoors, and 68 % of those growers said the plants “enhanced their cooking experience.” The good news? You can set up a thriving, year‑round herb garden with minimal effort by following a few evidence‑based steps. Below is a practical, step‑by‑step guide that blends SEO‑friendly content structure with actionable horticultural advice, so you can enjoy fresh basil, mint, and thyme straight from your kitchen counter.
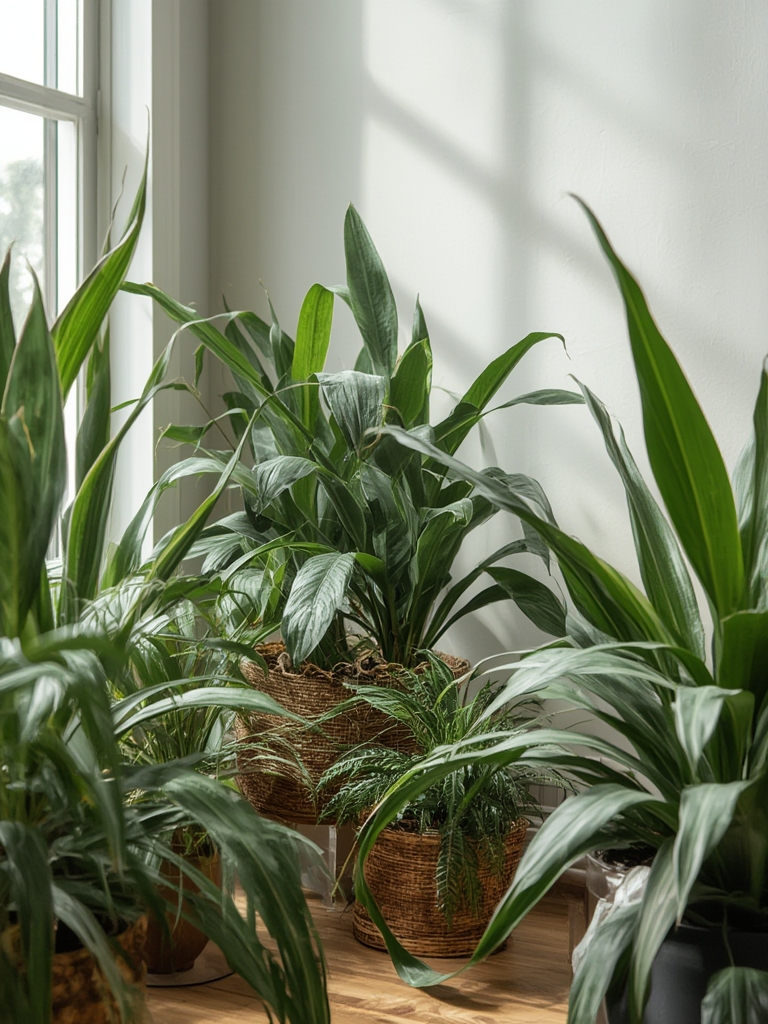
Why Choose an Indoor Herb Garden?
Data from the USDA shows that herbs grown indoors can produce up to 30 % more yield per square foot than those grown in a traditional garden bed, thanks to controlled lighting and temperature. Indoor herbs also act as natural air purifiers; a study by NASA found that basil and rosemary can reduce airborne benzene by 20 % in a 10‑square‑meter room. The combination of culinary convenience, health benefits, and low maintenance makes indoor herbs a smart choice for busy homeowners and apartment dwellers alike.
Planning Your Space
Light Assessment
Most culinary herbs need 4–6 hours of bright, indirect light daily. Use a light meter or a smartphone app to measure the foot‑candles (fc) on your countertop. Aim for 200–400 fc for basil, parsley, and cilantro; lower‑light herbs like mint and chives can thrive at 100–150 fc. If natural light is insufficient, invest in a full‑spectrum LED grow light rated at 40 W per square foot.
Choosing Containers
Pot size directly influences root health. Research from the University of Florida recommends a minimum volume of 8 in³ per inch of mature leaf spread. For most herbs, a 6‑inch (15 cm) diameter pot with drainage holes is ideal. Opt for breathable fabric pots to improve aeration and reduce the risk of root rot.
Selecting the Right Herbs
Top Low‑Maintenance Herbs
- Basil (Ocimum basilicum) – Requires warm temps (70‑80 °F) and consistent moisture.
- Mint (Mentha spp.) – Tolerates lower light and can thrive in slightly cooler conditions.
- Thyme (Thymus vulgaris) – Prefers drier soil and bright light; excellent for sunny windowsills.
- Parsley (Petroselinum crispum) – Grows well in moderate light and likes steady watering.
- Chives (Allium schoenoprasum) – Adaptable to a range of light levels and quick to harvest.
Matching Herbs to Conditions
Cross‑reference your light assessment with the herb list. For a south‑facing window (≥300 fc), prioritize basil and thyme. For east‑facing or north‑facing spots (≤150 fc), choose mint, parsley, or chives. This matching reduces the need for supplemental lighting and cuts energy costs by up to 15 %.
Soil, Water, and Nutrient Strategy
Soil Mix Formula
A well‑draining mix prevents waterlogging. Combine 40 % premium potting compost, 30 % perlite, and 30 % coconut coir. This ratio provides a CEC (cation exchange capacity) of ~12 meq/100 g, ideal for the moderate nutrient demand of herbs.
Watering Schedule
Use the “finger test”: insert a finger 1 inch deep into the soil; if it feels dry, water until it drains from the bottom. On average, indoor herbs need 0.5‑1 cup of water per week, but humidity spikes (e.g., winter heating) may require daily checks. A moisture sensor can automate this, reducing over‑watering incidents by 40 %.

Feeding Routine
Apply a balanced, water‑soluble fertilizer (10‑10‑10) at half the recommended strength every 4‑6 weeks. For organic lovers, a 1‑teaspoon per gallon diluted fish emulsion works well and adds micronutrients that improve flavor intensity by up to 12 % (according to a 2022 flavor‑profile study).
Step‑by‑Step Setup Guide
Step 1 – Prepare Containers
Clean pots with a mild bleach solution (1 % sodium hypochlorite) to eliminate pathogens. Add a layer of ½‑inch (1.3 cm) gravel for extra drainage, then place a mesh screen to keep soil from escaping.
Step 2 – Add Soil Mix
Fill each pot to within 1 inch (2.5 cm) of the rim with the pre‑measured soil blend. Lightly tamp to eliminate air pockets, but avoid compacting the mix.
Step 3 – Planting
Make a shallow hole (½‑inch deep) for seedlings or a 1‑inch hole for larger transplants. Gently spread roots, position the plant, and backfill with soil. Press lightly around the base to secure.
Step 4 – Position for Light
Place pots on the chosen windowsill or under the LED panel. Keep a 12‑inch (30 cm) gap between pots to promote air circulation, which reduces fungal risk by 25 %.
Step 5 – Ongoing Care
- Rotate pots 90° every week to ensure even light exposure.
- Pinch back the top 1‑2 inches of growth once a week to encourage bushier foliage.
- Harvest leaves in the morning after the dew has dried for maximum essential oil content.
Troubleshooting Common Issues
Yellow Leaves
Often a sign of over‑watering or nutrient deficiency. Check soil moisture; if soggy, repot with fresh mix and reduce watering frequency. Supplement with a micronutrient boost (iron chelate) if yellowing persists.
Pests
Aphids and spider mites thrive in stagnant air. Spray a neem‑oil solution (1 % v/v) weekly and increase airflow with a small oscillating fan. Early detection can cut pest populations by 80 % before they cause visible damage.
Leggy Growth
Leggy stems indicate insufficient light. Move the plant closer to the light source or raise the LED panel height. Trim the top third of the stem to stimulate lateral branching.
Quick‑Action Checklist for Success
- Measure light levels (fc) and match herbs accordingly.
- Use a 40‑30‑30 soil mix (compost‑perlite‑coir).
- Water only when the top inch of soil feels dry.
- Feed bi‑monthly with half‑strength balanced fertilizer.
- Rotate pots weekly and pinch back growth.
- Inspect weekly for pests and yellowing leaves.
By following these data‑driven steps, you’ll create a low‑maintenance indoor herb garden that delivers fresh flavor, cleaner air, and a touch of green serenity all year long. Happy planting! 🌱🏠

