
Creating a thriving herb and aromatic garden not only elevates the flavor of your kitchen creations but also adds a soothing fragrance to your outdoor space. By combining data‑driven planting guidelines with practical, step‑by‑step care instructions, you can design a garden that looks beautiful, smells inviting, and produces a continuous harvest. Below you’ll find a clear roadmap—from selecting the right species to arranging a visually appealing layout—so even beginners can achieve professional‑grade results.
Why Choose an Aromatic Herb Garden?
Herbs such as basil, rosemary, thyme, and lavender are among the most researched culinary and medicinal plants. Studies show that fresh herbs contain up to 10× more essential oils than dried counterparts, delivering stronger flavor and health benefits. Additionally, aromatic herbs act as natural pest repellents; for example, rosemary and mint release volatile compounds that deter aphids and whiteflies, reducing the need for chemical interventions.
From an SEO perspective, targeting keywords like “best herbs for cooking,” “low‑maintenance herb garden,” and “fragrant garden design” can attract a broad audience of home cooks, gardeners, and wellness enthusiasts.
Step 1: Selecting the Right Herbs
Assess Your Climate and Sunlight
Most aromatic herbs thrive in full sun (6–8 hours daily). Use local climate data (e.g., USDA Hardiness Zones) to match species to your region. For zones 4‑9, consider hardy options like Lavandula angustifolia (English lavender) and Salvia officinalis (common sage). In warmer zones (10‑11), Mediterranean favorites such as oregano and thyme flourish.
Choose Based on Use
- Culinary staples: Basil, parsley, cilantro, chives.
- Medicinal & wellness: Peppermint, lemon balm, chamomile.
- Fragrance & aesthetics: Lavender, rosemary, sage.
Mixing at least three culinary, two medicinal, and two ornamental herbs creates a balanced, multi‑purpose garden.

Step 2: Planning Your Garden Layout
Map Out Spacing and Height
Data from horticultural trials suggest the following spacing for optimal airflow and growth:
- Basil – 12 inches apart.
- Rosemary – 24 inches apart (larger shrub).
- Lavender – 18 inches apart.
- Mint – 12 inches (contain in a pot to prevent invasiveness).
Arrange taller herbs (rosemary, lavender) at the back or center of a raised bed, with shorter varieties (basil, chives) in front. This tiered approach enhances visual interest and ensures sunlight reaches lower plants.

Incorporate Pathways and Visual Focal Points
Design a 12‑inch wide stepping stone path using reclaimed bricks or permeable pavers. Place a decorative trellis near climbing herbs like thyme or oregano to add vertical texture. A small water feature or birdbath can serve as a fragrant focal point, amplifying the garden’s sensory appeal.
Step 3: Soil Preparation and Planting
Test and Amend Soil
Herbs prefer a slightly alkaline pH of 6.5–7.5. Use a home soil test kit and amend with lime to raise pH or elemental sulfur to lower it. Incorporate 2‑3 inches of well‑rotted compost to improve drainage and nutrient content. For container planting, use a 1:1 mix of peat‑based potting soil and perlite.
Planting Technique
- Dig a hole twice the width of the root ball but no deeper than the pot.
- Gently loosen roots, especially for woody herbs like rosemary.
- Place the plant, backfill with amended soil, and firm lightly.
- Water thoroughly to settle soil around roots.
Mulch with shredded bark or straw to retain moisture and suppress weeds—especially important for moisture‑sensitive herbs like thyme.
Step 4: Watering and Feeding
Establish a Consistent Schedule
Most herbs require 1‑1.5 inches of water per week. Use a rain gauge or moisture meter to avoid over‑watering, which can cause root rot. Drip irrigation with a timer ensures consistent moisture and conserves water.
Fertilize Lightly
Apply a balanced, slow‑release organic fertilizer (10‑10‑10) at a rate of 1 pound per 100 sq ft in early spring. Over‑fertilization can diminish essential oil concentration, reducing flavor and fragrance.
Step 5: Harvesting and Maintenance
Pruning for Growth
Harvest leaves early in the morning when oil concentrations peak. For basil, pinch the top 2‑3 inches every 2‑3 weeks to encourage bushier growth. Remove flower spikes on rosemary and thyme to prolong leaf production.
Pest Management
Utilize companion planting: intersperse marigolds or nasturtiums to deter nematodes and aphids. If pests appear, spray a neem oil solution (2 tsp per gallon) weekly until resolved.
Bonus: Creating a Visually Appealing & Fragrant Herb Layout
Color Coordination
Group herbs with complementary foliage colors: deep‑green sage with silvery rosemary, bright green basil with purple lavender. This contrast creates a garden that is as photogenic as it is aromatic.
Seasonal Interest
Plant fast‑growing annuals like cilantro alongside perennials. As basil finishes its season, replace it with summer‑blooming dill, ensuring continuous harvest and scent throughout the growing season.
Container Mix‑Ins
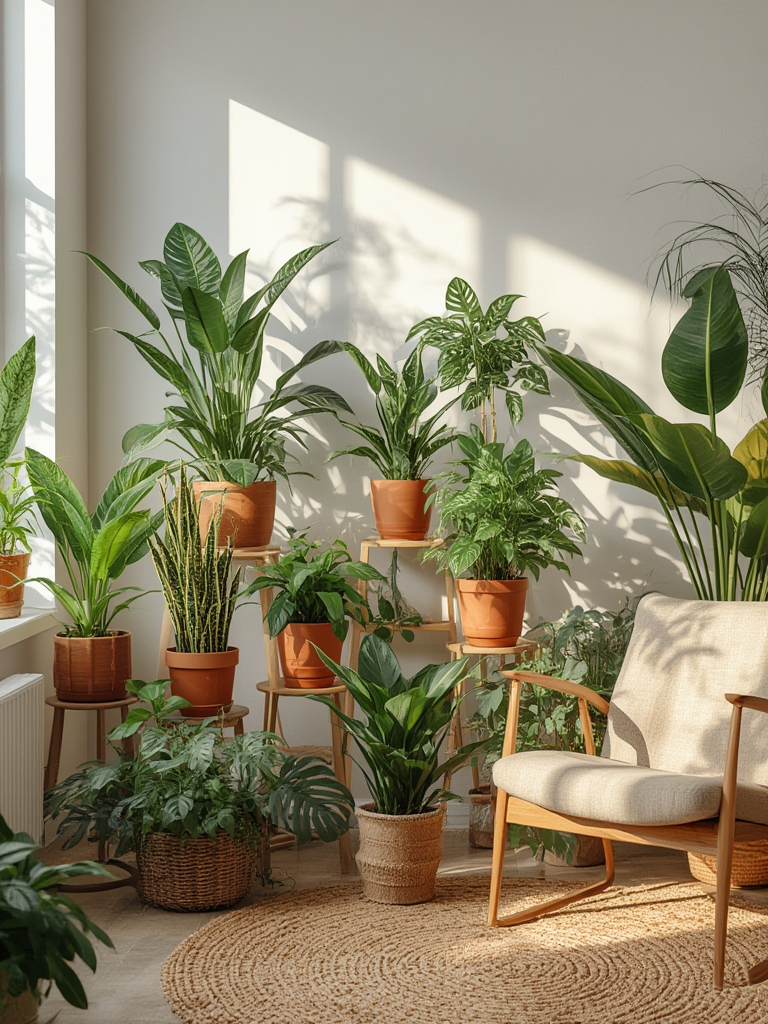
Use decorative terracotta pots of varying heights for herbs that spread aggressively, such as mint. Adding a layer of crushed lavender stones on top of the soil not only looks elegant but also releases a subtle fragrance when walked upon.
By following these data‑backed steps and incorporating practical design tricks, you’ll cultivate an herb and aromatic garden that delights the senses, supports healthy cooking, and boosts your home’s curb appeal. Remember to monitor soil pH, maintain consistent watering, and harvest regularly to keep your garden thriving year after year.


