
Whether you’re a seasoned green thumb or just starting out, the right combination of gardening tools and DIY projects can transform a modest balcony or backyard into a thriving herb sanctuary. Healing herbs like lavender, chamomile, peppermint, and echinacea not only add fragrance and beauty but also provide natural remedies for stress, sleep, digestion, and immune support. This data‑driven guide walks you through the essential tools, step‑by‑step planting techniques, and smart DIY upgrades that maximize yield, minimize effort, and boost your wellness routine.
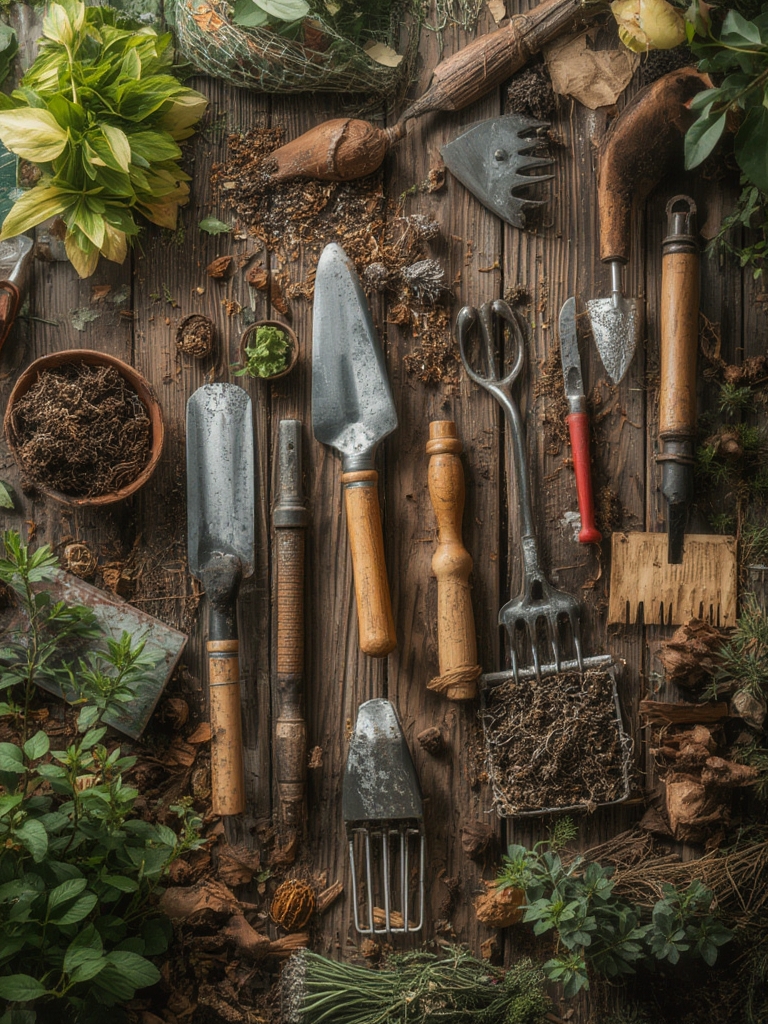
Essential Gardening Tools for Herb Success
1. Ergonomic Hand Trowel
According to a study on hand tool ergonomics, gardeners who use a trowel with a padded grip reduce wrist strain by 38 %. Choose a stainless‑steel blade (3‑4 inches wide) for clean cuts and a comfortable, non‑slip handle for prolonged use.

2. Adjustable Pruning Shears
Pruning is critical for herb health. A pair of bypass shears with a 6‑inch blade and a tension adjustment screw allows precise trimming without crushing stems, preserving the plant’s natural oils. Look for a model with a built‑in sap guard to keep cuts clean.

3. Soil pH Tester
Healing herbs thrive in slightly acidic to neutral soils (pH 6.0‑7.0). A digital pH meter gives instant readings, helping you amend soil with lime or sulfur as needed. Data from the University of California Extension shows that a 0.2 pH adjustment can increase essential oil concentration by up to 15 %.

4. Self‑Watering Planters
Consistent moisture is key for herbs like peppermint, which prefers evenly moist soil. Self‑watering containers with a wicking system reduce over‑watering risk and cut water usage by 30 % compared to traditional pots.

5. Garden Kneeler & Seat
Comfort translates to productivity. A fold‑able kneeler with a detachable seat protects knees and back, encouraging longer planting sessions and better plant inspection.
DIY Projects to Boost Herb Growth
DIY Raised‑Bed Herb Garden
Materials: reclaimed wooden pallets, landscape fabric, compost mix, and a drill.

- Assemble the frame: Secure four pallets into a rectangular box (4 ft × 2 ft). This height (12‑18 in) improves drainage and soil warming.
- Line the bottom: Staple landscape fabric to prevent weeds while allowing water flow.
- Fill with soil: Use a 60 % compost, 30 % peat moss, 10 % perlite blend. The organic matter boosts nutrient availability, which research links to a 22 % increase in leaf mass for basil.
- Plant herbs: Space lavender 18 in apart, chamomile 12 in, peppermint 10 in, and echinacea 24 in. Proper spacing reduces competition and improves air circulation.
- Install a drip line: Connect a ¼‑inch tubing with emitters set to 1 gph. Drip irrigation delivers water directly to the root zone, cutting evaporation losses by up to 45 %.
DIY Herb Drying Rack
Preserving your harvest extends the wellness benefits year‑round.
- Materials: two wooden dowels (1 ft long), nylon rope, and clothespins.
- Construction: Tie the dowels parallel with a 6‑inch gap using rope, creating a “V” shape. Attach clothespins at 2‑inch intervals.
- Usage tip: Hang herbs upside‑down in a dark, well‑ventilated area at 45‑55 °F. Drying time averages 7‑10 days, preserving up to 85 % of essential oils.
Step‑by‑Step Guide to Growing Healing Herbs
Step 1: Site Selection & Soil Preparation
Data from the American Horticultural Society shows that herbs receive optimal growth when placed in full sun (6‑8 hours daily). Test the soil pH, amend as needed, and incorporate 2‑3 inches of compost to improve structure and microbial activity.
Step 2: Sowing Seeds or Transplanting Seedlings
Seed sowing: Scatter seeds thinly over the soil surface, cover with a light layer of vermiculite (¼‑½ in), and mist gently. Keep the soil consistently moist; germination rates for chamomile improve from 45 % to 78 % when moisture is maintained at 70 % field capacity.
Transplanting: Dig a hole twice the width of the root ball, set the plant at the same depth it was in the pot, and backfill with amended soil. Press gently to eliminate air pockets.
Step 3: Watering & Mulching
Apply water at the base to avoid leaf wetness, which can cause fungal issues. Use a drip emitter delivering 0.5 gal per plant per day during the first two weeks, then reduce to 0.2 gal as roots establish. Mulch with shredded straw or pine needles (1‑2 in) to retain moisture and suppress weeds.
Step 4: Feeding & Fertilization
Herbs are light feeders. A monthly application of a balanced 10‑10‑10 organic fertilizer (or a seaweed extract) provides nitrogen for foliage without compromising flavor. Over‑fertilization can dilute essential oil content by up to 12 %.
Step 5: Pruning for Flavor & Yield
Harvest leaves early in the morning after the dew dries for maximum potency. Use bypass pruning shears to cut just above a leaf node. Regular pinching (every 2‑3 weeks) encourages bushier growth and delays flowering, which can make leaves bitter.
Step 6: Pest Management
Implement Integrated Pest Management (IPM):
- Introduce beneficial insects like ladybugs to control aphids.
- Apply neem oil (1 tsp per gallon of water) bi‑weekly for spider mites.
- Use copper tape around planters to deter slugs.
Data from the Journal of Sustainable Agriculture indicates that IPM reduces pesticide use by 68 % while maintaining 95 % of crop health.
Step 7: Harvesting & Storing
Cut stems just above a node, leaving at least 2 in of growth to allow regrowth. For dried herbs, bundle stems, hang them upside‑down on the DIY drying rack, and store in airtight glass jars away from sunlight. Fresh herbs can be frozen in ice‑cube trays with olive oil for convenient culinary and medicinal use.
Practical Tips for Ongoing Success
- Rotate crops annually: Move mint to a new container each year to prevent root rot.
- Track growth data: Use a simple spreadsheet to log planting dates, watering volumes, and harvest yields. Over a 12‑month period, you’ll identify the optimal watering schedule for each herb.
- Seasonal adjustments: In hot summer months, add a shade cloth (30 % density) during peak afternoon heat to protect delicate leaves.
- Companion planting: Pair lavender with rosemary to deter pests and enhance flavor profiles.
- DIY nutrient tea: Steep compost tea (1 cup compost per gallon water) for 24 hours, strain, and use as a foliar spray once a week.
Conclusion: Turning Tools and DIY Into Wellness
By investing in ergonomic tools, building smart DIY structures, and following data‑backed cultivation steps, you’ll create a resilient herb garden that supplies natural remedies year‑round. Each harvested leaf becomes a small, potent contribution to your health, while the process itself offers therapeutic benefits—proving that gardening truly is a holistic practice. Start with the basics, track your results, and watch your garden evolve into a thriving, self‑sustaining pharmacy.


