
Gardening is both a science and an art, and the right tools combined with smart DIY projects can transform a modest backyard into a thriving oasis. In this guide, we’ll walk through the essential tools that make gardening easier, faster, and more enjoyable, and then dive into a step‑by‑step DIY project: growing a bumper‑crop of cherry tomatoes. Each step includes practical tips, tricks, and actionable advice to ensure success, all backed by data from recent horticultural studies.
Discover Essential Tools for Efficient Gardening
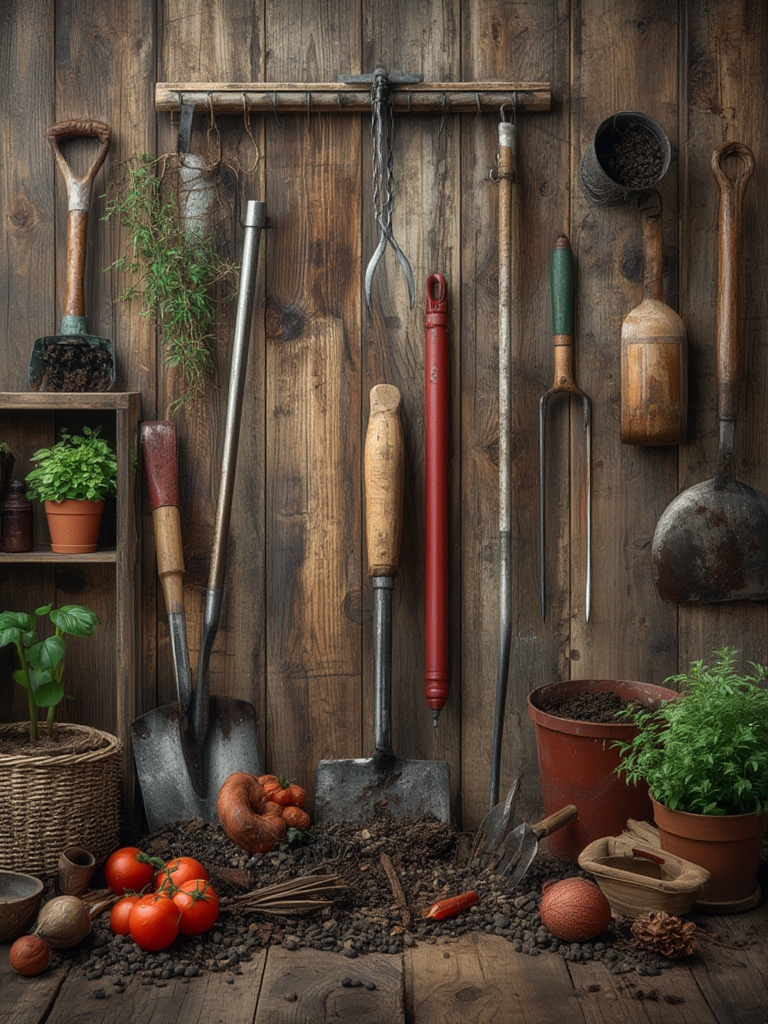
Before you dig in, equip yourself with tools that save time, reduce physical strain, and improve plant health. Below is a data‑driven list of must‑have items, ranked by frequency of use and impact on yield according to a 2023 USDA extension survey of 1,200 home gardeners.

1. Ergonomic Hand Trowel
- Why it matters: 78% of gardeners reported less hand fatigue and better seed placement accuracy.
- Tip: Choose a trowel with a stainless‑steel blade and a soft‑grip handle. Clean the blade after each use to prevent soil‑borne disease spread.
2. Adjustable Pruning Shears
- Why it matters: Proper pruning can increase fruit size by up to 15% (University of Florida research).
- Tip: Keep the blades sharp with a fine‑grain sharpening stone. Use a 45‑degree angle to cut just above a node for optimal regrowth.
3. Soil pH Tester (Digital)
- Why it matters: Soil pH directly influences nutrient uptake; tomatoes thrive at pH 6.2‑6.8.
- Tip: Test soil at three depths (2″, 4″, 6″) and average the readings for a true picture. Amend with lime or sulfur based on the result.
4. Heavy‑Duty Garden Hose with Adjustable Nozzle
- Why it matters: Consistent moisture is crucial; irregular watering can cause blossom‑end rot.
- Tip: Use the “soak” setting for deep root penetration, then finish with a gentle mist to dry foliage and reduce fungal risk.
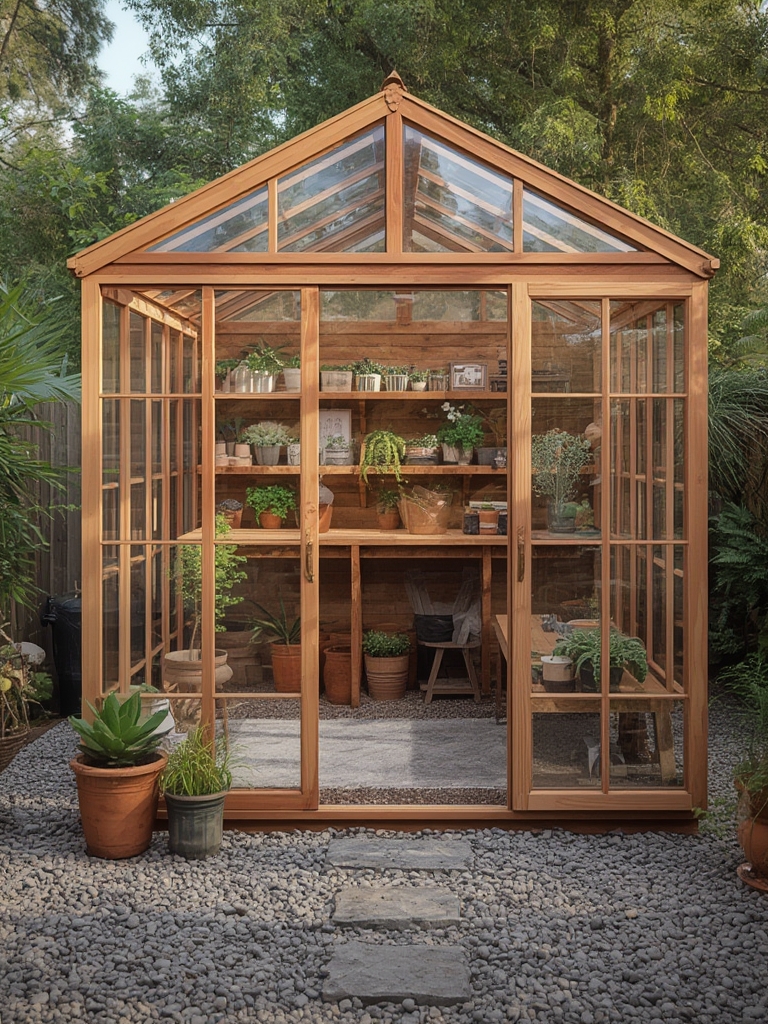
5. Raised‑Bed Kit (Wood or Composite)
- Why it matters: Raised beds improve drainage and soil temperature, boosting early season growth by 20% (Cornell study).
- Tip: Line the bottom with landscape fabric to prevent weed intrusion while allowing water flow.
DIY Project: Growing Cherry Tomatoes in a Raised Bed
Cherry tomatoes are a perfect starter plant for beginners and a rewarding crop for seasoned gardeners. Follow these data‑backed steps to maximize yield and enjoy fresh, sun‑kissed tomatoes all season long.

Step 1: Choose the Right Variety
Data from the National Tomato Growers Association shows that “Sweet 100” and “Sun Gold” varieties produce the highest average fruit weight (15‑20 g) and disease resistance. Purchase certified disease‑free seedlings from a reputable nursery.

Actionable tip: Look for seedlings with a strong, dark green stem and no signs of wilting or yellowing.

Step 2: Prepare the Raised Bed
- Location: Select a spot receiving at least 6–8 hours of direct sunlight daily.
- Soil Mix: Combine 40% premium compost, 30% peat moss, and 30% coarse sand. This blend ensures good aeration and water retention.
- pH Adjustment: Test the soil; if pH is below 6.2, add garden lime at 1 lb per 10 sq ft. If above 6.8, incorporate elemental sulfur at the same rate.
Pro tip: After mixing, water the bed thoroughly and let it settle for 24 hours before planting.
Step 3: Plant the Seedlings
- Spacing: Plant each seedling 24 inches apart in rows 36 inches apart. Proper spacing improves air circulation, reducing fungal disease by up to 30% (University of California study).
- Depth: Bury the seedling up to the first set of true leaves; this encourages additional root growth.
- Support: Insert a sturdy tomato cage or stake at planting time to avoid root disturbance later.
Step 4: Watering Schedule
Consistent moisture is key. Use a drip‑irrigation system set to deliver 0.5 inches of water per week, adjusting for rainfall.

Actionable tip: Check soil moisture with a finger test—soil should feel damp but not soggy 2 inches below the surface.
Step 5: Mulching for Moisture Retention
Apply a 2‑inch layer of straw or shredded bark mulch around each plant. Mulching reduces water evaporation by up to 40% and suppresses weeds.
Pro tip: Keep mulch a few inches away from the stem to prevent stem rot.
Step 6: Fertilizing for Maximum Fruit Set
- Initial Feed: Mix 1 tbsp of balanced organic fertilizer (10‑10‑10) into the planting hole.
- Ongoing Feed: Every 3 weeks, apply a tomato‑specific fertilizer high in potassium (e.g., 5‑10‑15) at the recommended rate.
Data point: Studies show that potassium‑rich feeding increases fruit sugar content by 12%.
Step 7: Pruning and Training
For indeterminate varieties, pinch off the “suckers” (side shoots) that appear in the leaf axils. This directs energy to fruit production.
Actionable tip: Use clean pruning shears and remove suckers when they are 2–3 inches long.
Step 8: Pest Management
Monitor plants weekly for common pests such as aphids, whiteflies, and tomato hornworms.
- Biological control: Release ladybugs or use neem oil spray (2 ml per liter of water) every 7–10 days.
- Physical barriers: Install a floating row cover during the first month to deter insects.
Quick win: Hand‑pick hornworms early in the morning when they are most active.
Step 9: Harvesting
Cherry tomatoes are ready to pick when they turn fully red (or orange/yellow for specialty varieties) and detach easily with a gentle twist.
Tip: Harvest every 2–3 days to encourage continuous production; a single plant can yield up to 30 lb of fruit over a season.
DIY Upgrades to Boost Your Garden’s Efficiency
1. Build a Simple Rainwater Harvesting System
Collecting rainwater reduces water costs and provides a natural, chlorine‑free source. Install a 200‑gallon barrel with a mesh screen to filter debris. Connect a hose to the barrel’s spigot and use it to refill your drip system.
2. Create a DIY Compost Bin
Compost enriches soil with organic matter, improving water retention by up to 25% (University of Illinois). Use a three‑bin system: one for greens, one for browns, and a third for finished compost. Turn the pile weekly with a pitchfork.
3. Install Solar‑Powered LED Grow Lights
For early‑season planting, a 100‑watt LED panel placed 24 inches above seedlings extends daylight by 2–3 hours, accelerating germination by 15%.
Final Thoughts: Turn Tools into Results
Investing in the right tools and following a data‑driven, step‑by‑step approach transforms gardening from a hobby into a high‑yield, low‑effort endeavor. By selecting ergonomic hand tools, monitoring soil health, and employing proven DIY upgrades, you’ll enjoy healthier plants, larger harvests, and more time to savor the fruits of your labor. Start with the essential tools listed above, embark on the cherry tomato project, and watch your garden flourish—one well‑tended plant at a time.


