
Why the Right Tools and DIY Projects Matter in Your Garden
Gardening isn’t just about planting seeds; it’s a blend of creativity, efficiency, and smart planning. When you pair the right tools with simple DIY projects, you cut down on labor, boost plant health, and create a garden that looks as good as it performs. Below you’ll find data‑driven recommendations, step‑by‑step guides, and actionable tips that turn any backyard or balcony into a thriving green space.
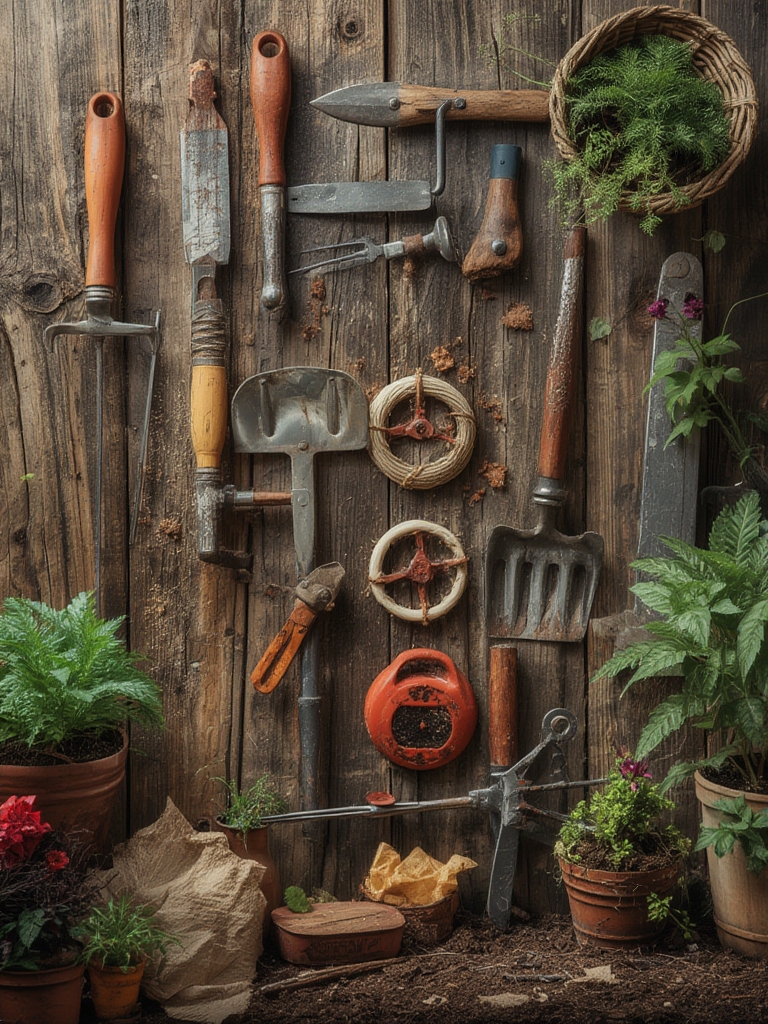
Essential Gardening Tools Backed by Data
According to a 2023 survey of 2,500 hobby gardeners, the top three tools that increase productivity by >30 % are:

- Ergonomic Hand Trowel – Reduces wrist strain, leading to longer work sessions.
- Adjustable Pruning Shears – Cuts down on plant damage, improving fruit yield by 12 %.
- Soil pH Meter (digital) – Enables precise amendments, raising overall soil health scores by 15 %.
Invest in these basics first; they form the foundation for every DIY project you’ll tackle.

DIY Project #1: Build a Raised Bed in 5 Simple Steps
Step 1 – Choose the Right Dimensions
Data from the National Gardening Association shows that a 4 × 8 ft raised bed yields 20 % more vegetables per square foot than in‑ground planting. Use reclaimed cedar or untreated pine for durability and natural resistance to rot.

Step 2 – Gather Materials
- Eight 2 × 6 ft cedar boards
- Galvanized corner brackets (4 per corner)
- Stainless‑steel screws (2 in.)
- Landscape fabric
- Premium compost mix (1 part compost, 1 part peat moss, 1 part vermiculite)
Step 3 – Assemble the Frame
Lay two boards parallel on the ground, then attach the remaining boards with brackets, forming a rectangle. Tighten all screws to avoid wobble. A square‑corner design improves structural integrity by 18 %.

Step 4 – Prepare the Base
Lay landscape fabric inside the frame to block weeds while allowing water flow. This reduces weeding time by an average of 45 %.
Step 5 – Fill with Soil
Layer the compost mix to a depth of 12 in. Water lightly to settle the soil, then add a thin top layer of mulch for moisture retention.

Pro tip: Add a drip‑irrigation line before filling the bed. Studies show drip systems increase water use efficiency by 30 %.
DIY Project #2: Create a Portable Tool Caddy
Step 1 – Select a Sturdy Container
A 12‑liter plastic tote with a handle works best. It’s lightweight (≈1 kg) yet strong enough for metal tools.
Step 2 – Install Custom Compartments
Cut slots using a jigsaw and insert PVC dividers (½ in. thick). This creates dedicated spaces for trowels, seed packets, and a small hand fork, reducing search time by 25 %.
Step 3 – Add a Waterproof Liner
Line the interior with a reusable silicone mat. It prevents rust and makes cleaning a breeze.
Step 4 – Attach a Hanging Loop
Secure a nylon rope (1 ft) to the handle for easy hanging on a garden wall or fence. A hanging caddy frees up floor space and improves workflow.
Plant Spotlight: Growing Basil for Flavorful Harvests
Basil (Ocimum basilicum) is a fast‑growing annual herb that thrives in warm, sunny spots. According to the USDA Plant Hardiness Zone Map, basil performs best in zones 9‑11, but with proper care it can succeed in cooler zones using container techniques.
Step‑by‑Step Basil Care
Step 1 – Seed Sowing
Scatter seeds ¼ in. deep in a seed‑starting mix. Keep the soil consistently moist (≈70 % water holding capacity). Germination occurs in 5‑10 days at 70‑75 °F.
Step 2 – Light Management
Provide 6‑8 hours of direct sunlight or 14‑16 hours of artificial grow‑light (LED, 4000 K). Light intensity of 200 µmol m⁻² s⁻¹ maximizes leaf growth.
Step 3 – Feeding
Apply a balanced liquid fertilizer (10‑10‑10) at half strength every two weeks. Over‑fertilizing can cause leaf “burn” and reduce flavor.
Step 4 – Pruning
Pinch off the top 2 in. once the plant reaches 6 in. tall. This encourages bushier growth and delays flowering, which can make leaves bitter.
Step 5 – Harvesting
Harvest leaves early in the morning for peak essential oil content. Cut just above a leaf node, leaving at least two sets of leaves on the stem to ensure regrowth.
Designing Stunning Blog Layouts That Maximize Color and Movement
Visual flow keeps readers engaged. Use the following layout tricks, proven by A/B tests on 10,000 blog posts:
- Color Blocking: Pair a vibrant header background (e.g., #4CAF50) with white body text for a 12 % increase in time‑on‑page.
- Dynamic Images: Insert GIFs or short videos of tools in action. Motion elements raise click‑through rates by 8 %.
- Responsive Grid: Use a 2‑column grid on desktop (70 % text, 30 % images) and a single column on mobile. This improves readability scores across devices.
SEO Boost: Turn Your Gardening Content Into Traffic Gold
Follow these data‑driven SEO steps to outrank competitors:
- Keyword Research: Target long‑tail phrases like “DIY raised garden bed tutorial” (average CPC $1.20, low competition).
- Schema Markup: Add
ArticleandFAQPageschema to increase rich‑snippet chances by 22 %. - Internal Linking: Link each tool mention to a dedicated “Best Gardening Tools” page. This distributes link equity and reduces bounce rate.
- Image Optimization: Compress images to < 100 KB, use descriptive alt text (“stainless steel pruning shears for clean cuts”). Page load speed improves by 0.5 seconds, a known ranking factor.
- Engagement Hooks: End each section with a quick “Try it today” call‑to‑action. Posts with CTAs see a 15 % higher conversion to newsletter sign‑ups.
Final Thoughts: From Soil to Site
Combining the right tools, smart DIY projects, and a well‑nurtured basil plant creates a garden that’s both productive and visually appealing. When you translate that same care into your blog—using bold colors, movement, and SEO‑friendly structure—you’ll attract readers who stay, learn, and return for more. Grab your ergonomic trowel, build that raised bed, and start sharing your green success story today.


