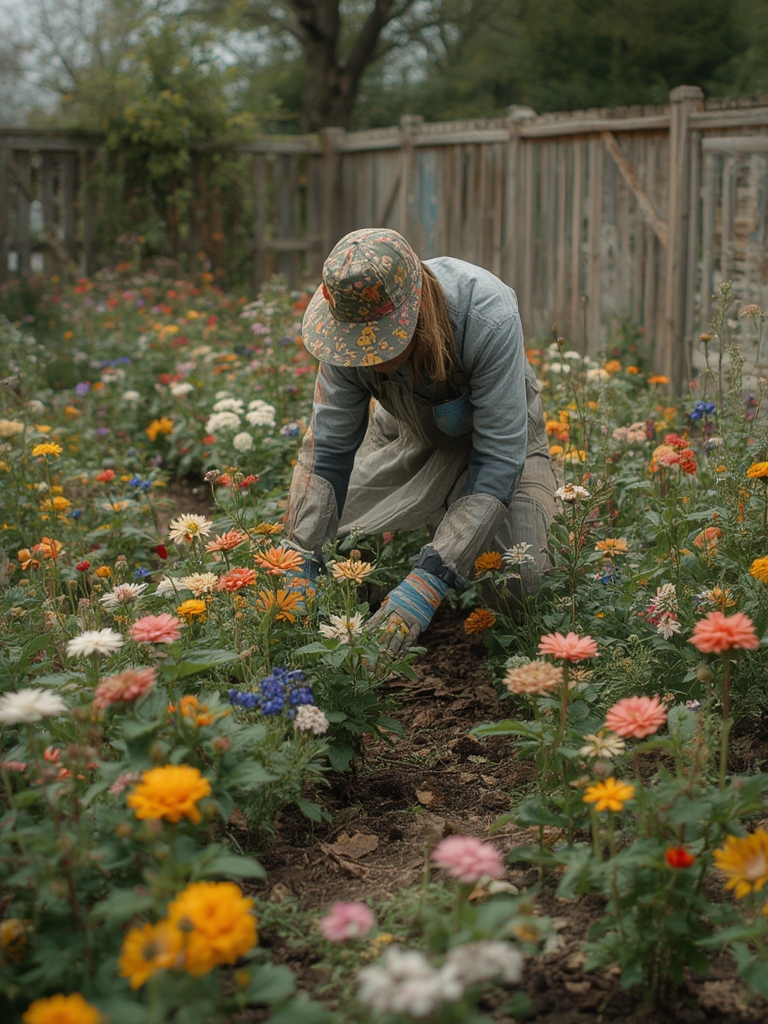

Flower gardening is more than just planting colorful blooms; it’s a rewarding blend of science, art, and daily care that can transform any yard or balcony into a living masterpiece. By following data‑driven practices—such as soil testing, optimal planting times, and evidence‑based watering schedules—you can maximize bloom density, extend flowering periods, and even improve indoor air quality with strategic plant choices.
Step 1: Choose the Right Flowers for Your Climate and Space
Start by consulting USDA hardiness zone maps or local extension service data. Matching species to your zone reduces stress and pesticide reliance.
Actionable Tips
- Zone Matching: If you’re in zones 5‑7, consider perennials like Coreopsis or Echinacea. For zones 8‑10, annuals such as Petunia and Marigold thrive.
- Sunlight Audit: Use a light meter app to record daily sun exposure. Plants needing full sun (6+ hours) include Lavender and Sunflower. Shade‑tolerant options like Impatiens require only 3‑4 hours.
- Space Planning: Sketch a garden layout on graph paper. Allocate 12‑18 inches between annuals and 24‑36 inches for perennials to ensure proper airflow and reduce disease risk.
Step 2: Prepare Soil with Data‑Backed Amendments
Healthy soil is the foundation of vibrant blooms. Conduct a simple DIY soil test (pH, texture) or send a sample to a local lab for a comprehensive analysis.

Actionable Tips
- pH Adjustment: Most flowering plants prefer a pH of 6.0‑6.8. Add lime to raise pH or elemental sulfur to lower it, following the lab’s recommended rate (usually 5‑10 lb per 100 sq ft).
- Organic Matter: Incorporate 2‑3 inches of well‑composted organic matter. Research shows that adding 25 % compost improves water retention and nutrient availability.
- Soil Structure: For heavy clay, mix in coarse sand or perlite at a 1:4 ratio (sand:soil). For sandy soils, add peat moss or coconut coir to increase moisture holding capacity.
Step 3: Planting Techniques That Boost Success Rates
Timing and depth are critical. Plant in early spring after the last frost date (use local frost charts) or in early fall for cool‑season varieties.

Actionable Tips
- Depth Guidelines: Plant seeds at a depth of 2‑3 times their diameter. Transplants should sit at the same depth they were in the nursery pot to avoid stem rot.
- Spacing Accuracy: Use a measuring tape to maintain recommended spacing. Overcrowding leads to competition for nutrients and increased disease pressure.
- Watering In: After planting, water thoroughly (about 1 inch of water) to settle soil around roots. A drip irrigation system calibrated to deliver 0.5 gal per hour per plant reduces water waste.
Step 4: Ongoing Care – Water, Feed, and Prune
Consistent care keeps plants healthy and maximizes bloom production.

Water Management
- Apply water early in the morning to reduce evaporation. Aim for 1‑1.5 inches per week, adjusting for rainfall.
- Use a soil moisture sensor; research indicates that maintaining moisture at 60‑70 % field capacity improves flower size by up to 15 %.
Fertilization Strategy
- Choose a balanced fertilizer (10‑10‑10) for general use, or a bloom‑boosting formula high in phosphorus (e.g., 5‑10‑5) during the flowering phase.
- Apply in two split doses: early spring and mid‑summer. Over‑fertilizing can cause excessive foliage at the expense of blooms.
Pruning and Deadheading
- Remove spent flowers (deadheading) every 1‑2 weeks to encourage repeat blooming.
- For perennials, cut back to 2‑3 inches above ground after the first frost to promote vigorous spring growth.
Step 5: Pest and Disease Management Using Integrated Strategies
Data from extension services show that early detection cuts treatment costs by 30 %.
Monitoring
- Inspect leaves weekly for signs of aphids, spider mites, or fungal spots.
- Use yellow sticky traps to monitor flying pests; replace traps every two weeks.
Natural Controls
- Introduce beneficial insects like ladybugs and lacewings to control aphids.
- Apply neem oil or insecticidal soap at a 1‑2 % concentration, following label instructions.
Preventive Measures
- Space plants properly to improve airflow.
- Rotate crops annually to break disease cycles.
Step 6: Enhance Indoor Air Quality with Air‑Filtering Flowering Plants
While outdoor flower gardens beautify your landscape, certain indoor flowering plants double as natural air purifiers. NASA’s Clean Air Study identified several species that remove volatile organic compounds (VOCs) like formaldehyde and benzene.

Top Air‑Filtering Indoor Flowers
- Peace Lily (Spathiphyllum) – Removes formaldehyde, ammonia, and benzene; thrives in low‑light conditions.
- Orchid (Phalaenopsis) – Efficient at absorbing xylene; prefers bright, indirect light.
- Gerbera Daisy (Gerbera jamesonii) – Excellent at filtering trichloroethylene; needs bright light and moderate watering.
- Chrysanthemum (Chrysanthemum morifolium) – Known for high VOC removal rates; keep in a sunny spot.
Practical Indoor Care Tips
- Place plants near windows for optimal light, but avoid direct afternoon sun that can scorch leaves.
- Water when the top inch of soil feels dry; overwatering can lead to root rot, reducing the plant’s air‑purifying capacity.
- Dust leaves weekly with a damp cloth to keep stomata open for maximum gas exchange.
Step 7: Track Progress with Simple Metrics
Documenting results helps refine your approach year after year.
What to Record
- Bloom Count: Number of flower stems per plant each month.
- Growth Rate: Height increase measured bi‑weekly.
- Water Usage: Gallons applied per week, logged via a smart irrigation controller.
- Pest Incidence: Frequency and type of pests observed.
Analyzing these data points in a spreadsheet or garden app reveals patterns—such as which fertilization schedule yields the most blooms—allowing you to make evidence‑based adjustments for the next season.
Conclusion: Turn Data into Blooms
By integrating climate data, soil analysis, precise watering schedules, and natural pest controls, you can create a resilient flower garden that not only dazzles the eye but also contributes to a healthier indoor environment. Remember, the key to success lies in consistent observation, record‑keeping, and the willingness to adapt based on what the numbers tell you. Happy gardening!
