
Whether you’re a seasoned green thumb or just starting out, the right tools and a few clever DIY projects can transform a modest plot into a thriving garden oasis. In this guide we’ll walk through essential gardening tools, step‑by‑step care for a popular, easy‑to‑grow plant—tomatoes—and sprinkle in affordable lighting ideas that add ambience after sunset. Each section includes practical tips and small actions you can take today to boost your garden’s health and visual appeal.
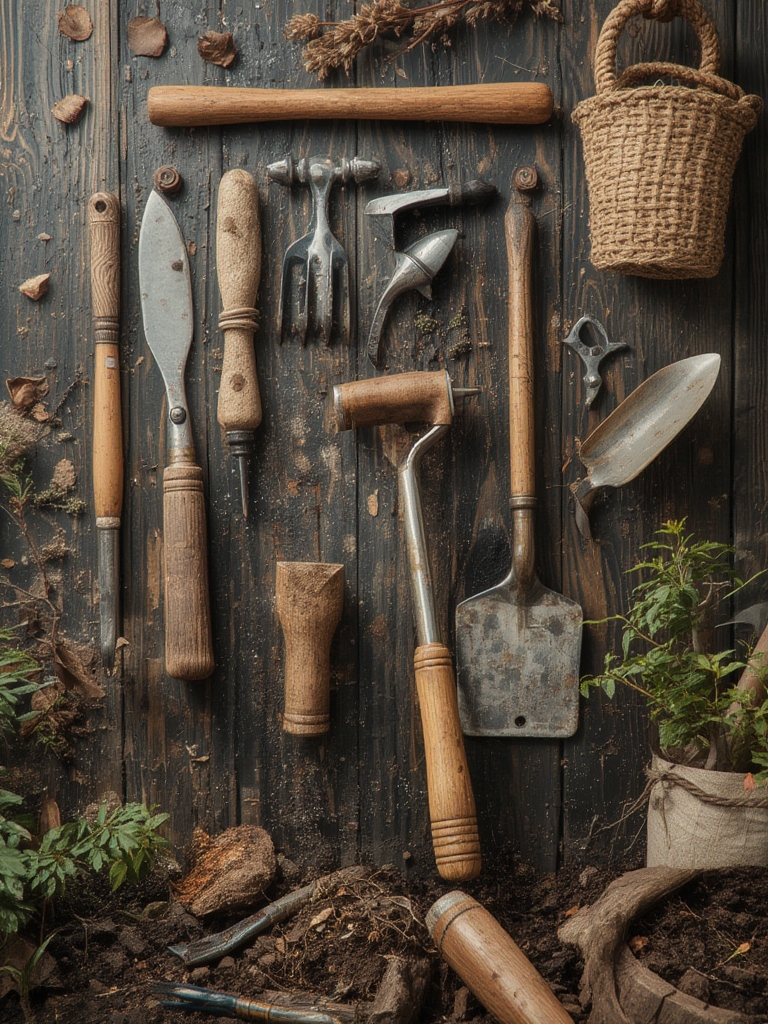
Essential Gardening Tools for Every DIY Gardener
1. Hand Trowel
A sturdy hand trowel is the workhorse for planting, transplanting, and soil amendment. Choose a stainless‑steel blade with a comfortable, non‑slip grip. Tip: Keep the blade clean after each use to prevent soil‑borne diseases from spreading.

2. Pruning Shears (Secateurs)
Sharp, bypass‑type pruning shears are ideal for cutting stems cleanly, which promotes faster healing. Look for a model with a safety lock and ergonomic handles. Action: Sharpen the blades monthly with a fine‑grade sharpening stone to maintain precision.

3. Garden Fork & Spade
A sturdy garden fork loosens compacted soil, while a spade creates clean edges for beds and pathways. Opt for carbon‑steel heads for durability. Tip: Soak the fork in warm water before digging heavy clay to reduce resistance.

4. Watering Can or Hose with Adjustable Nozzle
Consistent moisture is key for most vegetables. A watering can with a rose attachment provides gentle, even coverage for seedlings. If you use a hose, an adjustable nozzle lets you switch from a fine mist to a strong jet. Action: Water early in the morning to minimize evaporation and fungal risk.

5. Soil Test Kit
Understanding pH and nutrient levels helps you amend soil accurately. A simple color‑change kit gives results in minutes. Tip: Test soil at three points in each bed and average the readings for a true picture.
Step‑by‑Step Guide to Growing Juicy Tomatoes
Tomatoes are a garden favorite because they’re relatively low‑maintenance yet reward you with abundant harvests. Follow these data‑driven steps for a bumper crop.

Step 1: Choose the Right Variety
Based on USDA hardiness zones, select varieties that match your climate. For zones 5‑7, Early Girl and Roma perform well; for warmer zones 8‑10, try Sun Gold or Brandywine. Action: Write the variety name on a garden marker to track performance over seasons.
Step 2: Prepare the Soil
- Incorporate 2–3 inches of compost to improve structure and organic matter.
- Add 1 lb of balanced 10‑10‑10 fertilizer per 10 sq ft, mixing it thoroughly.
- Adjust pH to 6.2–6.8 using lime (to raise) or elemental sulfur (to lower) based on your soil test.
Tip: Use a garden fork to work amendments 12 inches deep, creating a loose, airy medium for root expansion.
Step 3: Planting
Space seedlings 24–36 inches apart in rows 48 inches apart. Plant them deep—up to the first set of true leaves—so that additional stems develop from the buried stem, strengthening the plant.
Action: Water immediately after planting with a slow‑release drip emitter to keep the root zone moist without splashing foliage.
Step 4: Support and Pruning
Install sturdy cages or stakes at planting time. As the plant grows, remove “suckers” (the small shoots that appear in the leaf axils) to direct energy to fruit production.
Tip: Prune early in the morning when the plant is hydrated; this reduces stress and encourages rapid healing.
Step 5: Watering & Feeding
Maintain consistent soil moisture—about 1–1.5 inches of water per week. Use a mulch layer (straw or shredded bark) to retain moisture and suppress weeds.
Feed every 2–3 weeks with a tomato‑specific fertilizer high in potassium (e.g., 5‑10‑10) to promote fruit set.
Action: Set a timer on your drip system to deliver 15‑minute cycles, ensuring even distribution.
Step 6: Harvest
Harvest when fruits are fully colored and slightly soft to the touch. Regular picking encourages the plant to produce more fruit.
Tip: Use garden scissors instead of pulling to avoid damaging the vine.
DIY Garden Lighting Projects on a Budget
Even the most productive garden looks magical after dark with the right lighting. Below are three affordable projects that add ambience without breaking the bank.
Project 1: Solar String Lights Along Pathways
- Purchase a 10‑meter roll of solar‑powered LED string lights (warm white, 8‑12 lumens per bulb).
- Stake the lights into the soil at 30‑cm intervals, following the edge of your garden path.
- Place the solar panel in a sunny spot, preferably on a low wall or garden bench.
Tip: Use zip ties to secure the cord to a low fence for a tidy look and to keep the lights off the ground where they could be tripped over.
Project 2: Mason Jar Lanterns
- Gather 4–6 clean mason jars, a small LED tealight, and a piece of burlap or decorative paper.
- Insert the LED tealight into each jar and wrap the outside with burlap, securing with a rubber band.
- Hang the jars from sturdy hooks or stake them into the ground at varying heights.
Action: Position the lanterns near seating areas to create a cozy glow for evening gatherings.
Project 3: Upcycled PVC Spotlights
- Cut a length of 1‑inch PVC pipe (about 60 cm) and drill a series of small holes along one side.
- Insert a waterproof LED strip into the pipe, securing it with silicone sealant.
- Plug the LED strip into a low‑voltage transformer and mount the pipe on a stake aimed at a focal plant or garden sculpture.
Tip: Choose a warm‑white LED (2700 K) for a soft, inviting ambience, and adjust the hole spacing to control light diffusion.
Putting It All Together: A Weekly Garden Routine
Consistency is the secret sauce for a thriving garden and a well‑lit outdoor space. Here’s a simple weekly checklist that incorporates tool maintenance, tomato care, and lighting upkeep.
- Monday: Inspect soil moisture levels; water tomatoes using the drip timer.
- Tuesday: Prune tomato suckers and check for pests; clean hand trowel and pruning shears.
- Wednesday: Mulch beds and replenish compost if needed; test solar panel orientation.
- Thursday: Harvest ripe tomatoes; replace any dead LED bulbs in lanterns.
- Friday: Rotate garden tools to prevent wear; tighten PVC spotlight fixtures.
- Saturday: Light‑maintenance day—wipe down all tools, sharpen shears, and clean solar panels.
- Sunday: Relax and enjoy your garden’s evening glow, noting any areas that could use a lighting tweak.
By following these steps, using the right tools, and adding a touch of DIY lighting, you’ll cultivate not only a bountiful tomato harvest but also a garden that feels welcoming from sunrise to starlight. Happy gardening!


