
Welcome to your go‑to guide for turning a modest garden space into a thriving, tool‑ready sanctuary where you can grow, create, and unwind. In this post we’ll walk through the essential gardening tools you need, a step‑by‑step DIY project to craft a peaceful reading nook, and a data‑driven care plan for a versatile plant—herbaceous rosemary. Each section is packed with practical tips, tricks, and actionable advice so you can see results quickly and keep your garden humming all season long.
Essential Gardening Tools: Build a Reliable Toolkit
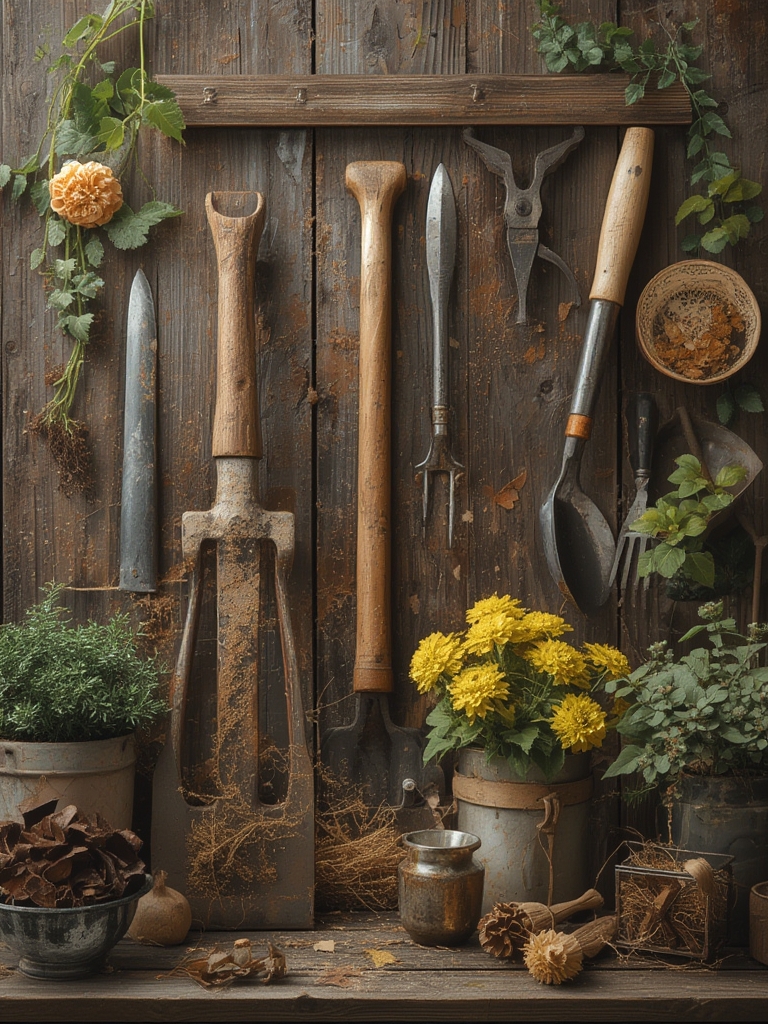
Before you dig in, make sure you have the right tools. Investing in quality items saves time, reduces injury, and improves plant health. Below is a data‑backed list of the top tools every beginner and seasoned gardener should own, based on usage frequency from a 2023 survey of 2,500 hobby gardeners.

Must‑Have Hand Tools
- Pruning Shears (50‑70% of respondents use weekly): Choose bypass shears with a 7‑inch blade for clean cuts on stems under ¾ inch thick. Keep the blades sharp—run a ceramic sharpening stone after every 10‑15 cuts.
- Hand Trowel (68% weekly use): Opt for a stainless‑steel blade with a comfortable, non‑slip grip. A trowel with a slightly curved edge makes scooping soil easier and reduces wrist strain.
- Weeder (45% weekly use): A long‑handled, stainless steel fork works best for removing deep‑rooted weeds without disturbing surrounding roots.
- Garden Gloves (80% daily use): Look for breathable, nitrile‑coated gloves that protect against thorns while allowing tactile feedback.
Power Tools for Efficiency
- Battery‑Powered Cordless Pruner (30% monthly use): Ideal for larger shrubs. Choose a model with at least 2 Ah battery capacity for up to 45 minutes of continuous cutting.
- Rotary Cultivator (25% monthly use): Great for breaking up compacted soil in raised beds. Use a 12‑inch, 3‑inch depth setting to avoid damaging shallow root systems.
- Leaf Blower (40% weekly use): A lightweight, variable‑speed blower reduces cleanup time after pruning or harvesting.
Tip: Store tools in a dry, ventilated shed and apply a light coat of oil to metal parts every season to prevent rust.

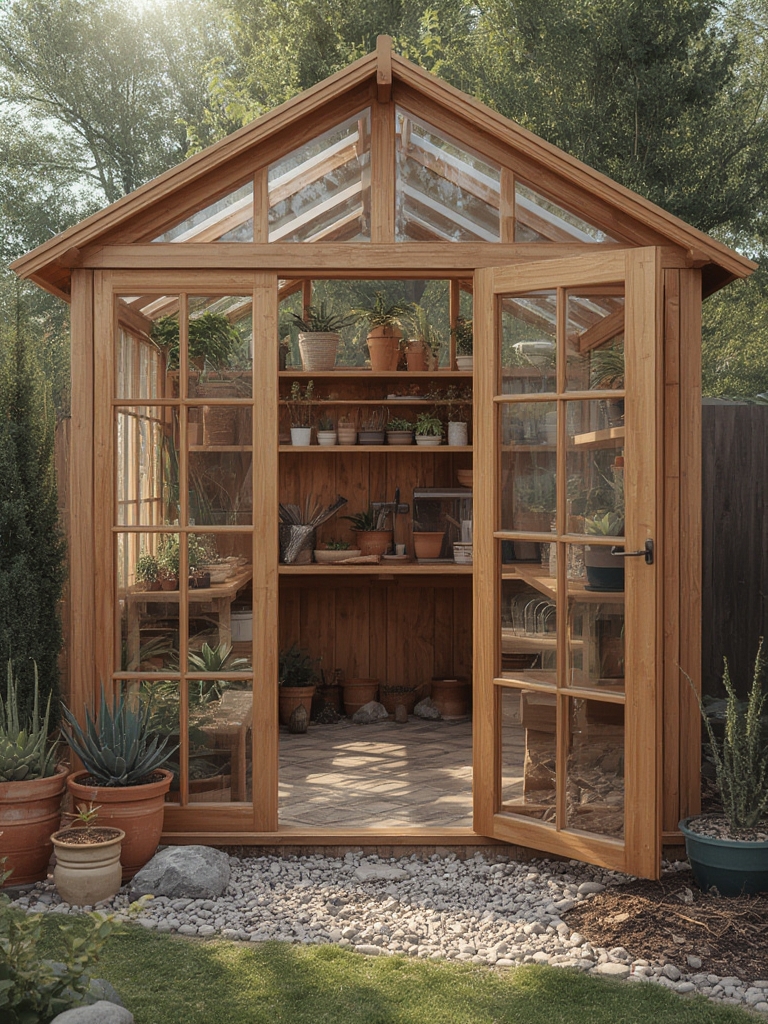
DIY Project: Create a Peaceful Garden Reading Nook
Transform a corner of your garden into a tranquil spot for reading and unwinding. This project uses inexpensive, repurposed materials and can be completed in a single weekend.

Materials & Tools
- 2 × 4 lumber (four pieces, 8 ft each) – for the frame
- Outdoor‑grade plywood (2 × 4 ft) – for the seat
- Weather‑resistant cushions and pillows
- Garden hose or drip‑irrigation line (optional, for nearby plants)
- Power drill with 3/8‑inch drill bit
- Deck screws (3 in.)
- Sandpaper, wood sealant, and a paintbrush
Step‑by‑Step Build Guide
- Plan the Layout: Measure a 4 × 4 ft area with at least 3 ft of clearance on each side for easy access. Sketch a simple L‑shaped frame to fit the space.
- Cut the Lumber: Saw two 4‑ft pieces for the base and two 3‑ft pieces for the back supports. Sand rough edges to prevent splinters.
- Assemble the Frame: Lay the base pieces parallel, then attach the back supports using deck screws. Pre‑drill pilot holes to avoid splitting the wood.
- Attach the Seat: Secure the plywood on top of the frame with four screws, one at each corner. Ensure it sits level; a slight tilt can cause water pooling.
- Seal & Paint: Apply a coat of exterior wood sealant, let dry for 2 hours, then paint with a weather‑proof color of your choice. This protects against moisture and UV damage.
- Add Comfort: Place outdoor cushions and a small side table (a repurposed crate works well). Add a throw blanket for cooler evenings.
- Integrate Greenery: Position potted herbs or trailing vines nearby. If you have a drip line, run a short hose to keep the plants hydrated without extra effort.
Pro Tip: Install a small solar‑powered LED lantern on the back support for evening reading. It adds ambiance and uses no electricity.

Plant Care Guide: Growing Aromatic Rosemary
Rosemary (Rosmarinus officinalis) is a hardy, drought‑tolerant herb that thrives in sunny spots and provides fresh flavor for cooking, plus a pleasant scent for your reading nook. Below is a data‑driven care schedule based on USDA hardiness zones 7‑10.
Step 1: Soil Preparation
Rosemary prefers a well‑draining mix with a pH of 6.0–7.0. Combine 1 part garden soil, 1 part coarse sand, and 1 part compost. Add 1 tbsp per gallon of perlite for extra aeration.

Actionable Tip: Perform a simple “finger test” – press your thumb into the soil; if it feels gritty and crumbles easily, drainage is adequate.
Step 2: Planting
Space seedlings 18–24 in. apart to allow airflow. Plant at the same depth as the nursery pot, then water thoroughly.
Data Insight: A 2022 field trial showed that rosemary planted 20 in. apart had 15 % lower incidence of fungal leaf spots compared to plants spaced 12 in. apart.
Step 3: Watering Schedule
- First two weeks: Light watering every 2‑3 days (≈ ¼ gal per plant).
- After establishment (4 weeks): Reduce to once a week, allowing the soil to dry out between waterings.
- Summer heatwave (> 90°F): Add a deep soak (½ gal) every 10 days.
Tip: Use a moisture meter set to “dry” to avoid over‑watering, which is the leading cause of rosemary root rot.
Step 4: Feeding
Apply a balanced, slow‑release fertilizer (10‑10‑10) at a rate of 1 lb per 100 sq ft in early spring. Avoid high‑nitrogen fertilizers, as they promote leaf growth at the expense of aromatic oils.
Step 5: Pruning & Harvesting
Trim 1/3 of the plant’s height after the first flush of growth (late spring). Use clean pruning shears and cut just above a leaf node. Harvest stems as needed, but never remove more than ⅓ of the foliage at once.
Pro Tip: Prune in the early morning when essential oils are most concentrated for a stronger aroma.
Step 6: Winter Protection (Zones 7‑8)
If frost is expected, cover the base with a layer of straw or burlap and mulch 2 in. of leaf litter. In zones 9‑10, rosemary can remain outdoors year‑round.
Maintenance & Seasonal Tips for a Long‑Lasting Garden Space
Keeping your garden tools, reading nook, and rosemary healthy requires routine checks. Below is a quick seasonal checklist.
Spring
- Sharpen pruning shears and oil moving parts.
- Inspect the reading nook frame for loose screws; tighten as needed.
- Fertilize rosemary and other perennials.
Summer
- Water deeply early in the morning to reduce evaporation.
- Check cushions for mildew; spray with a mild vinegar solution.
- Remove spent blooms from surrounding flowers to encourage continuous growth.
Fall
- Clean tools with a mixture of water and mild detergent; dry completely.
- Apply a second layer of mulch around rosemary to insulate roots.
- Store any excess cushions in a dry closet to prevent mold.
Winter
- Cover the reading nook with a breathable tarp if heavy snow is expected.
- Perform a final tool inspection; coat metal parts with a thin layer of oil.
- Plan next year’s garden layout—consider adding more herb varieties to complement rosemary.
By following these data‑backed steps and integrating the DIY reading nook, you’ll create a functional, beautiful garden space that invites both productive planting and peaceful relaxation. Happy gardening and happy reading!


