
Flower gardening is more than just planting pretty blooms; it’s a rewarding blend of science, art, and sustainable practice. By following data‑driven steps and embracing chemical‑free protection, you can create a vibrant, resilient garden that attracts pollinators, boosts curb appeal, and reduces maintenance time. Below is a comprehensive, easy‑to‑follow guide that walks you through site selection, soil preparation, planting, ongoing care, and eco‑friendly pest management. Each step includes actionable tips you can implement today, ensuring your flower garden thrives season after season.
1. Choose the Right Location and Flowers
Assess Sunlight and Microclimate
Use a sunlight meter or a simple smartphone app to log the amount of direct sun each potential spot receives over a week. Most flowering plants need 6–8 hours of full sun. Record temperature fluctuations, wind exposure, and nearby shade sources (e.g., trees or walls). This data helps you match plant light requirements to the site, reducing stress and boosting bloom production.
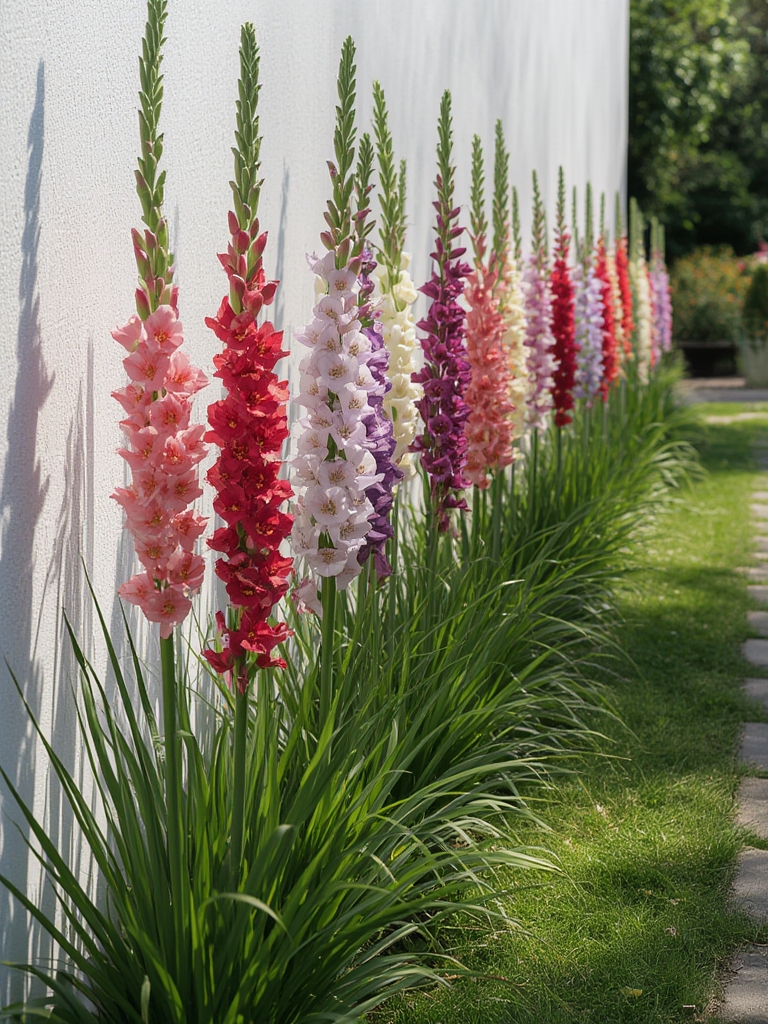
Select Climate‑Appropriate Species
Consult USDA Hardiness Zone maps (or your local extension service) to pick varieties that naturally thrive in your region. For example, Lavandula angustifolia (English lavender) excels in zones 5‑9, while Impatiens walleriana prefers zones 9‑11. Choosing native or well‑adapted species cuts water use and eliminates the need for chemical interventions.

2. Prepare Soil for Optimal Growth
Test and Amend Soil
Collect soil samples from 6‑8 inches deep at three points in your garden bed. Send them to a local lab or use a home test kit to measure pH, organic matter, and nutrient levels (N‑P‑K). Aim for a pH of 6.0‑6.5 for most flowers. If the pH is off, amend with lime (to raise) or elemental sulfur (to lower) according to the lab’s recommendations.

Incorporate Organic Matter
Based on test results, blend in 2–3 inches of well‑rotted compost or aged manure. This improves soil structure, water retention, and beneficial microbial activity. For a data‑backed approach, calculate the carbon‑to‑nitrogen (C:N) ratio of your compost; a ratio around 25:1 is ideal for flower beds.

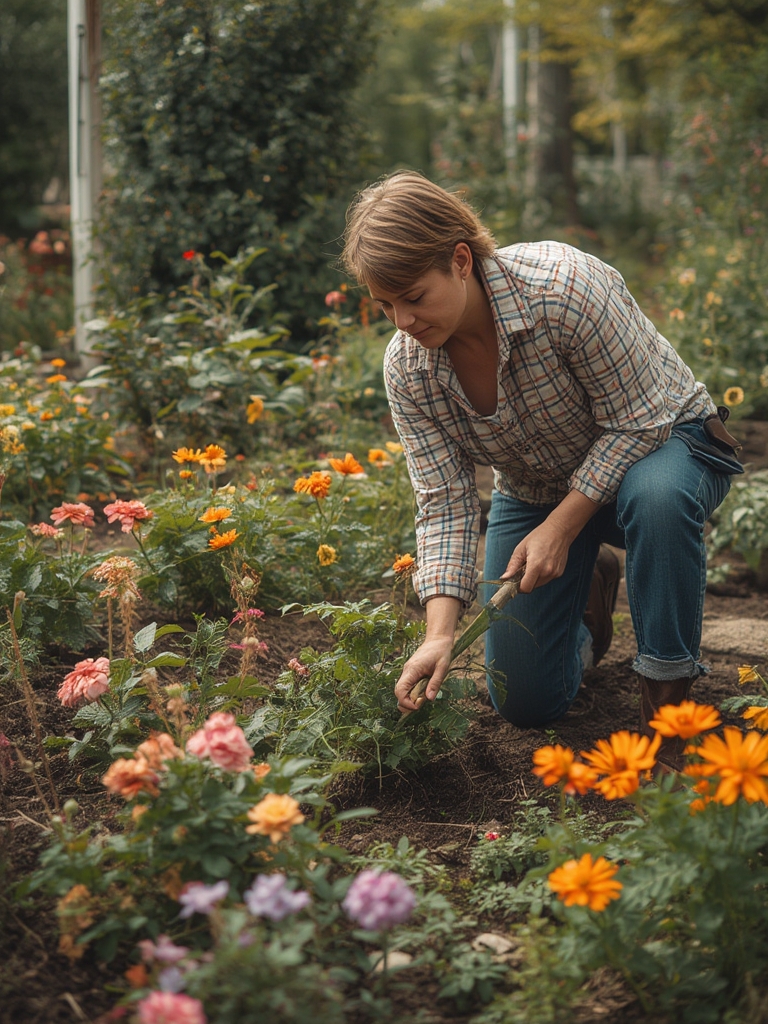
3. Planting Techniques for Strong Starts
Timing and Spacing
Plant in early spring after the last frost date (check local frost calendars). Space plants according to label recommendations—typically 12‑18 inches apart for medium‑sized perennials. Use a garden planner spreadsheet to map out rows and ensure adequate airflow, which reduces disease risk.
Depth and Root Care
Dig a hole twice as wide and the same depth as the root ball. Gently tease out tangled roots and trim any that appear dead or excessively long. Place the plant so the crown sits just above soil level; backfill with a mix of native soil and compost, firming lightly to eliminate air pockets.

4. Ongoing Care: Watering, Feeding, and Pruning
Smart Watering Strategies
Install a drip‑irrigation system with a timer set to deliver 1‑1.5 inches of water per week, adjusted for rainfall. Use a soil moisture sensor to verify that the top 2 inches of soil stay consistently moist but not soggy. Mulch with 2–3 inches of shredded bark or straw to conserve moisture and suppress weeds.
Fertilization Based on Growth Stage
Apply a balanced, slow‑release organic fertilizer (e.g., 10‑10‑10) at planting time. After the first flush of blooms, side‑dress with a nitrogen‑rich amendment like blood meal to support foliage growth. Follow a calendar: fertilize every 6–8 weeks during the active growing season, reducing frequency in fall.
Pruning for Longevity
Deadhead spent flowers weekly to encourage repeat blooming. For woody perennials, perform a light pruning in early spring—remove 20‑30% of the oldest stems to stimulate new growth. Record pruning dates in a garden journal to track which techniques yield the most abundant displays.
5. Protect Your Garden with Safe, Chemical‑Free Strategies
Physical Barriers and Companion Planting
Install floating row covers to deter insects while allowing light and air flow. Plant pest‑repellent companions such as marigolds, garlic, or nasturtiums around vulnerable species; research shows these plants emit compounds that confuse aphids and beetles.
Biological Controls
Introduce beneficial insects like ladybugs, lacewings, and predatory nematodes. Purchase them from reputable suppliers and release them according to package instructions—typically in the early morning or late evening when temperatures are cooler.
Organic Sprays and Soil Treatments
For fungal issues, apply a homemade neem oil spray (1 tsp neem oil + 1 tsp mild liquid soap per quart water) every 7–10 days. To combat soil‑borne pathogens, incorporate a handful of powdered diatomaceous earth into the topsoil annually. Both methods are non‑toxic to humans, pets, and pollinators.
6. Monitoring Success and Adjusting Practices
Track Growth Metrics
Use a simple spreadsheet to log plant height, bloom count, and any pest observations weekly. Correlate these metrics with weather data (temperature, rainfall) to identify patterns. Over time, this data will reveal which varieties perform best and which care adjustments yield the highest return on effort.
Seasonal Clean‑Up
At the end of the growing season, cut back all foliage to the ground and remove debris to reduce overwintering disease sources. Add the plant material to a compost pile (avoid diseased tissue) and apply a thin layer of compost over the beds before winter. This replenishes nutrients and prepares the soil for the next cycle.
By following these data‑driven steps and embracing chemical‑free protection, you’ll cultivate a flower garden that not only looks stunning but also supports a healthy ecosystem. Consistent monitoring, smart amendments, and sustainable practices are the keys to long‑term success—so grab your tools, plant those seeds, and watch your garden bloom with confidence.
