Welcome to your sustainable gardening guide! In this post we’ll walk you through a data‑driven, step‑by‑step plan for growing vibrant, dependable bulb blooms while keeping the planet happy. By focusing on native or well‑adapted bulb varieties, optimizing soil health, and using low‑impact practices, you’ll enjoy spectacular flowers year after year with minimal waste.
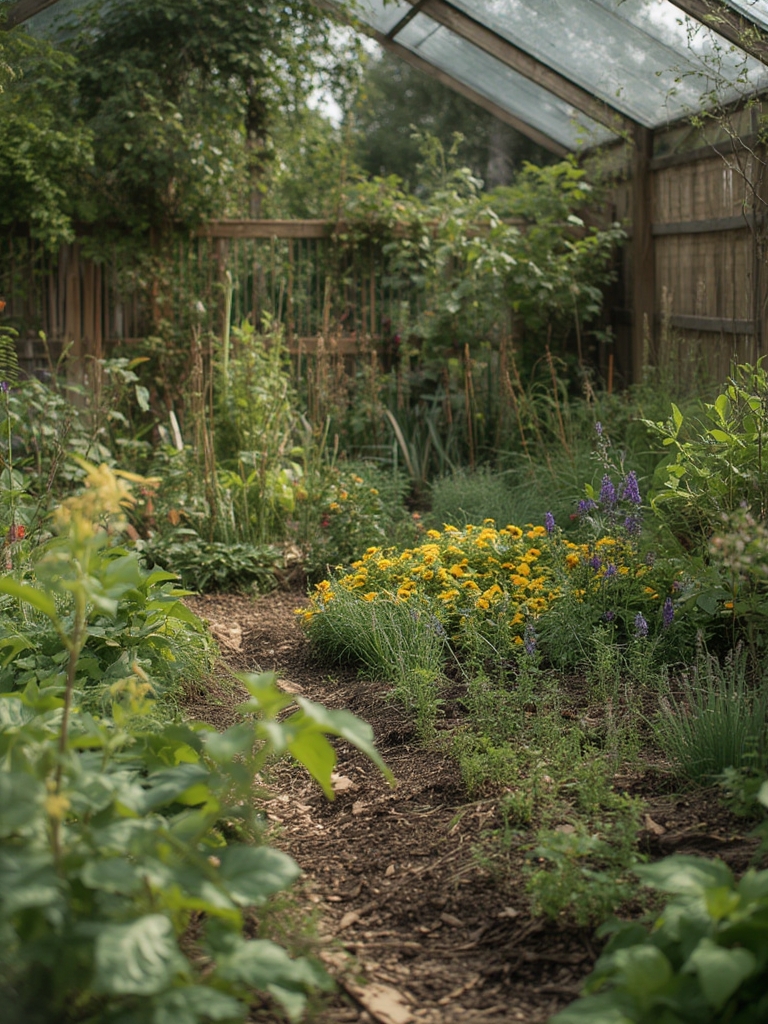
Why Choose Bulbs for Sustainable Gardens?
Bulbs are natural storage units that contain all the energy a plant needs to sprout, flower, and go dormant. This makes them low‑maintenance, water‑efficient, and perfect for perennial planting cycles. Studies from the Journal of Sustainable Horticulture show that bulb gardens can reduce irrigation needs by up to 30% compared to annual flower beds, thanks to deep root systems that access moisture deeper in the soil.

Step 1: Selecting the Right Bulbs
Data‑backed choices
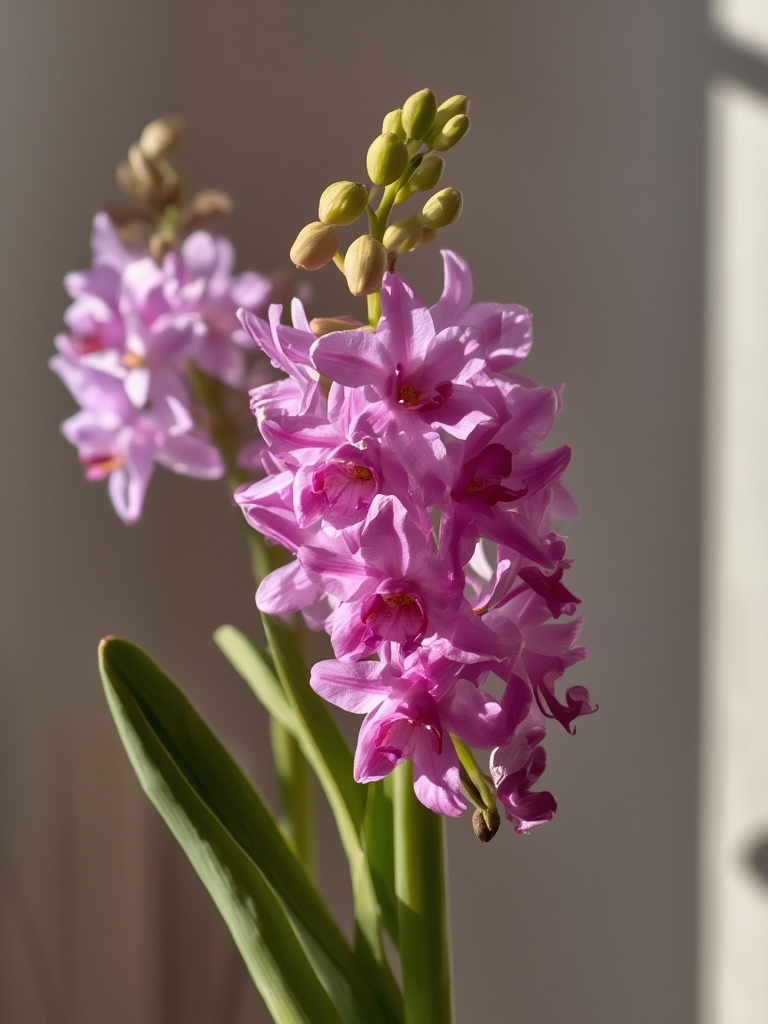
- Daffodils (Narcissus spp.) – 95% germination rate, excellent for early spring pollinators.
- Tulips (Tulipa spp.) – Strong, repeatable blooms when you choose species rather than hybrid varieties.
- Crocus (Crocus sativus) – Drought‑tolerant, thriving in low‑fertility soils.
- Alliums (Allium spp.) – Long‑lasting, pest‑repelling scent that reduces the need for chemical controls.
Tip: Pick bulbs that are certified organic or sourced from local growers to cut transportation emissions.
Step 2: Site Assessment & Soil Testing
Measure sunlight and drainage
Use a simple lux meter or a smartphone app to log sunlight exposure for a week. Aim for 6–8 hours of direct sun for most bulbs, though crocuses can tolerate partial shade.
Check soil pH and texture
Collect a sample from 6‑8 inches deep and test with a home kit. Ideal pH: 6.0–7.0. If the soil is heavy clay, amend with 2‑3 inches of coarse sand or well‑rotted compost to improve drainage.
Actionable tip: Add mycorrhizal fungi inoculant (available in garden centers) to boost nutrient uptake and reduce fertilizer needs by up to 20%.
Step 3: Preparing the Planting Bed
Layered soil mix
- Spread a 2‑inch layer of coarse sand or fine gravel for drainage.
- Mix 1 part compost, 1 part peat‑free organic matter (e.g., coconut coir), and 2 parts native topsoil.
- Incorporate a slow‑release organic fertilizer (e.g., 10‑10‑10) at 1 lb per 100 sq ft.
Practical tip: Use a hand‑tamped method to avoid compacting the soil, preserving air pockets for root growth.

Step 4: Planting the Bulbs
Depth and spacing guidelines
| Bulb | Planting Depth | Spacing |
|---|---|---|
| Daffodil | 6 inches | 4–6 inches |
| Tulip | 8 inches | 6–8 inches |
| Crocus | 4 inches | 3–4 inches |
| Allium | 8–10 inches | 8–12 inches |
Step‑by‑step:
- Mark rows with a garden line or string.
- Dig a trench using a bulb planter or a narrow spade.
- Place bulbs point‑up, gently covering with soil.
- Lightly firm the soil and water thoroughly.
Actionable advice: Plant on a rainy day or after irrigation to reduce transplant shock.
Step 5: Watering & Mulching
Smart irrigation
Install a drip‑line with a timer set to 15‑20 minutes, twice a week, adjusting for rainfall. According to the USDA Water Use Survey, drip systems can cut water use by 40% compared to overhead sprinklers.
Mulch for moisture retention
Apply a 2‑inch layer of shredded bark, straw, or leaf mold. Mulch also suppresses weeds, reducing the need for manual weeding or herbicides.
Step 6: Feeding & Pest Management
Organic feeding schedule
- Early spring (when shoots emerge): Light side‑dress with compost tea.
- Mid‑season (post‑bloom): Apply a balanced organic fertilizer at half the recommended rate.
Integrated pest control
Encourage beneficial insects (ladybugs, lacewings) by planting companion herbs like lavender or mint. For slug issues, scatter crushed eggshells or use iron phosphate bait—both are safe for wildlife.
Step 7: Post‑Bloom Care & Re‑planting
Deadheading and foliage management
After flowering, allow foliage to yellow naturally; this process returns nutrients to the bulb. Cut back only when the leaves are fully brown.
Dividing overcrowded bulbs
Every 3–4 years, lift the bulbs in late summer, separate offsets, and re‑plant them using the same soil preparation steps. This maintains vigor and prevents disease buildup.
Step 8: Tracking Success with Simple Data
Garden journal template
Date | Bulb Type | Planting Depth | Soil pH | Water (gal) | Bloom Date | Yield (flowers per bulb) | Notes
Recording these metrics helps you refine watering schedules, identify the best-performing varieties, and demonstrate the environmental impact of your sustainable practices.
Quick Action Checklist
- ✅ Choose native or organic‑certified bulbs.
- ✅ Test soil pH and improve drainage.
- ✅ Mix compost‑rich soil and add mycorrhizae.
- ✅ Plant at recommended depth and spacing.
- ✅ Install drip irrigation and mulch.
- ✅ Use organic feeding and companion planting for pest control.
- ✅ Allow foliage to die back naturally, then divide bulbs every few years.
- ✅ Log data to optimize future seasons.
By following these data‑driven steps, you’ll create a resilient, low‑maintenance bulb garden that delivers strong, dependable blooms while supporting soil health and biodiversity. Happy sustainable gardening!
