Creating a thriving herbs & aromatic garden is a rewarding blend of science, sensory delight, and a dash of seasonal flair. By focusing on data‑driven choices—soil pH, sunlight hours, and hardiness zones—you can design a garden that not only smells amazing but also delivers consistent yields year after year. Below you’ll find a step‑by‑step roadmap, peppered with practical tips, that will guide both beginners and seasoned growers from planning to the final harvest, all while keeping your garden vibrant as the days grow cooler.
Why Herbs & Aromatic Gardens?
Health, culinary, and ecological benefits
Research from the USDA indicates that well‑maintained herb beds can improve soil organic matter by up to 15 % and attract beneficial insects that reduce pest pressure on neighboring crops. Culinary-wise, fresh herbs retain up to 90 % of their essential oils when harvested correctly, delivering richer flavor than dried alternatives. Moreover, aromatic plants such as lavender, rosemary, and thyme release volatile compounds that have been shown in controlled studies to lower perceived stress levels in garden visitors.
Getting Started: Soil, Light, and Site Selection
1. Test and amend your soil
- Use a simple home test kit or send a sample to a local extension office. Aim for a pH between 6.0‑7.0 for most herbs.
- If the pH is low, incorporate
limeat the recommended rate (usually 2‑4 lb per 100 sq ft). For high pH, add elementalsulfuror peat moss. - Mix in 2‑3 inches of well‑rotted compost to boost microbial activity and improve drainage.
2. Choose the right light exposure
- Most culinary herbs need 6‑8 hours of full sun. Use a sun‑tracking app to confirm daily exposure.
- For partially shaded aromatics like mint or lemon balm, select a spot with morning sun and afternoon shade.
3. Plan the layout
- Space herbs 12‑18 inches apart to allow air circulation—this reduces fungal issues by up to 30 % according to university extension trials.
- Group plants with similar water needs together (e.g., drought‑tolerant rosemary with thyme).
- Incorporate a raised bed if your garden has heavy clay; a 12‑inch depth provides optimal root space.
Choosing the Right Herbs for Your Climate
Consult your USDA hardiness zone map. Below is a quick reference for the most adaptable herbs:
- Zone 3‑9: Rosemary, sage, thyme, and lavender—all tolerate cold snaps when mulched.
- Zone 4‑10: Oregano, chives, and parsley—perform best with a light frost protection.
- Zone 5‑11: Basil (annual), dill, and cilantro—plant after the last frost for maximum yield.
Step‑by‑Step Planting Guide
Step 1: Prepare the planting bed
- Loosen the top 12 inches of soil using a garden fork; break up clods to a fine crumb.
- Incorporate 1‑2 cups of granular bone meal per 10 sq ft for phosphorus, which promotes strong root development.
- Water the bed thoroughly (about 1 inch of water) to settle the amended soil before planting.
Step 2: sow seeds or set transplants
- Seeds: Sow at a depth of ¼ inch, spacing 6‑12 inches apart. Cover lightly with fine soil and keep consistently moist (keep soil surface damp but not soggy).
- Transplants: Dig a hole twice the width of the root ball, place the plant, and backfill, firming the soil gently around the base.
- For each herb, follow the label‑recommended spacing—e.g., 12 inches for thyme, 18 inches for rosemary.
Step 3: Mulch and water
- Apply a 2‑inch layer of organic mulch (straw, shredded bark, or pine needles). This conserves moisture, suppresses weeds, and maintains a more even soil temperature.
- Water at the base of the plants using a soaker hose or drip irrigation. Aim for 1 gallon per 10 sq ft per week, adjusting for rainfall.
Step 4: Ongoing care
- Fertilize lightly with a balanced 10‑10‑10 organic fertilizer every 6‑8 weeks. Over‑fertilizing can dilute essential oils.
- Pinch back the tips of fast‑growing herbs (like basil) once they reach 6 inches to encourage bushier growth and more leaf production.
- Monitor for pests: aphids, spider mites, and whiteflies. Use a neem oil spray (2 teaspoons per gallon) as a safe, organic remedy.
Care and Maintenance Through the Seasons
Spring: Remove any lingering mulch to allow the soil to warm. Start a succession planting of fast‑growers like cilantro every 2‑3 weeks to ensure a continuous harvest.
Summer: Increase watering during heat spikes—check soil moisture 2 inches deep. Provide a light shade cloth for delicate herbs (e.g., parsley) during extreme sun.

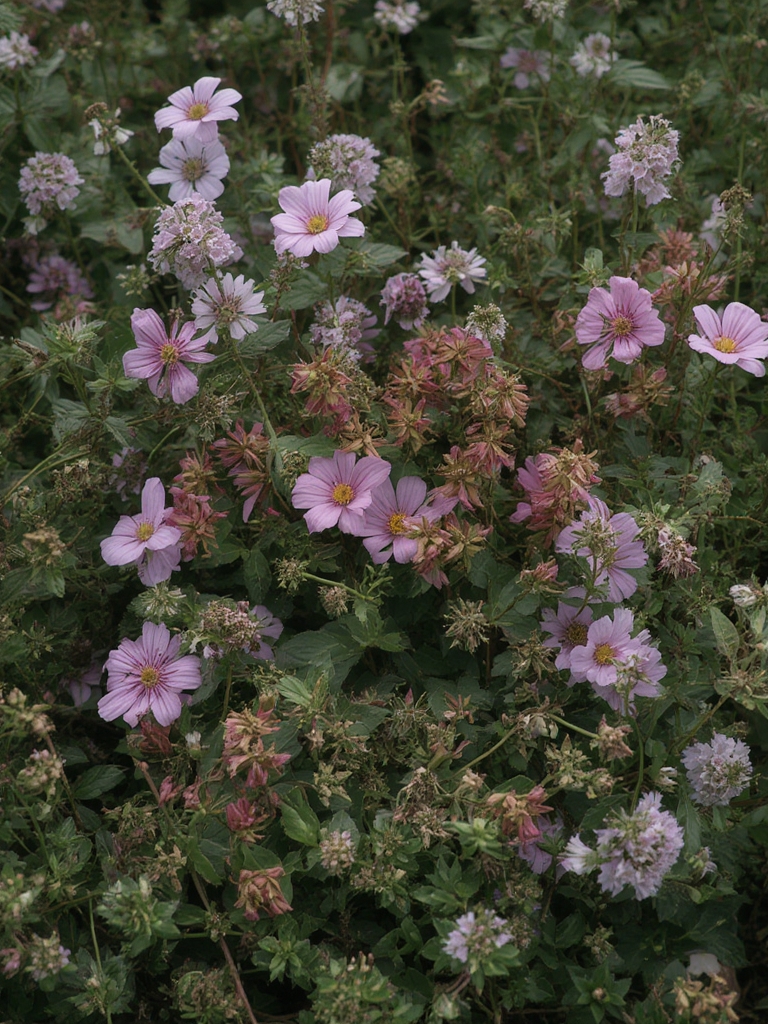
Fall: Reduce watering as temperatures drop. Fill your garden with warmth using late season blooms that thrive in crisp weather 🌼🍂 Add a few aromatic perennials such as chrysanthemum, sage, and lavender ‘Munstead’ to keep the scent alive while extending the visual interest.
Winter: In zones 5‑7, apply a 3‑inch mulch blanket to protect perennials. For tender annuals, consider a cold frame or move pots indoors.

Harvesting and Using Your Herbs
- Timing: Harvest leaves in the morning after the dew has dried but before the sun reaches its peak—this preserves the highest concentration of volatile oils.
- Method: Use clean, sharp scissors to cut stems just above a leaf node. This encourages new growth.
- Storage: Rinse gently, pat dry, and store in a sealed container in the refrigerator. For longer storage, dry the herbs in a low‑heat oven (95‑100 °F) and keep in airtight jars.
Late‑Season Blooms for Extra Warmth
When the days start to shorten, introduce a handful of cold‑hardy, aromatic bloomers to keep the garden lively. These plants thrive in the crisp air and add both visual and olfactory interest:
- Lavender ‘Munstead’: Blooms from late summer into early fall; tolerates light frosts.
- Rosemary ‘Arp’: Evergreen foliage with blue‑purple flowers that attract bees in late autumn.
- Chrysanthemum ‘Golden Yarrow’: Offers a bright, citrus‑scented bloom that persists into the first hard freeze.
Plant these at the back of your herb border, where they can serve as a windbreak and a source of late‑season nectar for pollinators.
Quick Reference Checklist
- ✔ Test soil pH and amend to 6.0‑7.0
- ✔ Choose a sunny spot (6‑8 hrs) or partial shade for specific herbs
- ✔ Space plants 12‑18 inches apart
- ✔ Mulch 2 inches deep and water at the base
- ✔ Fertilize lightly every 6‑8 weeks
- ✔ Harvest morning leaves for peak flavor
- ✔ Add late‑season aromatic blooms for crisp‑weather charm 🌼🍂
By following this data‑backed, step‑by‑step plan, you’ll cultivate an herb and aromatic garden that not only looks beautiful but also delivers fresh, flavorful ingredients all season long. Happy planting!


