
Creating a fragrant, thriving herb and aromatic garden is one of the most rewarding projects you can undertake in a small backyard, balcony, or even a sunny windowsill. Not only do these plants provide fresh flavors for cooking, but their scents also attract beneficial insects, improve air quality, and add a soothing ambiance to any outdoor space. Below you’ll find a data‑driven, step‑by‑step guide that blends proven horticultural practices with practical, everyday tips to help you grow a lush, aromatic oasis that lasts from spring through the crisp, colorful days of fall.
Plan Your Space and Choose the Right Herbs
Before you break ground, assess the micro‑climate of your garden. Use a simple spreadsheet to log sunlight hours, soil pH, and wind exposure for each potential planting zone. According to the USDA Plant Hardiness Zone Map, most culinary herbs thrive in zones 5‑9, but many can be extended with proper mulching and protection.
Step 1: Map Sunlight and Soil
- Sunlight: Aim for 6–8 hours of direct sun for basil, thyme, rosemary, and sage. If a spot receives only 3–5 hours, consider shade‑tolerant herbs like mint or chives.
- Soil pH: Most herbs prefer a slightly alkaline to neutral pH (6.5–7.5). Use a home test kit and amend with lime to raise pH or sulfur to lower it.
- Drainage: Conduct a “percolation test” by digging a 12‑inch hole, filling it with water, and timing how long it takes to drain. If it takes more than 30 minutes, improve drainage with coarse sand or perlite.
Step 2: Select Herbs That Complement Each Other
Group herbs with similar water and nutrient needs to simplify care. For example, pair rosemary, lavender, and thyme—each loves dry, well‑drained soil. Pair basil, cilantro, and dill together, as they enjoy consistently moist conditions.
Prepare the Soil and Planting Beds
Healthy soil is the foundation of any successful garden. Research shows that adding organic matter can increase nutrient availability by up to 40 % and improve water retention.
Step 3: Amend with Compost
- Spread a 2‑inch layer of well‑rotted compost over the planting area.
- Mix it into the top 6‑8 inches of soil using a garden fork or tiller.
- For raised beds, fill with a 50/50 blend of high‑quality garden soil and compost.
Step 4: Install a Simple Irrigation System
Drip irrigation or soaker hoses deliver water directly to the root zone, reducing evaporation by up to 30 % compared to overhead watering. Set a timer for early morning watering to minimize fungal risk.

Planting Your Herbs
When planting, spacing is crucial to allow airflow and prevent disease. Follow the recommended distances below, which are based on average mature plant size.
Step 5: Sow Seeds or Transplant Seedlings
- Basil: Sow seeds ¼ inch deep, 12 inches apart. Thin to one plant per spot.
- Rosemary: Plant seedlings 24 inches apart; roots should be covered but not buried too deep.
- Mint: Plant in a container to control its invasive habit; space 12 inches apart.
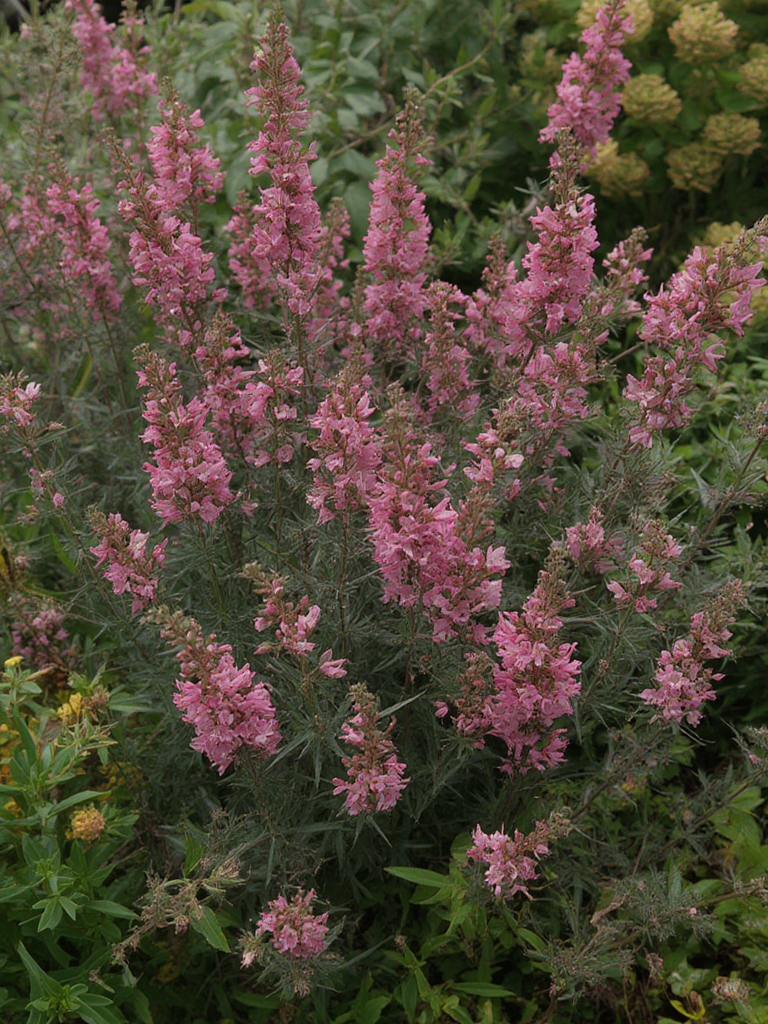
- Lavender: Space 18 inches apart; plant in full sun with well‑drained soil.
Step 6: Mulch for Moisture Retention
Apply a 2‑inch layer of straw, shredded bark, or pine needles around each plant. Mulch not only conserves moisture but also suppresses weeds, which can compete for nutrients.

Ongoing Care and Seasonal Adjustments
Consistent care throughout the growing season ensures a robust harvest. Data from university extension services indicate that regular pruning can increase leaf production by up to 25 %.
Step 7: Water Wisely
- Check soil moisture with a finger test—soil should feel damp 2 inches below the surface.
- Water deeply once a week rather than shallow daily watering to encourage deep root growth.
- During hot spells, increase frequency but keep the soil surface dry to avoid fungal issues.
Step 8: Fertilize Lightly
Herbs are light feeders. Apply a balanced, organic fertilizer (e.g., 10‑10‑10) at half the recommended rate once in early spring and again after the first harvest.
Step 9: Prune and Harvest Regularly
- Snip leaves just above a node to encourage bushier growth.
- For woody herbs like rosemary and thyme, trim back 1/3 of the plant after flowering.
- Harvest in the morning after dew has dried for the best flavor and oil content.
Step 10: Protect Against Frost
Even hardy herbs can suffer from late‑season freezes. Use row covers, frost blankets, or a simple layer of straw to insulate the plants. Fill your garden with warmth using late season blooms that thrive in crisp weather 🌼🍂—plants like ornamental kale, winter thyme, and hardy rosemary not only add color but also act as windbreaks for more tender herbs.
Harvest, Store, and Enjoy
Proper post‑harvest handling preserves the aromatic oils that make herbs so valuable. Rinse gently, pat dry, and store in airtight containers. For longer storage, consider drying or freezing:
Drying
- Hang bundles upside down in a dark, well‑ventilated area for 1‑2 weeks.
- Store dried herbs in glass jars away from direct sunlight.
Freezing
Chop fresh herbs, place them in ice‑cube trays with a splash of water or olive oil, and freeze. These “herb cubes” are perfect for sautéing or soups.
Wrap‑Up: Your Aromatic Garden in Review
By following these data‑backed steps—starting with a soil analysis, choosing compatible herbs, amending with compost, installing efficient irrigation, and maintaining a disciplined pruning schedule—you’ll cultivate a fragrant garden that delivers fresh flavors all season long. Remember, the key to success lies in observation: note which micro‑climates favor each herb, adjust watering based on weather patterns, and enjoy the evolving scents as your garden matures. Happy planting, and may your garden be a source of culinary inspiration and sensory delight!


