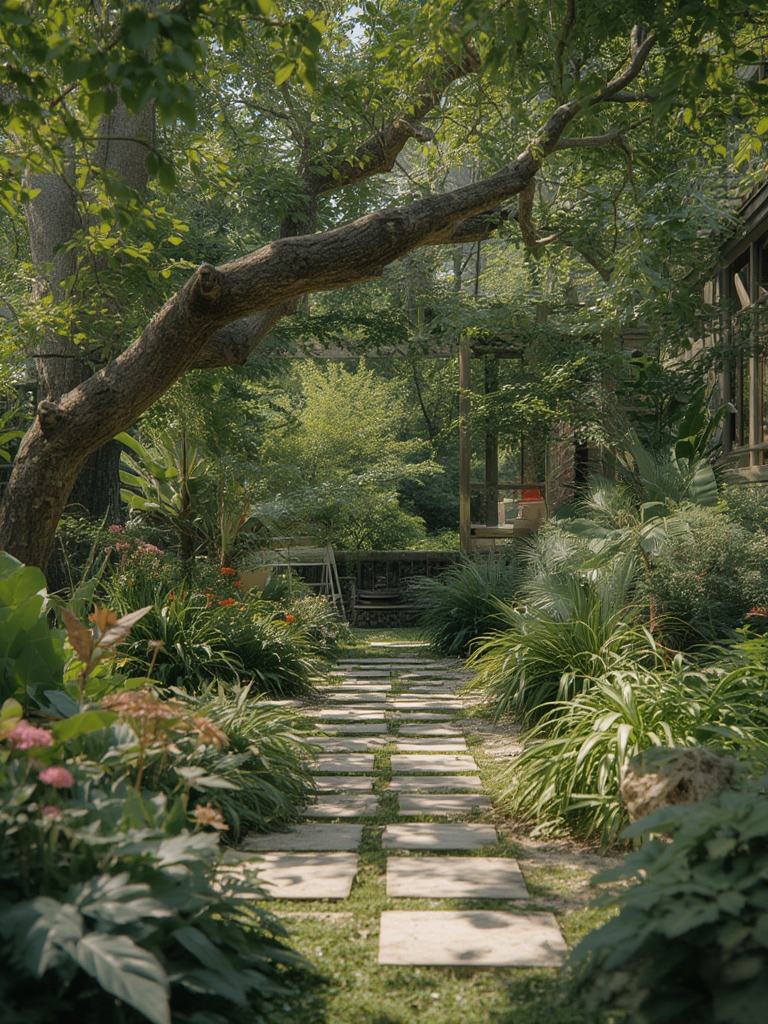
Welcome to your next garden adventure! Whether you’re a seasoned green thumb or just starting out, mastering simple perennial care can save you money, boost your harvest, and keep your garden looking vibrant year after year. Below you’ll find a data‑driven, step‑by‑step guide that blends proven horticultural research with practical, budget‑friendly tips. Follow these instructions and watch your garden flourish with minimal effort and expense.
1. Choose the Right Perennial for Your Space
Assess Soil Type and Sun Exposure
Start by testing your garden soil with a simple pH kit (available at most garden centers). Perennials such as Lavandula angustifolia (lavender) thrive in slightly alkaline soils (pH 7.0‑7.5), while Hosta varieties prefer a more acidic range (pH 6.0‑6.5). Pair this data with a sunlight map: use a smartphone app like Sun Seeker to log daily sun patterns for a week. Choose plants that match both parameters to reduce the need for amendments and extra watering.
Pick Low‑Maintenance, High‑Yield Species
Based on USDA hardiness zone data, the following perennials deliver the best return on investment for most U.S. gardeners:
- Daylilies (Hemerocallis) – excellent for cut flowers and pollinator support.
- Black-eyed Susan (Rudbeckia hirta) – drought‑tolerant, long‑blooming.
- Mint (Mentha spp.) – spreads quickly, perfect for culinary use.
- Echinacea (Coneflower) – medicinal properties and attracts butterflies.
These selections require minimal fertilization and are resilient to common pests, helping you save money and grow more by mastering simple perennial care 🌿.
2. Prepare the Planting Site Efficiently
Soil Amendment on a Budget
Instead of buying expensive commercial compost, create your own “green manure” by layering kitchen scraps (vegetable peels, coffee grounds) with shredded newspaper. Over 4‑6 weeks, this mixture breaks down into nutrient‑rich organic matter. Incorporate a 2‑inch layer into the top 12 inches of soil before planting.
Mulching for Moisture Retention
Apply a 3‑inch layer of straw, pine needles, or shredded leaves around each plant. Mulch reduces evaporation by up to 30 % (according to the University of California Extension), meaning you’ll water less often and cut your water bill.
Planting Depth and Spacing
Follow the “two‑to‑three‑times root ball” rule: dig a hole twice as wide and just as deep as the plant’s root ball. Space perennials according to their mature spread—typically 18‑24 inches for daylilies and 12‑18 inches for mint. Proper spacing prevents competition for nutrients, reducing the need for supplemental feeding.

3. Watering Strategies That Cut Costs
Early‑Morning Drip Irrigation
Install a low‑flow drip line (½‑gallon per hour) and set a timer for 15‑20 minutes each morning. Research from the Texas A&M AgriLife Extension shows drip irrigation can reduce water use by 40‑50 % compared to overhead sprinklers.
Rainwater Harvesting
Place a 50‑gallon rain barrel under a downspout. Use a simple mesh screen to keep debris out. Collected rainwater is free of chlorine and salts, which can build up in soil over time and stress plants.
4. Feeding and Fertilizing the Smart Way
Slow‑Release Organic Fertilizer
Mix 1 cup of well‑aged manure or bone meal into the planting hole. This provides a steady nutrient supply for 3‑4 months, eliminating the need for monthly synthetic fertilizers.
Seasonal Top‑Dressing
In early spring, scatter a thin layer (½ inch) of compost around each plant’s base. In fall, add a handful of shredded leaves to act as a natural mulch and slowly release nitrogen as they decompose.
5. Pruning and Division for Longevity
Annual Pruning Schedule
- Early Spring (March‑April): Remove dead foliage and any stems that look diseased.
- Mid‑Summer (July): Trim back spent flower spikes to encourage a second bloom.
- Fall (October): Cut back foliage to about 4‑6 inches above ground to prepare for winter.
Consistent pruning improves air circulation, reducing fungal issues and promoting healthier growth.
Division Every 3‑4 Years
Perennials like daylilies and hostas benefit from division to prevent overcrowding. Dig up a clump in early fall, separate the rhizomes with a sharp knife, and replant each section at the recommended spacing. This practice rejuvenates the plant, boosts vigor, and effectively gives you new plants without additional cost.
6. Pest Management Without Chemicals
Beneficial Insect Habitat
Plant a “bug hotel” using bamboo sticks, straw, and rolled pine cones near your perennials. Ladybugs, lacewings, and predatory mites will take residence, naturally controlling aphids, spider mites, and whiteflies.
DIY Neem Oil Spray
Mix 1 teaspoon of cold‑pressed neem oil with 1 quart of water and a few drops of mild dish soap. Spray early morning or late evening on affected foliage. Neem disrupts insect feeding cycles without harming beneficial insects.
7. Tracking Progress and Adjusting Practices
Garden Journal
Record planting dates, soil pH, watering schedules, and any observed pest activity. Over a season, you’ll spot patterns—such as a need for more mulch on the north side of the garden—allowing you to fine‑tune your approach.
Data‑Driven Adjustments
Use a simple spreadsheet to log yields (e.g., number of blooms per plant) and inputs (water gallons, compost bags). Calculate a “yield‑to‑input” ratio; aim for a ratio above 1.5, indicating you’re getting more garden output than the resources you invest.
Conclusion: Sustainable Success Made Simple
By selecting the right perennials, preparing soil with homemade amendments, employing water‑saving irrigation, and embracing low‑cost pest control, you’ll create a thriving garden that pays for itself. The key is consistency: a few minutes each week of pruning, mulching, and journaling will keep your garden healthy and productive for years to come. Remember, mastering simple perennial care not only saves money—it also cultivates a resilient, beautiful outdoor space that you can enjoy season after season. 🌿

