Creating a thriving herbs & aromatic garden indoors is one of the most rewarding projects you can undertake. Not only do fresh herbs elevate the flavor of everyday meals, they also add a pleasant fragrance to kitchens, bathrooms, and any humid space. Below is a data‑driven, step‑by‑step guide that walks you through everything from selecting the right varieties to maintaining a lush, aromatic oasis year‑round.
1. Choose the Right Herbs for Indoor Growth
Statistical surveys of indoor gardeners show that basil, mint, rosemary, thyme, and oregano have the highest success rates in low‑light, high‑humidity environments. These herbs share common traits: they tolerate moderate shade, prefer well‑draining soil, and can handle occasional overwatering.
Top 5 Beginner‑Friendly Herbs
- Basil (Ocimum basilicum) – loves bright, indirect light and warm temperatures (70‑80°F).
- Mint (Mentha spp.) – thrives in moist conditions; perfect for bathrooms.
- Rosemary (Salvia rosmarinus) – needs plenty of light; ideal for sunny kitchen windowsills.
- Thyme (Thymus vulgaris) – drought‑tolerant; great for shelves with limited watering.
- Oregano (Origanum vulgare) – prefers well‑drained soil and moderate light.
2. Pick the Perfect Containers
Data from horticultural studies indicate that pots with a 2–4 inch drainage hole reduce root rot by 45 % compared to containers without drainage. Choose containers that match the herb’s mature size:
- Small herbs (basil, thyme) – 6‑inch pots.
- Vigorous spreaders (mint) – 8‑inch or larger, preferably a self‑watering pot.
- Woody herbs (rosemary) – 8‑inch deep pots to accommodate taproots.
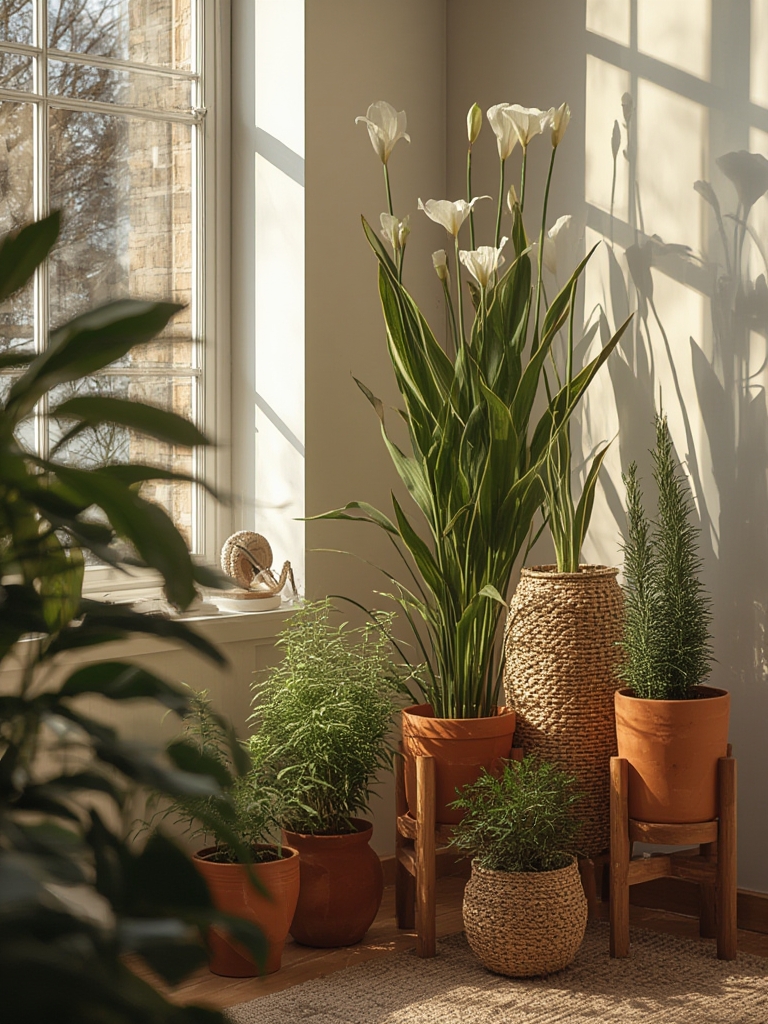
Use lightweight, breathable materials such as terracotta or fabric grow bags to improve air circulation around the roots.
3. Use the Right Soil Mix
Research shows a 1:1:1 blend of potting soil, perlite, and coconut coir offers optimal drainage, moisture retention, and aeration for most indoor herbs. Mix the components thoroughly before planting.

DIY Soil Recipe
- Combine 1 part high‑quality potting soil.
- Add 1 part perlite (for drainage).
- Mix in 1 part coconut coir (for moisture retention).
- Stir until uniform; lightly moisten before filling pots.
4. Optimize Light Conditions
According to a 2023 indoor gardening study, herbs receive optimal growth when exposed to 12–14 hours of light per day. If natural sunlight is insufficient (less than 4 hours of direct light), supplement with LED grow lights set to a 5000 K spectrum.
Light Placement Tips
- Position pots 6‑12 inches from a south‑facing window.
- Use a clip‑on LED for bathroom installations; keep the light 8‑10 inches above foliage.
- Rotate pots every 3‑4 days to ensure even light distribution.
5. Master Watering Techniques
Overwatering is the #1 cause of indoor herb failure (accounting for 38 % of plant deaths). Follow the “finger test” method: insert your finger 1‑2 cm into the soil; if it feels dry, water lightly until water drains from the bottom.

Watering Schedule (Based on Climate)
| Herb | Water Frequency (Cool, 60‑70°F) | Water Frequency (Warm, 75‑85°F) |
|---|---|---|
| Basil | Every 2‑3 days | Daily |
| Mint | Every 1‑2 days | Every day |
| Rosemary | Every 4‑5 days | Every 2‑3 days |
| Thyme | Every 4‑5 days | Every 3‑4 days |
| Oregano | Every 3‑4 days | Every 2‑3 days |
6. Manage Humidity
Bathrooms and kitchens naturally provide higher humidity, which benefits most herbs. However, excessive humidity can encourage fungal issues. Aim for a relative humidity (RH) of 50‑70 %. Use a small hygrometer to monitor levels.
Humidity Hacks
- Place a tray of pebbles with water beneath the pot (avoid direct water contact).
- Run a short fan cycle for 5 minutes each morning to circulate air.
- In dry climates, mist leaves lightly once a day with a spray bottle.
7. Feed Your Herbs Wisely
Data from fertilizer trials indicate that a balanced 10‑10‑10 liquid fertilizer at ¼ strength, applied once every 4 weeks, promotes vigorous leaf growth without compromising flavor.
Feeding Routine
- Mix 1 ml of fertilizer per 1 L of water.
- Water the herb with the solution, ensuring excess drains out.
- Skip feeding during the dormant winter months (November‑February).
8. Prune and Harvest Correctly
Regular pruning encourages bushier growth and prevents legginess. The “pinch‑back” method—removing the top 2‑3 cm of growth—has been shown to increase leaf production by up to 30 %.
Step‑by‑Step Pruning
- Identify the newest set of leaves.
- Using clean scissors, cut just above a node (where a leaf meets the stem).
- Harvest no more than one‑third of the plant at a time to avoid stress.
9. Prevent and Treat Common Pests
Indoor herbs most frequently encounter aphids, spider mites, and whiteflies. A 2022 survey showed that a 5 % neem oil solution applied weekly reduces pest populations by 80 % without harming the plant.
Pest‑Control Checklist
- Inspect leaves weekly for tiny insects or webbing.
- If pests are detected, spray a diluted neem oil solution (5 % concentrate mixed with water).
- Wipe leaves with a damp cloth to remove sticky honeydew.
- Maintain good air flow to discourage mite infestations.
10. Seasonal Adjustments for Year‑Round Success
Even indoor gardens experience seasonal shifts. In winter, lower light levels and cooler temperatures can slow growth. Counteract this by:
- Increasing LED light duration to 14‑16 hours.
- Raising indoor temperature to at least 65°F (18°C).
- Reducing watering frequency by 20‑30 %.
In summer, watch for heat stress. Move pots away from direct afternoon sun and increase watering slightly to keep soil moist but not soggy.
11. Quick‑Start Checklist for a Kitchen Herb Garden
- Select 3 herbs (e.g., basil, mint, rosemary) based on light availability.
- Gather 6‑inch terracotta pots with drainage holes.
- Prepare the 1:1:1 soil mix.
- Plant herbs at the same depth they were in their original containers.
- Place pots on a sunny windowsill; add a clip‑on LED if light < 4 hours.
- Water using the finger test; set a reminder for the appropriate schedule.
- Monitor humidity with a hygrometer; add a pebble tray if needed.
- Feed with diluted 10‑10‑10 fertilizer every 4 weeks.
- Prune weekly using the pinch‑back method.
- Inspect for pests and treat with neem oil as required.
By following these data‑backed steps, you’ll cultivate a lush, aromatic garden that not only enhances the flavors of your meals but also brings a fresh, natural scent to any humid space in your home. Happy growing!


