Creating a thriving herb and aromatic garden is one of the most rewarding projects for both novice and seasoned gardeners. Not only do these plants provide fresh flavors and soothing scents for the kitchen and home, but they also add texture, color, and visual interest to any outdoor space. Below is a data‑driven, step‑by‑step guide that blends horticultural science with practical design tips, ensuring you can grow a lush, fragrant oasis that looks as good as it smells.
1. Choose the Right Location and Soil Conditions
Assess Sunlight Exposure
- Data point: According to the USDA Plant Hardiness Zone Map, most culinary herbs thrive in 6–8 hours of direct sunlight per day.
- Action: Use a sunlight meter or simply track the sun’s path for a week to confirm the spot receives the required light.
- Tip: If full sun isn’t possible, select shade‑tolerant herbs like mint, chives, and parsley.
Test and Amend Soil
- Data point: Ideal pH for most herbs ranges from 6.0 to 7.0 (University of California Extension).
- Action: Conduct a simple soil test using a home kit; adjust pH with lime (to raise) or sulfur (to lower) as needed.
- Tip: Incorporate 2–3 inches of compost or well‑rotted manure to improve drainage and nutrient content.
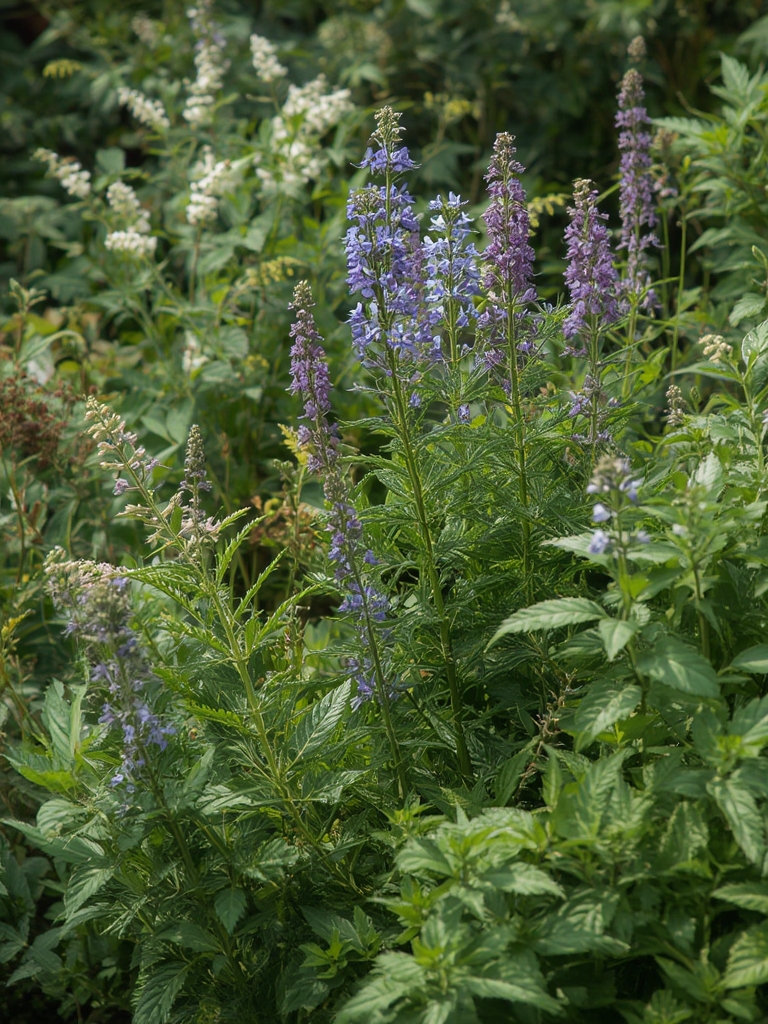
2. Select Herbs That Complement Your Climate and Design Theme
Climate‑Matched Herb List
- Temperate zones (USDA 4–7): Lavender, rosemary, thyme, sage, oregano.
- Mild zones (USDA 8–10): Basil, dill, cilantro, lemon balm.
- Warm zones (USDA 11–13): Lemongrass, kaffir lime, tropical basil.
Design Themes and Color Palettes
- Mediterranean Oasis: Silvery rosemary, deep‑purple lavender, and chartreuse thyme create a sun‑kissed palette.
- English Cottage: Soft greens of mint, pastel pink of chamomile, and white blossoms of sage for a romantic vibe.
- Modern Minimalist: Structured rows of rosemary and sage with sleek, dark containers; accent with bright yellow lemon verbena.
3. Plan Your Garden Layout for Function and Aesthetics
Spacing and Companion Planting
- Data from the Royal Horticultural Society shows that spacing herbs 12–18 inches apart prevents overcrowding and improves airflow.
- Action: Sketch a grid on graph paper; allocate 12‑inch squares for each herb, adjusting for larger plants like rosemary.
- Companion tip: Plant basil near tomatoes to repel pests, and intermix thyme with carrots to deter carrot flies.
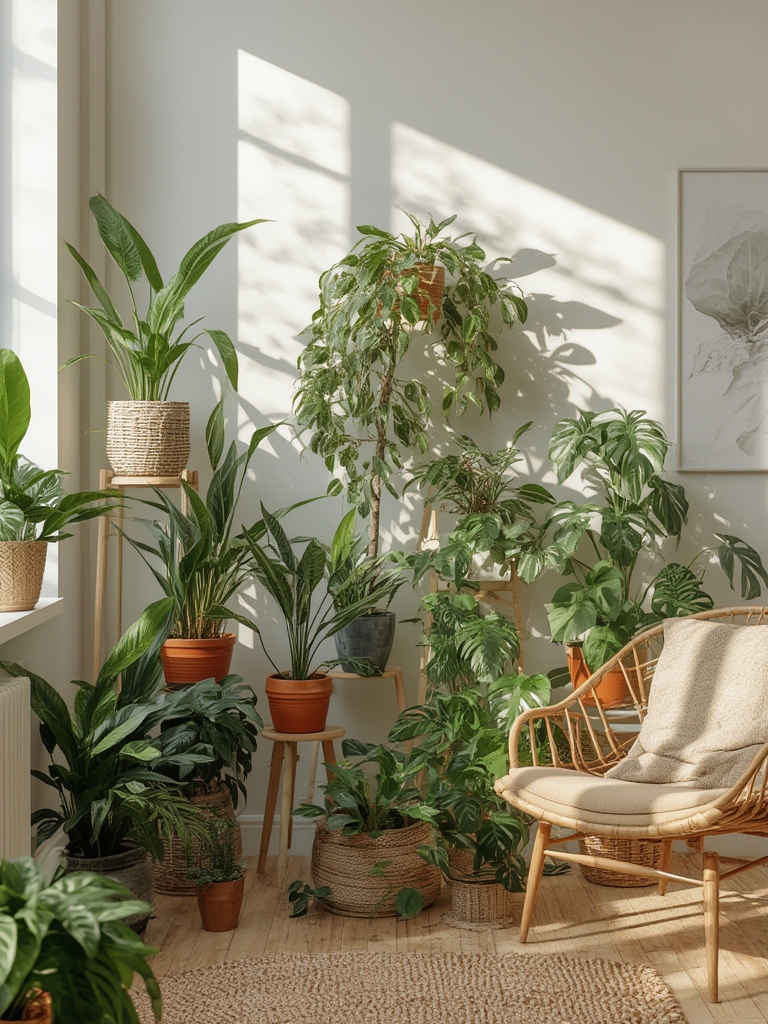
Vertical and Container Options
- Use trellises for climbing herbs such as oregano and climbing thyme; this adds height and visual interest.
- For small patios, opt for tiered containers—choose terracotta for a warm tone or matte black for a contemporary look.
- Tip: Add a layer of pea gravel at the base of containers for extra drainage and a decorative touch.
4. Planting and Establishing Your Herbs
Seed vs. Transplant
- Data from the University of Illinois Extension indicates that transplants have a 30% higher survival rate than direct‑seeded herbs in the first year.
- Action: Start seeds indoors 6–8 weeks before the last frost, then transplant seedlings after soil reaches 60°F.
- Tip: Harden off seedlings by exposing them to outdoor conditions for 1–2 hours daily, increasing time over a week.
Watering Guidelines
- Most herbs require 1 inch of water per week; however, rosemary prefers drier conditions.
- Action: Install a drip irrigation system with a timer set to 15‑minute cycles early morning.
- Tip: Use a moisture meter to avoid over‑watering; soggy soil is a common cause of root rot.
5. Ongoing Care and Harvesting Techniques
Pruning and Pinching
- Research from Colorado State University shows that regular pinching encourages bushier growth and higher leaf yield.
- Action: Pinch back the top 1‑2 inches of stems every 4–6 weeks during the growing season.
- Tip: Harvest just before the plant flowers for maximum flavor—e.g., basil leaves are most aromatic before seed set.
Fertilization and Pest Management
- Data suggests that herbs need only light feeding; a balanced 10‑10‑10 fertilizer applied at half strength once a month is sufficient.
- Action: Sprinkle organic neem oil or insecticidal soap on leaves if aphids or spider mites appear.
- Tip: Encourage beneficial insects by planting marigold or yarrow at the garden edge.
6. Harvest, Preserve, and Enjoy Your Aromatics
Harvest Timing
- Harvest in the early morning after dew dries for the highest essential oil concentration.
- Action: Use clean, sharp scissors to cut stems just above a leaf node.
- Tip: Store fresh herbs in a damp paper towel inside a zip‑lock bag in the refrigerator for up to a week.
Preservation Methods
- Drying: Hang bundles upside‑down in a dark, well‑ventilated area for 1–2 weeks; store in airtight jars.
- Freezing: Chop herbs, pack in ice‑cube trays with water or olive oil, then freeze for ready‑to‑use portions.
- Infusing: Create aromatic oils by steeping dried herbs in a neutral carrier oil for 2–4 weeks, then strain.
7. Seasonal Adjustments and Long‑Term Planning
Winter Protection
- In zones 4–6, mulch herb beds with 3‑4 inches of straw or leaf mold to insulate roots.
- Action: Move potted herbs indoors to a sunny windowsill or under grow lights.
- Tip: Rotate crops annually to prevent soil‑borne diseases and maintain soil health.
Future Expansion
- Track growth data (e.g., yield per plant, pest incidents) in a simple spreadsheet; use this to refine plant placement each year.
- Action: Add new varieties based on performance metrics—if thyme consistently outperforms oregano in your microclimate, increase its footprint.
- Tip: Incorporate seasonal color changes—plant autumn‑blooming sage or winter‑green rosemary for year‑round visual interest.
By following these evidence‑based steps and integrating thoughtful design elements, you’ll cultivate a herb and aromatic garden that not only supplies your kitchen with fresh flavors but also serves as a fragrant, eye‑catching centerpiece for your outdoor living space. Happy planting!


