
Whether you’re a seasoned green thumb or just starting your indoor garden, the right tools and a few clever DIY projects can turn a modest herb patch into a thriving source of fresh, aromatic teas. In this guide we’ll walk you through the essential gardening tools, budget‑friendly DIY ideas, and a step‑by‑step plan to grow popular tea‑making herbs such as mint, chamomile, lemon balm, and lavender. Each section includes practical tips and actionable advice so you can see results faster and keep your garden humming all season long.
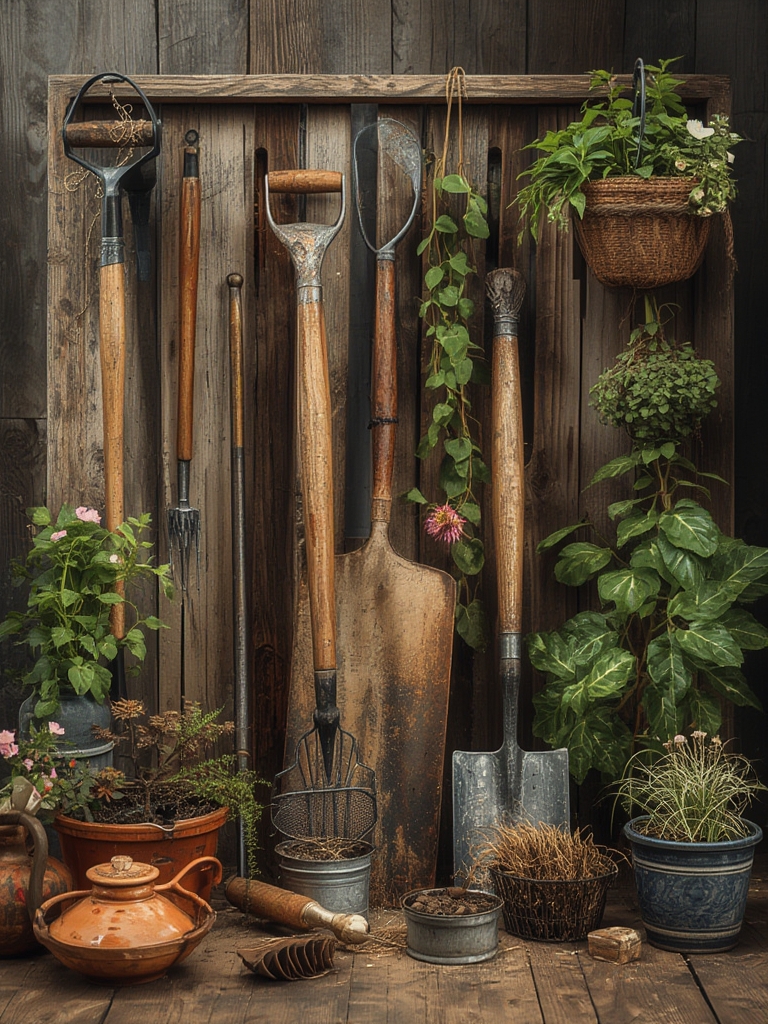
Essential Gardening Tools for Herb Success
1. Hand Trowel & Transplanting Spade
A sturdy hand trowel (4–6 inches) lets you loosen soil, dig planting holes, and gently lift seedlings without damaging roots. Look for a stainless‑steel blade with a comfortable grip to reduce hand fatigue during repeated use.

2. Pruning Shears (Secateurs)
Sharp, bypass‑style pruning shears are crucial for trimming herbs and encouraging bushier growth. Keep the blades clean with a quick wipe of rubbing alcohol after each session to prevent disease spread.

3. Soil pH Tester
Most tea herbs prefer a slightly acidic to neutral pH (6.0–7.0). A simple digital tester helps you adjust soil with lime (to raise pH) or peat moss (to lower pH) before planting.

4. Watering Can with a Rose Head
A narrow‑spout rose head delivers a gentle, even spray—ideal for delicate seedlings that can be knocked over by a strong stream.

5. Garden Gloves
Lightweight, breathable gloves protect your hands from thorns (especially lavender) while still allowing you to feel the soil texture.
DIY Projects to Boost Your Herb Garden
Upcycled Pallet Herb Rack
- Materials: A reclaimed wooden pallet, sandpaper, exterior paint, and metal hooks.
- Steps:
- Sand the pallet to remove splinters and apply a weather‑proof paint.
- Attach metal hooks at even intervals on the front slats.
- Hang small fabric pots or recycled tin cans from the hooks.
- Tip: Position the rack near a sunny window (6–8 hours of light) for indoor herbs, or place it on a patio with good airflow.
Self‑Watering Herb Pots
- Materials: Two plastic containers (one larger for water reservoir), wicking rope or cotton strips, and a drill.
- Steps:
- Drill a ½‑inch hole near the bottom of the upper container.
- Insert a wicking rope that reaches into the lower reservoir.
- Fill the lower container with water; the rope will draw moisture up as the soil dries.
- Tip: Add a few drops of liquid seaweed fertilizer to the reservoir for a slow‑release nutrient boost.
Step‑by‑Step Guide: Growing Herbs for Homemade Tea
Step 1: Choose the Right Herbs
For a versatile tea garden, start with:

- Mint (peppermint or spearmint) – fast‑growing, great for digestion.
- Chamomile – soothing, perfect for bedtime blends.
- Lemon balm – bright citrus notes, excellent for stress relief.
- Lavender – aromatic, adds a floral nuance.
SEO tip: Sprinkle these herb names naturally throughout the post to improve keyword relevance.
Step 2: Prepare the Soil
Mix equal parts high‑quality potting mix, coconut coir, and perlite for excellent drainage. Add a handful of compost for organic nutrients. Test the pH and adjust to 6.5 ± 0.2 for optimal flavor development.
Step 3: Planting
Plant seeds or seedlings 12‑18 inches apart (or in individual pots). For seeds:
- Scatter them thinly on the surface.
- Cover with a light layer of soil (¼‑inch).
- Water gently using the rose‑head can.
For seedlings, dig a hole twice the width of the root ball, set the plant, and backfill with soil, firming lightly.
Step 4: Light & Temperature
Most tea herbs need 6–8 hours of direct sunlight. If growing indoors, place pots on a south‑facing windowsill or under full‑spectrum LED grow lights set 12 hours on/12 hours off. Keep the ambient temperature between 65‑75 °F (18‑24 °C).
Step 5: Watering Schedule
Maintain consistently moist soil—never soggy. Use the finger test: insert a finger 1 inch deep; if it feels dry, water until water drains from the bottom.
Actionable tip: Set a reminder on your phone for watering every 2–3 days during warm months, and adjust based on humidity.
Step 6: Feeding & Pruning
Feed herbs every 4 weeks with a balanced liquid fertilizer diluted to half strength. Prune weekly using clean secateurs: snip just above a leaf node to encourage lateral growth. For mint, pinch back aggressively to prevent it from overtaking other herbs.
Maintenance & Troubleshooting
Common Pests & Solutions
- Aphids: Spray a mixture of water and a few drops of dish soap; reapply every 3 days.
- Spider Mites: Increase humidity by misting daily or placing a shallow tray of water nearby.
- Fungal Issues: Ensure good airflow; remove any yellowing leaves promptly.
Seasonal Adjustments
In cooler months, move containers indoors or provide a grow‑light to maintain the 12‑hour light cycle. Reduce watering frequency as growth slows, but never let the soil completely dry out.
Harvesting and Brewing Your Herbal Tea
When to Harvest
Harvest leaves just before the plant flowers for peak flavor. For mint and lemon balm, snip the top 2‑3 inches of growth. For chamomile, pick the fully opened flower heads. Lavender buds should be harvested when the buds are fully formed but not yet open.
Drying & Storing
- Spread harvested material on a clean screen in a dark, well‑ventilated area.
- Turn the herbs daily for even drying (2–5 days depending on humidity).
- Store dried herbs in airtight glass jars, away from direct sunlight.
Label each jar with the herb name and date for easy reference.
Simple Tea Recipes
- Mint‑Lemon Balm Blend: 1 tsp dried mint + 1 tsp dried lemon balm; steep 5 minutes in 250 ml hot water.
- Chamomile‑Lavender Calm: 2 tsp chamomile flowers + ½ tsp lavender buds; steep 7 minutes.
Final Checklist for a Thriving Tea‑Herb Garden
- All essential tools cleaned and ready.
- Soil pH tested and adjusted.
- DIY self‑watering pots set up (optional but recommended).
- Herbs planted with proper spacing.
- Light, temperature, and watering schedule established.
- Regular pruning, feeding, and pest monitoring.
- Harvested, dried, and stored correctly for tea making.
By following these data‑driven steps and incorporating a few budget‑friendly DIY projects, you’ll enjoy a continuous supply of fresh, flavorful herbs for homemade teas—all while boosting your garden’s visual appeal and SEO‑friendly content on your WordPress site.


