
Indoor plants are more than just décor; they improve air quality, boost mood, and can even increase productivity by up to 15 % according to a 2022 study from the University of Queensland. Yet many beginners feel overwhelmed by the “right” light, water, and soil requirements. This guide breaks down the science into simple, data‑driven steps, and equips you with the essential tools so you can start gardening right the first time.
Why Indoor Plants Matter: Quick Data Points
- Air purification: A single peace lily can remove up to 87 µg/m³ of formaldehyde in 24 hours.
- Stress reduction: Viewing greenery for just 5 minutes lowers cortisol levels by 12 % (Journal of Environmental Psychology, 2021).
- Humidity control: A group of 5‑7 medium‑sized plants can raise indoor humidity by 5–10 %—ideal for dry winter homes.
Essential Tools for Indoor Gardening
Investing in the right tools saves time, reduces guesswork, and protects your plants from common mistakes.
1. Light Meter or Smartphone App
Measure foot‑candles (fc) or lux to match a plant’s preferred light range. Most low‑light foliage thrives at 100–300 fc, while succulents need 1,000 fc or more.
2. Self‑Watering Pots or Moisture Sensors
These devices alert you when the substrate reaches the optimal moisture level (usually 30‑45 % for most houseplants). Over‑watering is the #1 cause of plant loss.
3. Adjustable Grow Light
LED panels with a full‑spectrum 3000 K–6500 K range mimic natural daylight. Set a timer for 12‑14 hours for low‑light plants, 8‑10 hours for high‑light varieties.
4. Quality Potting Mix
Use a well‑draining blend: 40 % peat or coco coir, 30 % perlite, 30 % pine bark. This mix holds enough moisture while preventing root rot.
5. Pruning Shears & Soft Brush
Sharp, stainless‑steel shears make clean cuts, and a soft brush removes dust from leaves—crucial for photosynthesis efficiency.

Step‑by‑Step Care Guide
Follow these five core steps for any indoor plant, from pothos to fiddle‑leaf fig. Adjust specifics based on the plant’s light and water chart (included in the sidebar of most plant tags).
Step 1: Choose the Right Plant for Your Space
- Assess light: Use the light meter at the intended spot for 3 consecutive days (morning, noon, evening). Record the average fc.
- Match plant needs: Low‑light (100‑300 fc) – snake plant, ZZ plant, pothos. Medium‑light (300‑800 fc) – philodendron, spider plant. High‑light (800‑1,500 fc) – succulents, cactus, fiddle‑leaf fig.
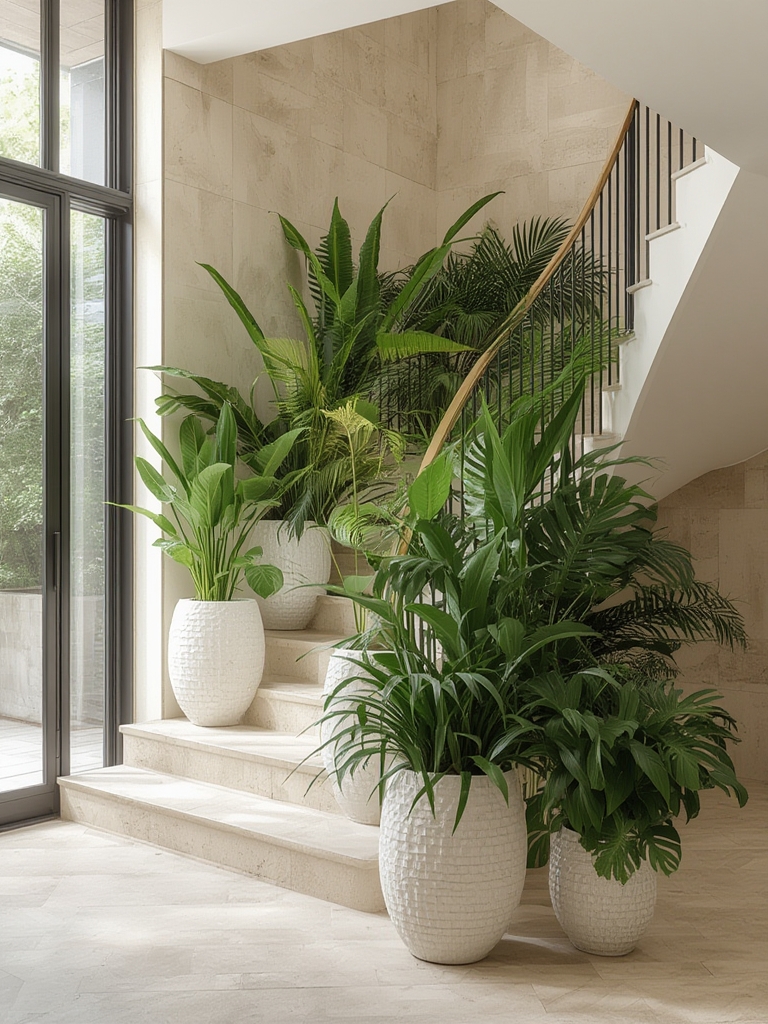
- Size considerations: Allow 1 ft of clearance per foot of plant height to avoid crowding and improve air circulation.
Step 2: Potting and Soil Preparation
- Choose a pot with drainage holes at least ¼ inch in diameter.
- Place a 1‑inch layer of broken pottery shards or hydro‑ton at the bottom for extra drainage.
- Fill the pot ¾ full with the recommended potting mix, then gently tap to settle.
- Set the plant at the same depth it was in its nursery container; backfill with more mix, firm lightly.
- Water until you see runoff from the bottom—this flushes air pockets and settles the soil.
Step 3: Light Management
- Natural light: Rotate the pot 90° every week so all sides receive equal exposure.
- Artificial light: Position LED panels 12‑18 inches above foliage; adjust height as the plant grows.
- Seasonal shift: In winter, increase artificial light duration by 2‑3 hours to compensate for shorter days.
Step 4: Watering with Precision
Use the “finger test” combined with a moisture sensor for best results.
- Insert your finger 2 inches into the soil; if it feels dry, it’s time to water.
- Set the moisture sensor to trigger at 35 % (low‑light) or 45 % (high‑light) substrate moisture.
- Water slowly until the pot’s drainage holes release water, then empty the saucer to prevent standing water.
- For succulents, allow the soil to dry completely (up to 2 weeks) before the next watering.
Step 5: Feeding, Pruning, and Maintenance
- Fertilizing: Apply a balanced 20‑20‑20 liquid fertilizer at half strength once a month during the growing season (April‑September). Reduce to every 8‑12 weeks in winter.
- Pruning: Trim yellow or dead leaves with clean shears. For bushier growth, pinch back the tip of a stem once it reaches 6‑8 inches.
- Cleaning: Dust leaves weekly with a soft brush or damp cloth. Clean leaves absorb up to 30 % more light.
- Pest monitoring: Check the undersides of leaves for spider mites or mealybugs. A quick spray of neem oil (1 tsp per quart of water) solves infestations without harming the plant.
Putting It All Together: A Sample Weekly Routine
| Day | Task |
|---|---|
| Monday | Check light levels with meter; adjust LED timer if needed. |
| Tuesday | Inspect soil moisture; water if sensor reads below target. |
| Wednesday | Dust leaves and rotate pots. |
| Thursday | Apply fertilizer (if in growing season) and prune any dead foliage. |
| Friday | Inspect for pests; treat with neem spray if required. |
| Saturday | Empty saucers, clean pot bases, and check drainage holes. |
| Sunday | Take a photo for your plant journal – track growth and adjust care as needed. |
Quick Wins: Small Actionable Tips for Immediate Success
- Water at the base: Avoid wetting leaves to reduce fungal risk.
- Use rainwater or filtered tap water: Chlorine can damage delicate root systems.
- Group plants with similar needs: This simplifies lighting and watering schedules.
- Label pots: Write the plant name, last watering date, and fertilizer schedule on a waterproof tag.
- Set reminders: Use your phone’s calendar to create recurring tasks for watering and feeding.
By following this data‑backed framework and equipping yourself with the right tools, you’ll turn any corner of your home into a thriving indoor garden. Remember, consistency beats perfection—small, regular actions lead to healthy, happy plants that keep giving back year after year.

