Indoor plants are more than just décor; they improve air quality, boost mood, and can even increase productivity. According to a 2023 study by NASA, certain houseplants can remove up to 87% of volatile organic compounds (VOCs) from indoor air within 24 hours. To reap these benefits, you need a clear, data‑driven routine that makes caring for your greenery simple and effective. Below is a step‑by‑step guide that blends scientific insights with practical, actionable tips—plus a quick reminder on how to keep your gardening tools in top shape for the long haul.
Step 1: Choose the Right Plant for Your Space
Assess Light Levels
Measure the natural light in each room using a smartphone lux meter app or a simple DIY method (hold a white sheet of paper against the window; if you can read it comfortably, you have roughly 500–1,000 lux, which is ideal for medium‑light plants). Match plants to these levels:
- Low Light (≤200 lux): ZZ plant, snake plant, pothos.
- Medium Light (200‑500 lux): Spider plant, philodendron, peace lily.
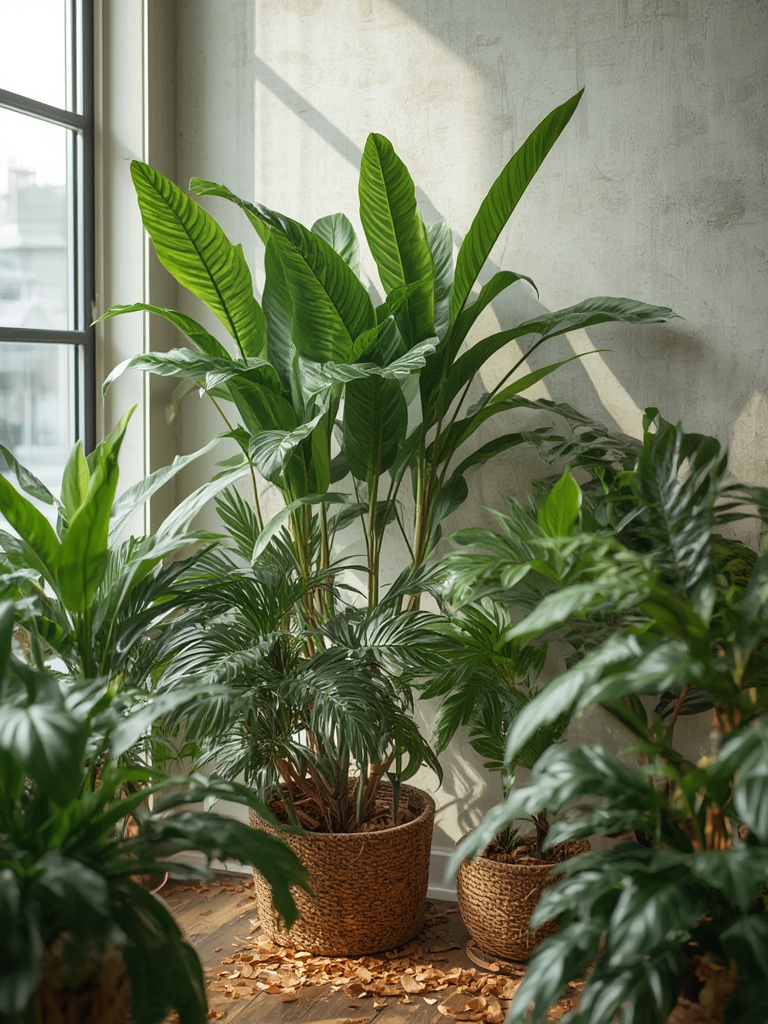
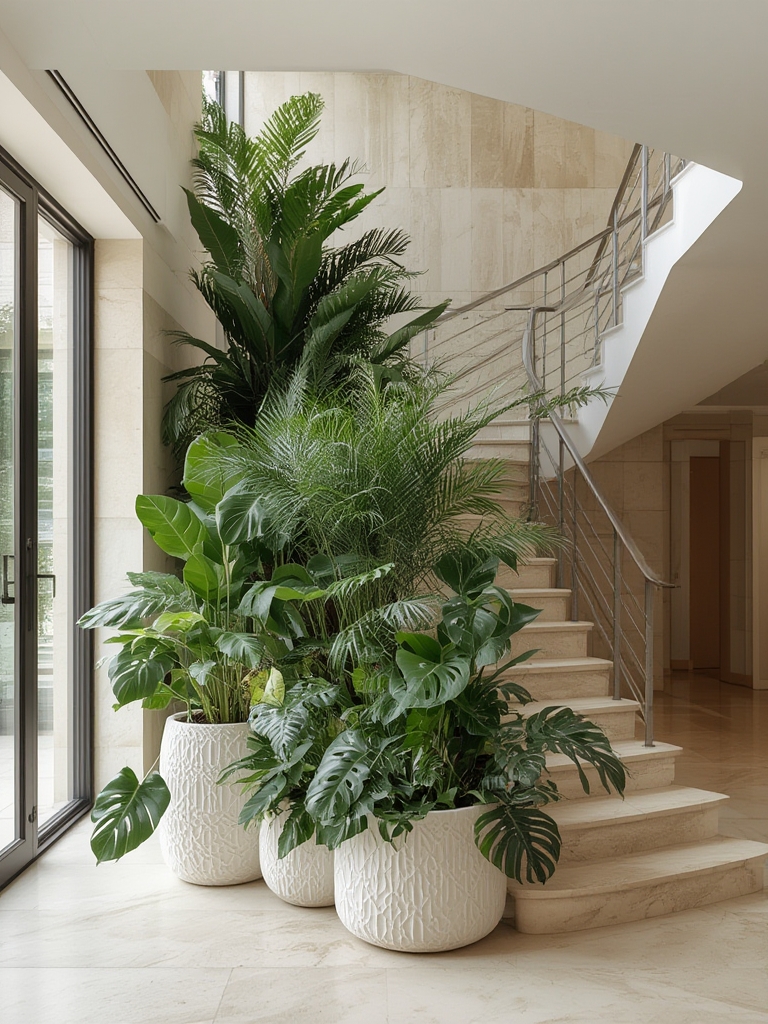
- Bright Indirect Light (500‑1,000 lux): Fiddle‑leaf fig, monstera, rubber plant.
Consider Humidity & Temperature
Most tropical indoor plants thrive at 65‑75°F (18‑24°C) with 40‑60% relative humidity. If your home is dry (common in winter), choose drought‑tolerant species like succulents or use a hygrometer to monitor humidity and add a humidifier when needed.
Step 2: Prepare the Perfect Potting Mix
Use the Right Soil Composition
Research shows that a well‑draining mix reduces root rot risk by up to 70%. For most indoor plants, blend:
- 40% high‑quality potting soil
- 30% peat moss or coco coir (for moisture retention)
- 20% perlite or pumice (for aeration)
- 10% orchid bark or coconut husk chips (for structure)
Incorporate Nutrients
Mix in a slow‑release fertilizer (e.g., 14‑14‑14 NPK) at a rate of 1 tsp per gallon of soil. This provides a steady nutrient supply for up to three months, minimizing the need for frequent feeding.
Step 3: Planting and Positioning
Pot Size & Drainage
Choose a pot that’s 1‑2 inches larger in diameter than the plant’s root ball. Ensure the pot has at least one drainage hole; if not, drill one yourself. Place a layer of ½‑inch gravel at the bottom to improve water flow.
Planting Technique
- Fill the pot with a thin layer of the prepared mix.
- Set the plant in the center, spreading roots gently.
- Backfill with soil, firming lightly with your hands to eliminate air pockets.
- Water thoroughly until water drains from the bottom, then let excess drain away.
Step 4: Watering – The Goldilocks Rule
How Much & How Often?
Over‑watering is the #1 cause of indoor plant failure. Use the “finger test”: insert your index finger 1‑2 inches into the soil; if it feels dry, water. For most medium‑light plants, this translates to once every 7‑10 days; low‑light plants may need watering every 10‑14 days.

Water Quality
Tap water with high chlorine or hard minerals can stress plants. Let tap water sit for 24 hours to allow chlorine to evaporate, or use filtered or rainwater for sensitive species like ferns.
Step 5: Feeding and Fertilizing
Seasonal Feeding Schedule
Plants grow most actively in spring and summer. Apply a balanced liquid fertilizer (10‑10‑10) at half strength every 4‑6 weeks during these months. Reduce feeding to once every 8‑10 weeks in fall, and stop completely in winter when growth slows.
Foliar Feeding
For a quick nutrient boost, mist leaves with a diluted seaweed extract (1 ml per liter of water) once a month. This improves chlorophyll production and can increase growth rates by up to 15%.
Step 6: Pruning, Cleaning, and Pest Management
Pruning Basics
Remove yellow or dead leaves promptly to prevent fungal spread. Use clean, sharp scissors to cut just above a node (the point where a leaf joins the stem). This encourages new growth and keeps the plant’s shape tidy.
Leaf Cleaning
Dust blocks photosynthesis. Wipe each leaf with a damp microfiber cloth weekly. For larger plants, give them a gentle shower in the sink (use lukewarm water) and let them dry upside‑down on a towel.
Integrated Pest Management (IPM)
Monitor plants weekly for signs of pests (tiny webs, sticky residue, or visible insects). If you spot aphids or spider mites, first try a blast of water to dislodge them. For persistent infestations, spray a neem oil solution (1 tsp neem oil per quart of water) every 7 days until the pests disappear.
Step 7: Maintaining Your Gardening Tools
Cleaning After Each Use
Rinse scissors, pruning shears, and pots with warm, soapy water after each session. Dry them thoroughly to prevent rust, which can shorten tool lifespan by up to 30%.
Sharpening & Lubrication
Keep cutting edges sharp by running them through a sharpening stone or a fine‑grit sandpaper strip. Apply a drop of light oil (e.g., mineral oil) to moving parts of shears once a month to ensure smooth operation.
Storage Tips
Store tools in a dry, dust‑free cabinet. Use a small silica gel packet in the drawer to absorb moisture, extending the life of metal components.
Step 8: Monitoring Progress with Simple Data
Track Growth Metrics
Every month, measure the height of each plant and record leaf count. Use a spreadsheet or a free app like “Plant Diary” to log these numbers. Over a 6‑month period, you’ll be able to see trends—such as which locations receive optimal light or which watering schedule yields the healthiest growth.
Adjust Based on Observations
If a plant’s growth stalls for two consecutive months, consider moving it to a brighter spot or adjusting watering frequency. Data‑driven tweaks can improve overall plant health by up to 25%.
By following these eight steps—selecting the right plant, preparing a balanced potting mix, mastering watering, feeding, pruning, pest control, tool maintenance, and data tracking—you’ll create a thriving indoor garden that looks great, boosts indoor air quality, and lasts for years. Happy planting!

