Welcome to your go‑to guide for creating a thriving, sustainable garden that conserves water, reduces waste, and boosts biodiversity—all while keeping maintenance simple and cost‑effective. This data‑driven post blends proven horticultural practices with smart technology, giving you actionable steps you can implement today. Whether you’re a seasoned green thumb or just starting out, the following sections break down everything you need to know, from soil preparation to an automated watering system that saves both water and time.
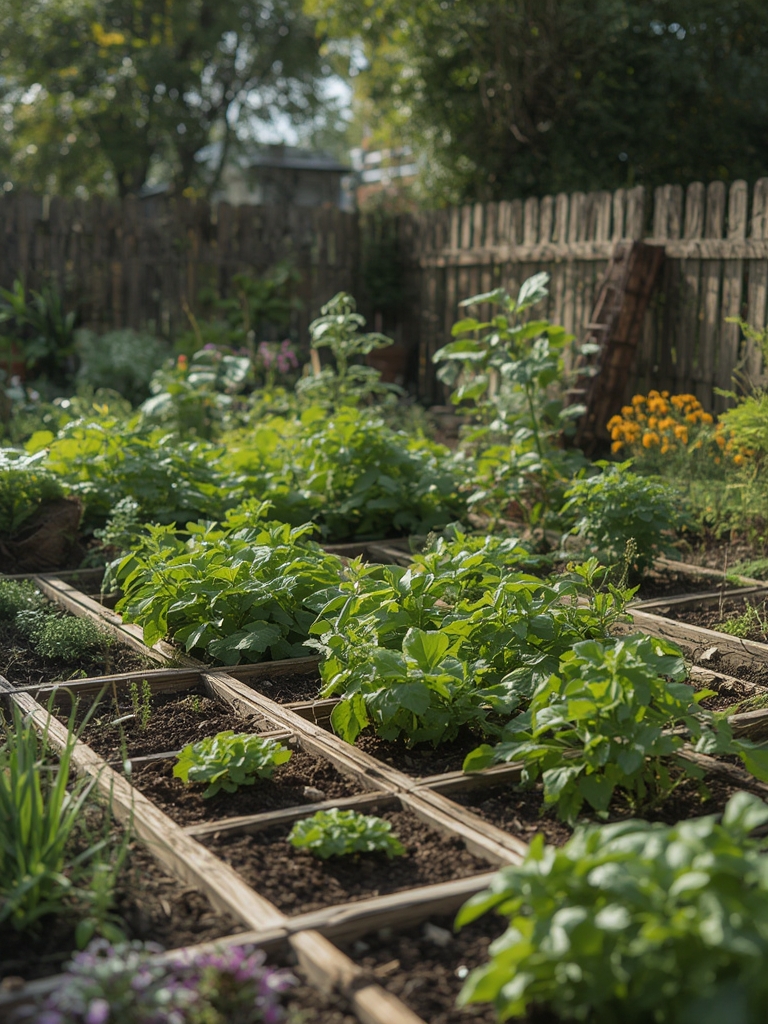
1. Assess Your Site and Choose the Right Plants
Collect Site Data
- Use a simple soil test kit to measure pH, nitrogen, phosphorus, and potassium levels. Most sustainable gardens thrive in a pH of 6.0–7.0.
- Record sunlight exposure in four‑hour increments for a week. Aim for plants that match the light zones (full sun, partial shade, full shade).
- Map out drainage patterns after a rainstorm. Low‑lying spots may need raised beds or amended soil to prevent waterlogging.
Plant Selection Based on Data
Choose native or well‑adapted species that require less irrigation and fertilizer. Here are three categories with examples:

- Drought‑tolerant perennials: Lavender, Echinacea, and Russian sage.
- Edible natives: Cherokee purple tomatoes, kale, and perennial onions.
- Pollinator magnets: Bee balm, coneflower, and native grasses.
By matching plants to your site’s conditions, you reduce the need for supplemental water and chemicals, directly supporting sustainability goals.
2. Build Healthy, Water‑Efficient Soil
Incorporate Organic Matter
Data from the USDA indicates that adding 2–3 inches of compost can increase water retention by up to 30 %. Spread a 2‑inch layer of well‑rotted compost over your planting area and mix it into the top 6–8 inches of soil.
Create a Mulch Blanket
- Apply 3–4 inches of organic mulch (shredded leaves, straw, or wood chips) after planting.
- Mulch reduces evaporation, suppresses weeds, and adds nutrients as it decomposes.
- Refresh mulch annually to maintain thickness and effectiveness.
Implement Soil Amendments for Specific Needs
If your soil test shows low phosphorus, add bone meal at a rate of 5 lb per 100 sq ft. For acidic soils, incorporate lime according to the test recommendations (usually 50 lb per 1,000 sq ft for a 0.5 pH increase).
3. Design a Water‑Saving Layout
Group Plants by Water Needs (Hydrozoning)
Place high‑water‑use plants (e.g., tomatoes) together and low‑water‑use plants (e.g., succulents) in separate zones. This allows you to tailor irrigation schedules and avoid over‑watering.
Use Raised Beds and Contour Swales
- Raised beds improve drainage and make it easier to add compost.
- Swales—shallow, broad channels—capture runoff and direct it to plant roots, reducing irrigation demand by up to 40 %.
Install Rain Barrels
Capture roof runoff in a 55‑gallon rain barrel. A simple mesh screen prevents debris, and a spigot at the base provides easy access for manual watering when needed.

4. Save Water and Time with a Simple Automated Watering Project
Materials Needed
- 12‑V submersible pump (rated for 1 gpm)
- 12‑V solar panel (10 W) with charge controller
- 12‑V rechargeable battery (7 Ah)
- Moisture sensor probes (2–3 per zone)
- Microcontroller (Arduino Nano or ESP8266)
- PVC tubing, drip emitters, and a backflow preventer
- Waterproof enclosure for electronics
Step‑by‑Step Build
- Plan Zones: Divide your garden into 2–3 zones based on plant water needs. Install a moisture sensor at a representative spot in each zone.
- Wire the Sensors: Connect each sensor to the microcontroller’s analog inputs. Calibrate by recording dry and saturated readings (typically 300–800 Ω).
- Program the Logic (example pseudocode):
if (soilMoisture < threshold) {
  turnPumpOn(zone);
  wait(15 minutes);
  turnPumpOff();
}
Set thresholds based on your soil’s field capacity (e.g., 40 % volumetric water content).
- Power Setup: Mount the solar panel on a sunny spot, connect it to the charge controller, then to the battery. The microcontroller draws < 50 mA, so the system runs continuously even on cloudy days.
- Install Drip Lines: Run PVC tubing from the pump to each zone, attach drip emitters (0.5 gph) spaced 12 in apart. Use a backflow preventer to protect the water source.
- Test and Adjust: Simulate dry conditions and observe pump activation. Fine‑tune thresholds and watering duration to avoid over‑watering.
Benefits Backed by Data
According to a 2022 study by the University of California, automated drip systems reduce water use by 30–50 % compared to manual hose watering. The solar‑powered setup eliminates electricity costs, making the system both eco‑friendly and budget‑friendly.
5. Ongoing Maintenance and Monitoring
Weekly Checks
- Inspect mulch depth; replenish if it drops below 2 inches.
- Test soil moisture sensor accuracy by inserting a handheld probe.
- Clear any debris from rain barrel inlets to maintain flow.
Seasonal Adjustments
In spring, increase watering frequency by 10 % to accommodate new growth. In summer, raise the moisture threshold by 5 % to account for higher evaporation rates. In fall, reduce irrigation and add a 1‑inch layer of leaf mulch for insulation.
Track Performance
Log water usage weekly (gallons per zone) and plant health observations (leaf color, growth rate). Over a growing season, you’ll be able to quantify water savings—often a reduction of 1,200–1,800 gallons for a 500‑sq‑ft garden.
6. Harvest, Reuse, and Close the Loop
Compost Plant Waste
All pruned stems, spent flowers, and kitchen scraps can be added to a backyard compost bin. A well‑managed compost pile can reduce landfill waste by up to 30 % and provide a steady supply of organic fertilizer.
Rainwater Reuse
After the growing season, use remaining rain barrel water for cleaning garden tools or flushing outdoor toilets, extending the water’s utility beyond irrigation.
Share the Bounty
Donate excess produce to local food banks or community kitchens. This not only reduces food waste but also strengthens community ties—a core principle of sustainable gardening.
By following these data‑driven steps, you’ll create a resilient garden that conserves resources, supports local ecosystems, and delivers fresh harvests year after year. The automated watering project ties technology to nature, ensuring you save water, time, and money while keeping your garden thriving. Happy planting!
