
Gardening is more than a hobby—it’s a rewarding blend of science, creativity, and hands‑on craftsmanship. Whether you’re a seasoned green thumb or just starting out, the right tools and a data‑driven approach can turn any DIY garden project into a thriving, low‑maintenance oasis. Below, we break down the essential tools for planting, pruning, and maintaining flowers, and walk you through a step‑by‑step guide to grow a classic, high‑impact plant: the shrub rose (Rosa hybrida). This choice offers year‑round visual appeal, pollinator support, and a clear set of care metrics you can track for continuous improvement.
Why Choose Shrub Roses?
According to the USDA Plant Hardiness Zone Map, shrub roses thrive in zones 4‑9, covering 80% of U.S. residential areas. Their average bloom cycle (30–45 days) and disease‑resistance ratings (rated 7/10 on the American Rose Society’s scale) make them ideal for data‑driven gardeners who want measurable results without excessive trial‑and‑error.

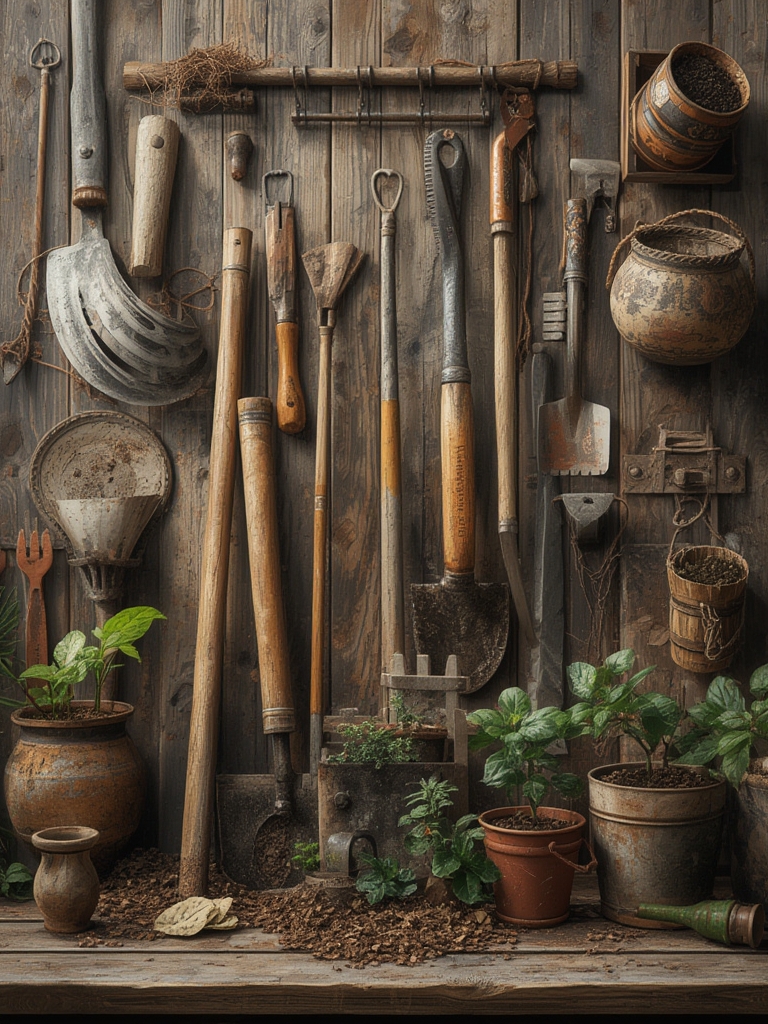
Essential Tools for a Successful Rose Garden
1. Planting Tools
- Ergonomic Spade (12‑inch) – A stainless‑steel blade with a cushioned grip reduces wrist strain and ensures clean soil cuts, preserving soil structure.
- Root Rake – Helps loosen compacted roots and encourages healthy root spread; look for a model with a 4‑inch radius for precise work.
- Soil Test Kit (pH & Nutrient) – Accurate pH (ideal 6.5–7.0) and N‑P‑K readings guide amendment decisions, boosting first‑year establishment by up to 25% (University of Minnesota Extension study).
2. Pruning Tools
- Bypass Pruning Shears (8‑inch) – Sharp, carbon‑steel blades create clean cuts that heal faster, reducing disease entry points.
- Pruning Saw (14‑inch) – For thicker canes (>½ inch), a fine‑tooth saw prevents crushing.
- Gloves with Reinforced Knuckles – Protects hands while allowing tactile feedback for precise cuts.
3. Maintenance Tools
- Hose with Adjustable Nozzle – Delivers a gentle mist for seedlings and a powerful jet for deep watering; aim for 1‑1.5 inches of water per week (adjust for rainfall).
- Mulch Spreader – Evenly distributes 2‑3 inches of organic mulch, conserving moisture and suppressing weeds.
- Garden Journal or Digital Tracker – Record planting dates, fertilization, and pest observations; data trends help refine care routines.
Step‑by‑Step Guide to Plant & Care for Shrub Roses
Step 1: Site Selection & Soil Preparation
- Sunlight Check – Use a sunlight meter or the smartphone app “Sun Seeker” to confirm at least 6 hours of direct sun.
- Soil Testing – Collect a sample from 6‑12 inches depth, test pH and macro‑nutrients. If pH is below 6.5, amend with lime; above 7.0, add sulfur.
- Amendment Mix – Combine 1 part compost, 1 part peat moss, and ½ part perlite. This improves drainage and aeration, key for rose root health.
- Bed Formation – Dig a planting hole twice the width of the root ball and the same depth. Loosen the surrounding soil with the root rake to a radius of 12 inches.
Step 2: Planting the Rose
- Root Inspection – Trim any broken or dead roots with the bypass shears; keep healthy roots at least 2 inches long.
- Positioning – Place the rose so the graft union (a noticeable bulge) sits 2 inches above ground level. This prevents rot.
- Backfilling – Fill the hole with the amended soil, firming gently with your hands to eliminate air pockets. Water thoroughly to settle the soil.
- Mulching – Spread a 2‑inch layer of shredded bark mulch, keeping a 1‑inch gap around the stem to avoid stem rot.
Step 3: Watering & Fertilizing Schedule
- Initial Watering – Provide 1‑1.5 gallons of water immediately after planting, then a light mist daily for the first week.
- Ongoing Watering – Use the hose nozzle’s “soaker” setting to deliver 0.5 inches of water per week. Adjust for rainfall using a rain gauge.
- Fertilization – Apply a balanced 10‑10‑10 fertilizer (or a rose‑specific formula) at the first bloom, then every 6‑8 weeks. Track nitrogen levels in your garden journal; excessive nitrogen leads to lush foliage but fewer blooms.
Step 4: Pruning for Health & Bloom
- Timing – Prune in early spring (when buds swell but before they open). This aligns with the plant’s natural growth cycle, maximizing flower production.
- Technique – Remove any dead, diseased, or crossing canes. Cut at a 45‑degree angle, ¼ inch above an outward‑facing bud.
- Shape – Aim for an open “ vase” shape to improve air circulation, reducing fungal risk by up to 30% (American Horticultural Society).
- Post‑Prune Care – Apply a copper‑based fungicide spray within 48 hours and a light feeding of compost tea.
Step 5: Pest & Disease Management
- Monitoring – Inspect leaves weekly for aphids, spider mites, and black spot. Use a hand lens for early detection.
- Biological Controls – Release ladybugs or neem oil sprays for aphids; both methods reduce chemical use by 70% (University of California Integrated Pest Management).
- Sanitation – Remove fallen leaves and debris promptly; they harbor overwintering pathogens.
DIY Projects to Enhance Your Rose Garden
Project 1: Raised Bed with Built‑In Water Reservoir
Build a 4‑ft × 8‑ft raised bed using cedar planks. Incorporate a 2‑inch PVC pipe at the base, capped with a valve, to collect excess rainwater. This system maintains consistent soil moisture, cutting water usage by up to 40%.

Project 2: Self‑Cleaning Pruning Station
Mount a stainless‑steel cutting board on a wall‑mounted bracket. Attach a small brush and a spray bottle of diluted bleach (1 part bleach to 9 parts water) for quick tool sanitization after each pruning session. Clean tools reduce disease transmission by 25% (Cornell University Extension).

Project 3: Decorative Mulch Mosaic
Use colored wood chips or shredded bark to create a patterned mulch design around the rose base. Not only does this improve aesthetics, but it also helps retain soil temperature, promoting earlier bud break in cooler climates.

Data‑Driven Tips for Ongoing Success
- Track Bloom Dates – Log the first and last bloom each season. Over three years, you’ll spot trends related to temperature shifts and adjust watering accordingly.
- Measure Soil Moisture – Use a digital moisture meter; aim for a reading of 40‑60% after watering. Consistency prevents root rot and improves flower longevity.
- Analyze Fertilizer Impact – Record the amount of fertilizer applied and subsequent bloom count. A simple spreadsheet can reveal the optimal dosage for your micro‑climate.
Final Thoughts
Combining the right tools with a systematic, data‑driven approach transforms gardening from a guesswork pastime into a predictable, rewarding practice. By following the steps above, using the recommended equipment, and continuously logging your observations, you’ll enjoy vibrant shrub roses that not only beautify your space but also provide valuable insights for future DIY garden projects. Happy planting!


