
Welcome to your go‑to guide for turning a modest garden space into a thriving sanctuary of healing herbs. Whether you’re a seasoned green thumb or just starting out, this post blends data‑driven insights with practical DIY projects to help you select the right tools, set up efficient planting systems, and nurture herbs that boost wellness naturally.
Why Healing Herbs Matter in Modern Wellness
Recent surveys from the National Center for Complementary and Integrative Health show a 27% increase in home‑grown herb usage for natural remedies over the past five years. Herbs such as lavender, chamomile, peppermint, and echinacea are prized for their calming, anti‑inflammatory, and immune‑supporting properties. Growing them yourself guarantees pesticide‑free quality, reduces costs, and deepens your connection to the healing process.

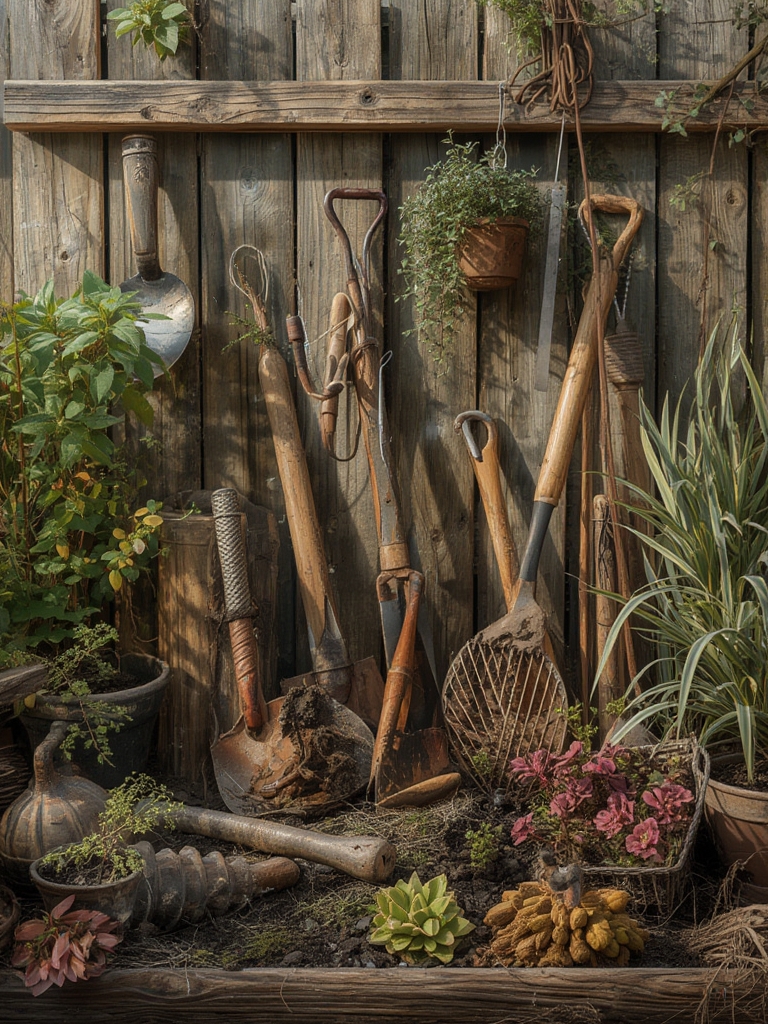
Essential Gardening Tools for a Successful Herb Garden
1. Soil Test Kit
Data from the University of California’s horticulture department indicates that optimal pH for most culinary and medicinal herbs ranges from 6.0 to 7.0. A simple test kit lets you adjust soil amendments before planting, improving germination rates by up to 30%.

2. Ergonomic Hand Trowel & Cultivator
Choosing tools with soft‑grip handles reduces wrist strain during frequent transplanting. Look for stainless‑steel blades to avoid rust, especially in humid climates.

3. Adjustable Watering Can or Soaker Hose
Consistent moisture is critical. A watering can with a rose attachment provides a gentle shower, while a soaker hose paired with a timer ensures 15‑minute deep soak cycles, preventing over‑watering—a common cause of root rot.

4. Pruning Shears (Secateurs)
Sharp, bypass‑type shears allow clean cuts that heal quickly. Clean the blades with rubbing alcohol after each use to avoid spreading fungal spores.
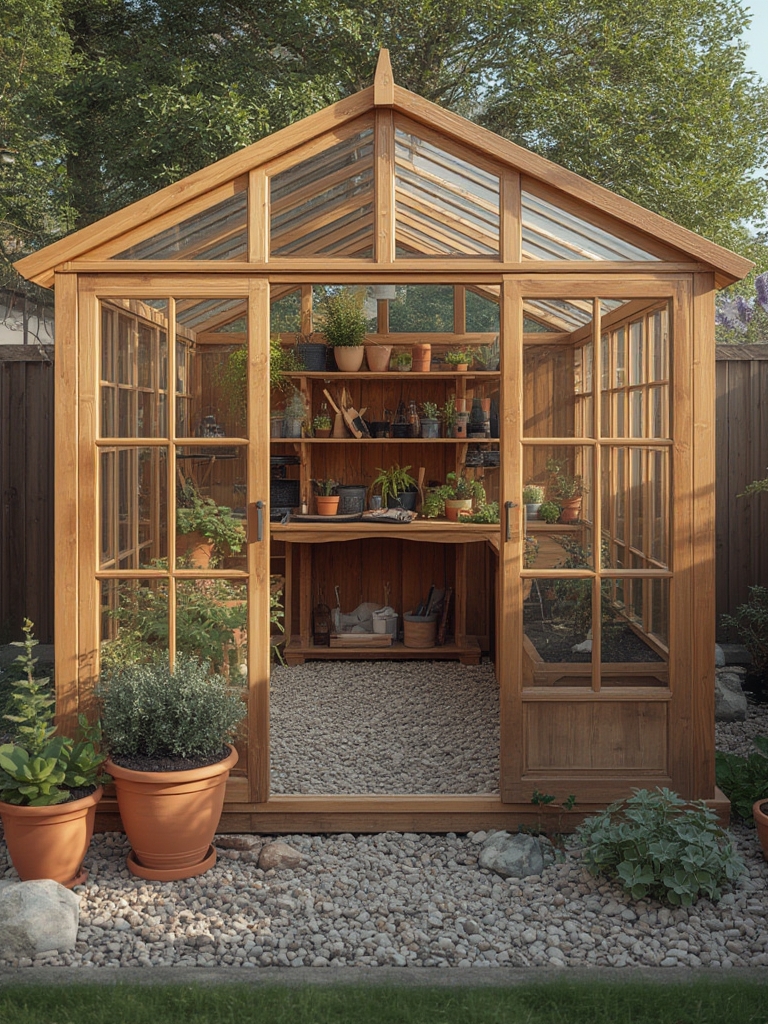
5. Raised‑Bed Kit or Container Set
Data from the USDA shows raised beds improve drainage and soil temperature regulation, leading to a 22% faster growth rate for herbs compared to in‑ground planting.

DIY Projects to Boost Your Herb Garden
DIY Herb Drying Rack
Materials: reclaimed wood (1 × 2 in), nylon rope, and small hooks. Assemble a 3‑tier rack using 12‑inch spacing between shelves. Hang herbs upside‑down for even airflow, reducing drying time from 7 days (air‑dry) to 3–4 days.
Self‑Watering Herb Planter
Use a 5‑gallon bucket, a cotton wick, and a perforated tray. Cut a 2‑inch hole in the bucket’s lid, thread the wick through, and place the tray inside. The wick draws water slowly, maintaining consistent soil moisture—ideal for busy schedules.
Herb‑Infused Oil & Vinegar Station
Repurpose a glass mason jar with a silicone seal. Fill half with fresh herb leaves, top with olive oil or apple cider vinegar, and seal. Store in a cool, dark place for 2 weeks. This creates a ready‑to‑use natural remedy for skin irritation or culinary use.
Step‑by‑Step Guide: Growing a Core Healing Herb Mix
Step 1: Choose Your Herbs
Based on wellness goals, select a balanced trio:
- Lavender (Lavandula angustifolia) – calming, sleep aid.
- Chamomile (Matricaria chamomilla) – anti‑inflammatory, digestive support.
- Echinacea (Echinacea purpurea) – immune booster.
Step 2: Prepare the Soil
Mix 2 parts loam, 1 part compost, and ½ part perlite. Use your soil test kit; if pH is below 6.0, add garden lime (1 tsp per 10 sq ft). If above 7.0, incorporate elemental sulfur (½ tsp per 10 sq ft). Lightly tamp the mix into raised beds or 12‑inch containers.
Step 3: Sow Seeds or Transplant Seedlings
Follow these spacing guidelines (source: Royal Horticultural Society):
- Lavender: 12‑inch spacing.
- Chamomile: 8‑inch spacing.
- Echinacea: 18‑inch spacing.
Plant seeds ¼‑inch deep; for seedlings, dig a hole twice the root ball size, gently loosen roots, and backfill with soil. Water lightly to settle the soil.
Step 4: Establish a Watering Routine
For the first two weeks, keep the soil consistently moist (≈1 in of water per week). After establishment, switch to deep soak cycles: 15 minutes of water at the base, twice weekly, adjusting for rainfall.
Step 5: Mulch and Weed
Apply a 2‑inch layer of shredded bark or straw. Mulch retains moisture, suppresses weeds, and adds organic matter as it decomposes—reducing fertilizer needs by up to 15%.
Step 6: Monitor for Pests
Data from the Integrated Pest Management (IPM) database highlights aphids and spider mites as common herb pests. Use a neem oil spray (1 tsp per quart water) weekly, and introduce ladybugs for biological control.
Step 7: Prune for Continuous Harvest
Trim lavender just above the woody stem after flowering to encourage new growth. Harvest chamomile flowers in the morning when buds are fully open. Cut echinacea stems just above the second leaf node, leaving at least 6 inches of growth for regrowth.
Maintenance Tips for Long‑Term Success
Seasonal Soil Refresh
Every spring, add 1‑2 inches of compost to replenish nutrients. For perennials like lavender, a light feeding of balanced 10‑10‑10 fertilizer in early summer supports blooming.
Sunlight Management
All three herbs thrive in 6–8 hours of full sun. If you have limited sunlight, use reflective mulches or position reflective panels to boost light exposure by up to 20%.
Winter Protection
In USDA zones 5–7, cover lavender with burlap and mulch heavily (4 inches) to insulate roots. Chamomile can be grown as an annual; sow new seeds each spring. Echinacea tolerates light frost; a thin layer of straw suffices.
Harvesting and Using Your Healing Herbs
Lavender
Cut stems just before the buds fully open. Hang them upside‑down in a dark, well‑ventilated area for 7–10 days. Use dried flowers for sachets, teas, or essential oil infusions.
Chamomile
Harvest flower heads when fully open but before they start to wilt. Dry on a mesh screen for 2–3 days. Brew a calming tea (1 tsp dried flowers per cup) or create a soothing skin compress.
Echinacea
Collect the flower heads and roots in late fall after the first frost. Dry roots for 2 weeks, then grind into a powder for immune‑boosting tinctures (1 tsp per 8 oz water).
Bonus DIY Project: Portable Herb Garden Kit
Build a lightweight, foldable garden using PVC pipe frames (½‑inch diameter) and fabric grow bags. This kit fits in a balcony or backyard patio, allowing you to relocate herbs for optimal sunlight throughout the season.
Conclusion
By pairing data‑backed gardening practices with simple DIY projects, you can cultivate a resilient herb garden that serves both culinary delights and natural wellness needs. Start with the right tools, follow the step‑by‑step planting guide, and incorporate the actionable tips provided. Within weeks, you’ll see vibrant growth, and soon you’ll be harvesting fresh, pesticide‑free herbs ready to enhance your health and home.


