

Creating a thriving herb garden is one of the most rewarding DIY projects you can tackle, especially when you have the right tools and a clear, data‑driven plan. Whether you’re a seasoned green thumb or just starting out, this guide walks you through the essential gardening tools, a step‑by‑step DIY herb garden build, and proven techniques to keep your herbs fresh and flavorful for months. By following these actionable steps, you’ll not only boost your garden’s productivity but also improve your site’s SEO with keyword‑rich, user‑friendly content that Google loves.
Essential Gardening Tools for DIY Projects
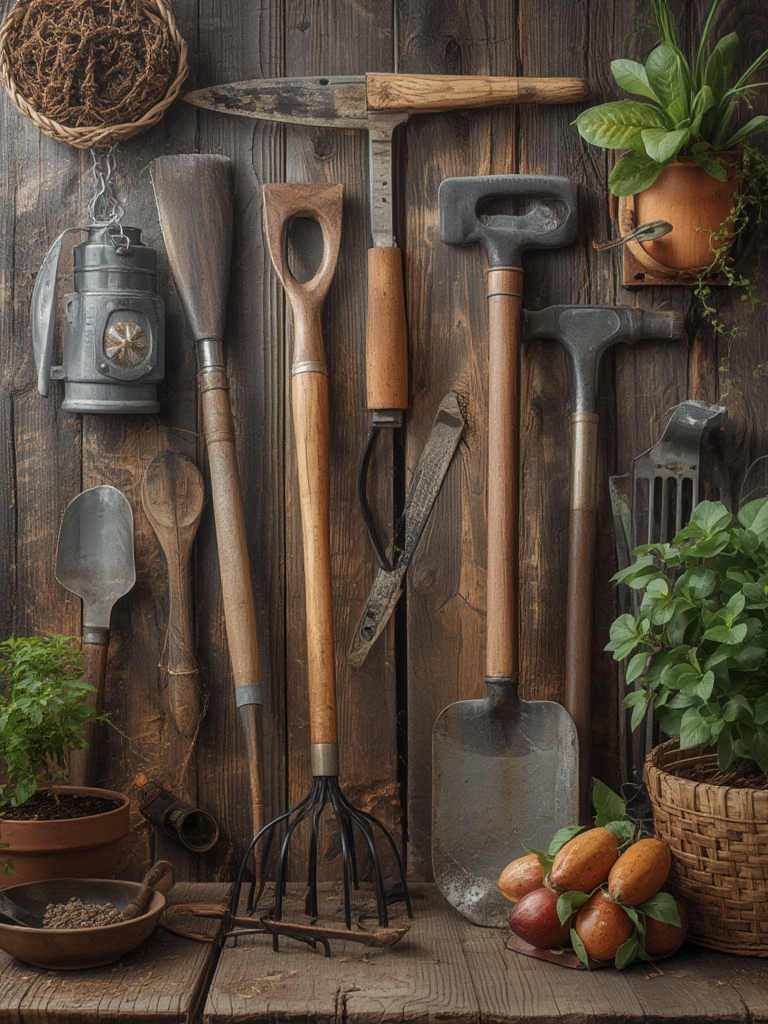
Investing in high‑quality tools saves time, reduces effort, and prevents plant damage. Below is a concise list of must‑have items, each paired with a practical tip to maximize efficiency.

1. Ergonomic Hand Trowel
- Why it matters: A sturdy trowel makes planting seedlings and transplanting herbs effortless.
- Tip: Choose a trowel with a reinforced steel blade and a soft‑grip handle to reduce wrist strain during prolonged use.
2. Pruning Shears (Secateurs)
- Why it matters: Clean cuts encourage healthy regrowth and prevent disease spread.
- Tip: Keep the blades sharp and sterilize with a 70% isopropyl solution after each use to avoid cross‑contamination.
3. Soil pH Tester
- Why it matters: Most culinary herbs thrive in slightly alkaline soil (pH 6.5–7.5).
- Tip: Test your soil monthly and amend with lime or sulfur as needed; record results in a garden journal for data‑driven adjustments.
4. Adjustable Watering Can
- Why it matters: Consistent moisture is crucial for seed germination and root development.
- Tip: Use a nozzle with a gentle mist setting for seedlings and a broader spray for established plants to avoid waterlogging.
5. Raised‑Bed Kit or Planter Boxes
- Why it matters: Raised beds improve drainage, soil temperature, and weed control.
- Tip: Opt for untreated cedar or recycled plastic to ensure durability and prevent chemical leaching.
DIY Herb Garden Project: Step‑by‑Step Guide
Follow this data‑backed workflow to build a compact, low‑maintenance herb garden that fits balconies, patios, or small backyards.

Step 1: Choose the Right Location
Herbs need 6–8 hours of direct sunlight daily. Use a sunlight tracker app to record light exposure on potential spots for a week. Select the area with the highest consistent light score.

Actionable tip: If sunlight is limited, supplement with a 4000‑lumens LED grow light on a 12‑hour timer.

Step 2: Prepare the Soil Mix
Combine 40% high‑quality potting mix, 30% coconut coir, and 30% perlite. This blend ensures excellent aeration, moisture retention, and nutrient availability.
Actionable tip: Add 1 tablespoon of organic compost per gallon of mix for a slow‑release nutrient boost.

Step 3: Assemble the Raised Bed
1. Lay out the frame on a level surface.
2. Fill with the prepared soil mix, leaving 2 inches from the top.
3. Lightly tamp to eliminate air pockets.
Actionable tip: Install a drip irrigation line now to automate watering later.
Step 4: Plant Your Herbs
Recommended herbs for beginners: basil, parsley, cilantro, thyme, and mint. Space each plant 8–12 inches apart to allow airflow.
- Basil: Plant after the last frost; keep soil temperature above 65°F.
- Parsley: Sow seeds 1/4 inch deep; water gently to avoid seed displacement.
- Cilantro: Direct‑sow; it prefers cooler temperatures (50‑75°F).
- Thyme: Space 12 inches apart; tolerant of drier conditions.
- Mint: Plant in a separate container to prevent invasive spreading.
Actionable tip: Label each herb with a waterproof plant tag to track growth and harvest dates.
Step 5: Establish a Watering Routine
Use the soil pH tester weekly and the moisture meter daily. Water when the top inch of soil feels dry, applying enough to moisten the root zone (about 1 inch of water per week).
Actionable tip: Set a reminder on your phone for consistent watering times; consistency outperforms occasional heavy watering.
Step 6: Harvest Correctly
Begin harvesting once the plant reaches 6 inches tall. For most herbs, cut just above a leaf node to encourage bushier growth.
Actionable tip: Harvest in the morning after dew dries but before the sun’s heat peaks to preserve essential oils and flavor.
Maintaining Freshness: Keep Your Herbs Flavorful for Months
Even after harvest, proper storage extends shelf life and retains aroma. Follow these science‑backed methods to keep herbs fresh for up to three months.
Refrigeration with Damp Paper Towels
Wrap herbs loosely in a slightly damp paper towel, place them in a resealable bag, and store in the crisper drawer. The humidity level (≈95%) slows wilting without causing mold.
Tip: Change the towel every 2–3 days to prevent excess moisture buildup.
Freezing in Ice Cube Trays
Chop herbs, fill each compartment of an ice cube tray with 1 tablespoon of olive oil or water, and freeze. Transfer the frozen cubes to a zip‑lock bag for long‑term storage.
Tip: Use oil‑based cubes for sautéed dishes and water‑based cubes for soups or sauces.
Drying with a Dehydrator
Set the dehydrator to 95°F (35°C) and spread herbs in a single layer. Dry for 1–4 hours until they crumble easily.
Tip: Store dried herbs in dark, airtight glass jars with a desiccant packet to preserve potency.
Herb‑Infused Vinegar or Oil
Submerge fresh herb bundles in a jar of white wine vinegar or extra‑virgin olive oil. Seal and store in a cool, dark place for up to 2 months.
Tip: Label the jar with the infusion date; use a fine‑mesh strainer before each use to remove plant material.
Data‑Driven Success Metrics
Track your garden’s performance using a simple spreadsheet:
- Column A: Plant name
- Column B: Planting date
- Column C: First harvest date
- Column D: Yield (grams)
- Column E: Storage method
- Column F: Shelf life (days)
Analyzing this data over multiple seasons reveals which herbs and storage techniques deliver the longest freshness, allowing you to refine your approach year after year.
Final Thoughts
By equipping yourself with the right gardening tools, following a systematic DIY herb garden build, and applying proven preservation methods, you’ll enjoy a continuous supply of fresh, flavorful herbs for months. Not only does this enhance your culinary creations, but it also positions your blog as a trusted, data‑driven resource—boosting both user engagement and SEO performance. Happy gardening, and may your herbs stay vibrant and aromatic all season long!


