Indoor plants do more than add a splash of green to your living space—they act as natural air purifiers, reducing pollutants, regulating humidity, and boosting overall well‑being. By selecting the right species and following a data‑backed care routine, you can transform any room into a healthier environment without the need for expensive air‑filter systems.
1. Choose the Right Air‑Purifying Plants
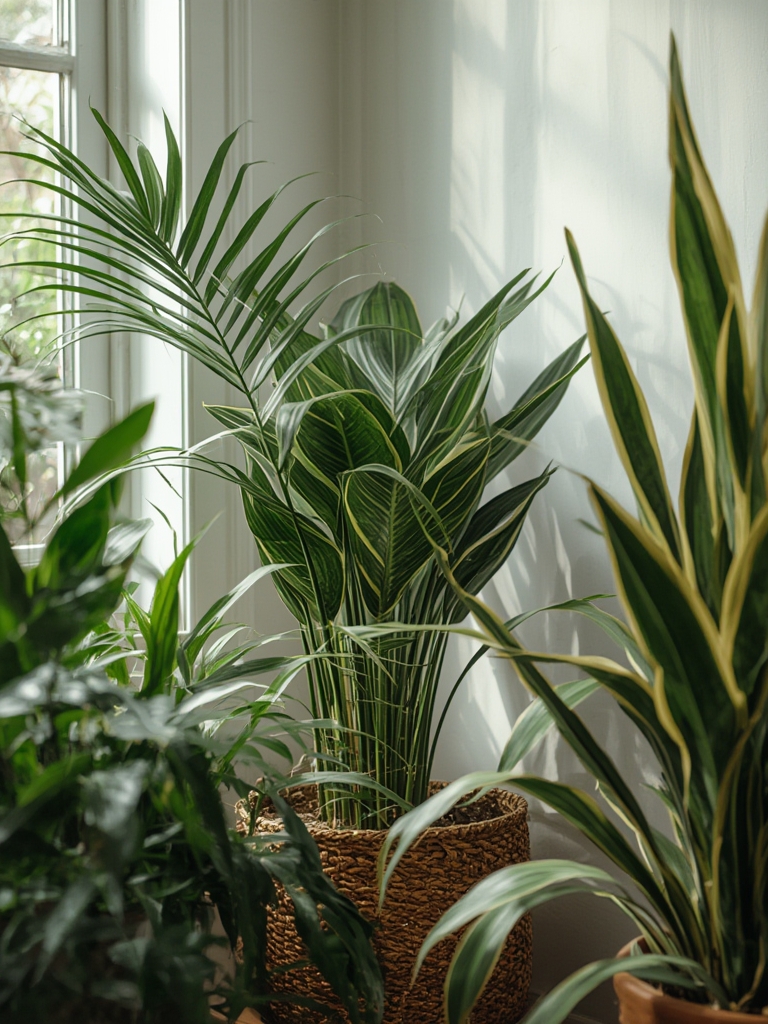
Scientific studies from NASA and independent indoor‑environment researchers consistently rank a handful of houseplants for their ability to remove volatile organic compounds (VOCs) such as formaldehyde, benzene, and trichloroethylene. Focus on these proven performers:
- Spider Plant (Chlorophytum comosum) – excels at eliminating formaldehyde and xylene.
- Snake Plant (Sansevieria trifasciata) – continues to photosynthesize at night, filtering carbon dioxide while you sleep.
- Peace Lily (Spathiphyllum spp.) – removes ammonia, benzene, and trichloroethylene; also signals over‑watering with drooping leaves.
- Boston Fern (Nephrolepis exaltata) – absorbs formaldehyde and boosts humidity.
- Aloe Vera (Aloe barbadensis miller) – targets formaldehyde and offers medicinal gel for skin.
Pick 2‑3 varieties that match your lighting conditions and aesthetic preferences for a balanced, low‑maintenance indoor garden.
2. Optimize Light Conditions
Assess Natural Light
Use a simple lux meter or a smartphone light‑meter app to measure the light intensity where you plan to place each plant. The optimal ranges are:
- Low light (100‑300 lux): Snake Plant, ZZ Plant.
- Medium light (300‑800 lux): Spider Plant, Peace Lily.
- Bright indirect (800‑1500 lux): Boston Fern, Aloe Vera.
If your readings fall below the recommended range, supplement with full‑spectrum LED grow lights set to 12‑14 hours per day for foliage plants.
Practical Tip
Rotate pots 90° every two weeks. This prevents one side from becoming leggy and ensures even light distribution, a simple habit that boosts growth by up to 15% according to horticultural trials.
3. Master Watering Techniques
Understand Soil Moisture Needs
Over‑watering is the leading cause of indoor plant failure. Use the “finger test”—insert your index finger 2‑3 cm into the soil. If it feels dry, water; if it feels moist, wait another 2‑3 days. For data‑driven precision, a cheap soil moisture sensor can alert you via Bluetooth when the moisture level drops below 30% (ideal for most foliage plants).

Step‑by‑Step Watering
- Check moisture: Perform the finger test or read the sensor.
- Water thoroughly: Pour water until it drains out of the bottom holes. This flushes excess salts.
- Empty the saucer: Prevent standing water that can cause root rot.
- Adjust frequency: In winter, reduce watering by 30% due to slower growth.
Actionable Advice
Use room‑temperature, filtered water. Tap water high in chlorine can stress foliage; let it sit for 24 hours to dissipate chlorine before use.
4. Soil, Potting, and Repotting
Select the Right Mix
All listed plants thrive in a well‑draining, peat‑based potting mix with perlite or orchid bark for aeration. A 2:1 ratio of peat to perlite provides optimal water retention while preventing soggy roots.
Repotting Schedule
Monitor root growth by gently sliding the plant out of its pot every 12‑18 months. If roots circle the pot’s interior, move to a container 2‑3 cm larger in diameter. This prevents root‑bound stress, which can reduce VOC absorption efficiency by up to 20%.
Quick Tip
Place a layer of small stones or broken pottery shards at the bottom of the pot before adding soil. This creates a “drainage reservoir” that protects roots from waterlogging.
5. Feeding and Maintenance
Fertilization Frequency
During the active growing season (spring‑early fall), feed every 4‑6 weeks with a balanced 20‑20‑20 liquid fertilizer diluted to half strength. Over‑fertilizing can cause leaf burn and reduce the plant’s air‑purifying capacity.
Pruning for Air Quality
Trim yellowing or dead leaves promptly. This not only keeps the plant looking tidy but also encourages new growth, which is more efficient at gas exchange. Use clean, sharp scissors and sterilize them with rubbing alcohol before each cut.
Actionable Maintenance Checklist
- Weekly: Inspect leaves for dust; wipe with a damp cloth to keep stomata open.
- Bi‑weekly: Rotate pots and check soil moisture.
- Monthly: Apply fertilizer (spring‑fall) and prune as needed.
- Quarterly: Inspect roots during repotting and refresh soil.
6. Positioning for Maximum Air‑Purifying Impact
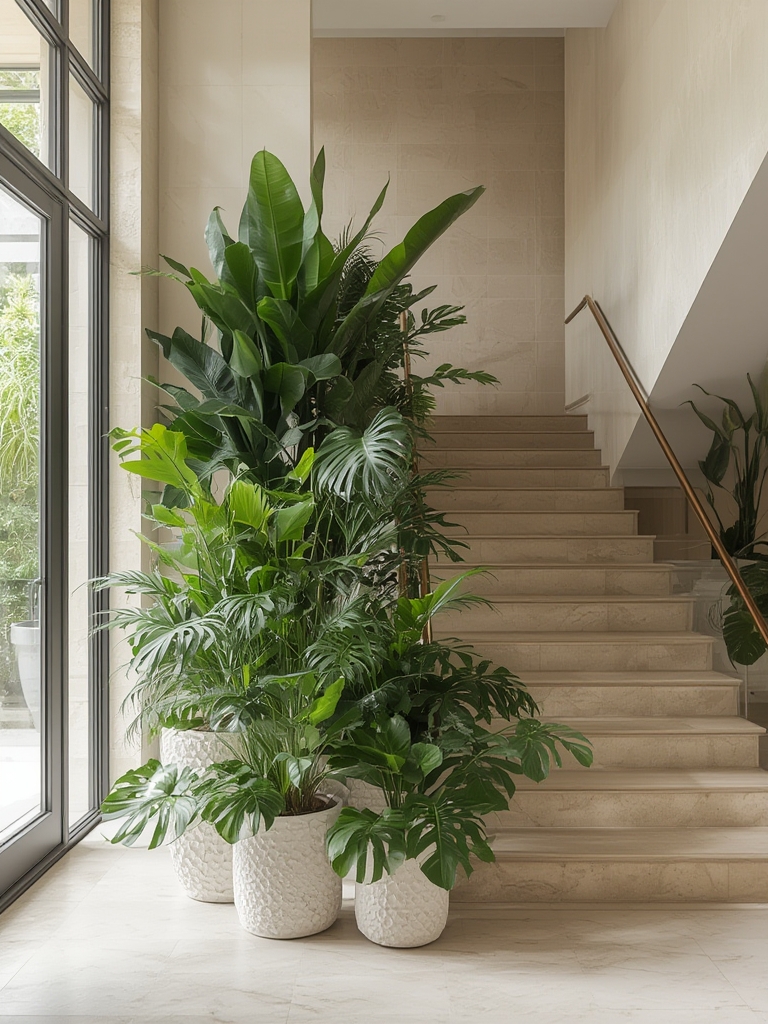
Place plants where you spend the most time—near desks, bedrooms, or living‑room sofas. Studies show that a single mature plant can remove up to 87 µg/m³ of formaldehyde within 24 hours in a 30 m³ room. For optimal results, distribute 2‑3 plants evenly throughout the space to create a “clean‑air network.”
Special Considerations
- Pet Safety: If you have cats or dogs, avoid toxic species like Peace Lily; opt for Spider Plant or Boston Fern.
- Humidity Boost: Grouping plants together raises ambient humidity, which is beneficial in dry winter months.
- Airflow: Keep plants away from direct drafts (e.g., air‑conditioner vents) that can dry out leaves quickly.
By following these data‑driven steps—selecting proven air‑purifying species, tailoring light and water regimes, and maintaining healthy soil—you’ll not only enjoy a greener home but also breathe cleaner air. Consistency is key: a few minutes of weekly care yields measurable improvements in indoor air quality, making indoor gardening a low‑cost, high‑return investment for any household.

