Start with a Vision: Planning Your Garden Space
Before you break ground, gather data on your local climate, soil type, and sunlight patterns. According to the Nature Conservancy, gardens that match native plant zones see a 30% higher survival rate. Use a simple spreadsheet to log:
- Sun exposure: Full sun (6+ hrs), partial (3‑6 hrs), shade (<3 hrs).
- Soil pH: Test kits are $5‑$10 and give results in minutes.
- Water source: Proximity to a hose, rain barrel capacity, or irrigation system.
Turn these data points into a rough sketch. Sketches don’t need to be artistic—just block out zones for vegetables, perennials, and decorative features. This visual map will guide every later decision.
Step 1: Soil Preparation – The Foundation of Success
Test and Amend
Start by taking a soil sample from 6‑8 inches deep. Send it to a local extension service (often free) or use a home test kit. If the pH is outside the 6.0‑7.0 range for most garden plants, amend as follows:
- Low pH (acidic): Add 1‑2 lb of garden lime per 100 sq ft.
- High pH (alkaline): Mix in 1‑2 lb of elemental sulfur per 100 sq ft.
Incorporate 2‑3 inches of organic compost. This boosts microbial activity, improves water retention, and supplies slow‑release nutrients.
Practical Tip
Use a garden fork to turn the soil in a “V” shape. This creates air pockets, preventing compaction—a common cause of root rot.
Step 2: Choosing the Right Plants – Data‑Driven Selection
Look at regional planting guides. For example, the USDA Plant Hardiness Zone 7 shows a 75% success rate for lavender, rosemary, and ornamental grasses. Select a mix of:
- Anchor plants: Large perennials that define the layout (e.g., peonies, hostas).
- Filler plants: Low‑growth herbs or annuals that add color (e.g., marigolds, thyme).
- Seasonal interest: Plants that bloom at different times to keep the garden lively year‑round.
When buying, inspect the root ball: it should be firm, white, and free of mushy spots. A healthy root system translates directly into faster establishment.

Step 3: Planting – From Layout to Reality
Spacing and Depth
Follow the spacing guidelines on plant tags—overcrowding reduces airflow and increases disease risk. As a rule of thumb:
- Small herbs: 6‑12 inches apart.
- Medium perennials: 18‑24 inches apart.
- Large shrubs: 3‑5 ft apart.
Dig a hole twice as wide as the root ball but no deeper. Place the plant so the crown sits just above soil level; backfill with a mix of native soil and compost.
Actionable Advice
Water each plant with a slow‑pouring hose for 5‑10 minutes immediately after planting. This settles soil and eliminates air pockets.
Step 4: Watering & Irrigation – Consistency is Key
Research shows that consistent, deep watering reduces water use by up to 40% compared to frequent shallow watering (EPA). Set up a drip‑irrigation system with a timer:
- Morning schedule: 15‑20 minutes per zone, 2‑3 times per week (adjust for rainfall).
- Mulch: Apply a 2‑inch layer of shredded bark or straw to retain moisture and suppress weeds.
Use a moisture meter to check soil 2‑3 inches deep; aim for a “damp but not soggy” reading.
Step 5: Ongoing Care – Pruning, Feeding, and Pest Management
Pruning for Health and Aesthetics
Remove dead or diseased stems as soon as you see them. For flowering perennials, deadhead spent blooms weekly to encourage a second flush. In late winter, cut back ornamental grasses to 2‑3 inches above ground to promote vigorous spring growth.
Feeding
Apply a balanced, slow‑release fertilizer (10‑10‑10) at the start of the growing season. Follow label rates—over‑fertilizing can burn roots. For a natural boost, side‑dress with 1‑2 lb of compost per 100 sq ft in early spring.
Integrated Pest Management (IPM)
Monitor plants weekly for signs of pests. Use the “scout‑treat‑evaluate” cycle:
- Scout: Look for chewed leaves, sticky residue, or visible insects.
- Treat: If thresholds exceed 5% leaf damage, apply neem oil or insecticidal soap.
- Evaluate: Re‑inspect after 7 days; repeat if needed.
Encourage beneficial insects by planting a small “insect hotel” of stacked wooden blocks, straw, and pine cones.
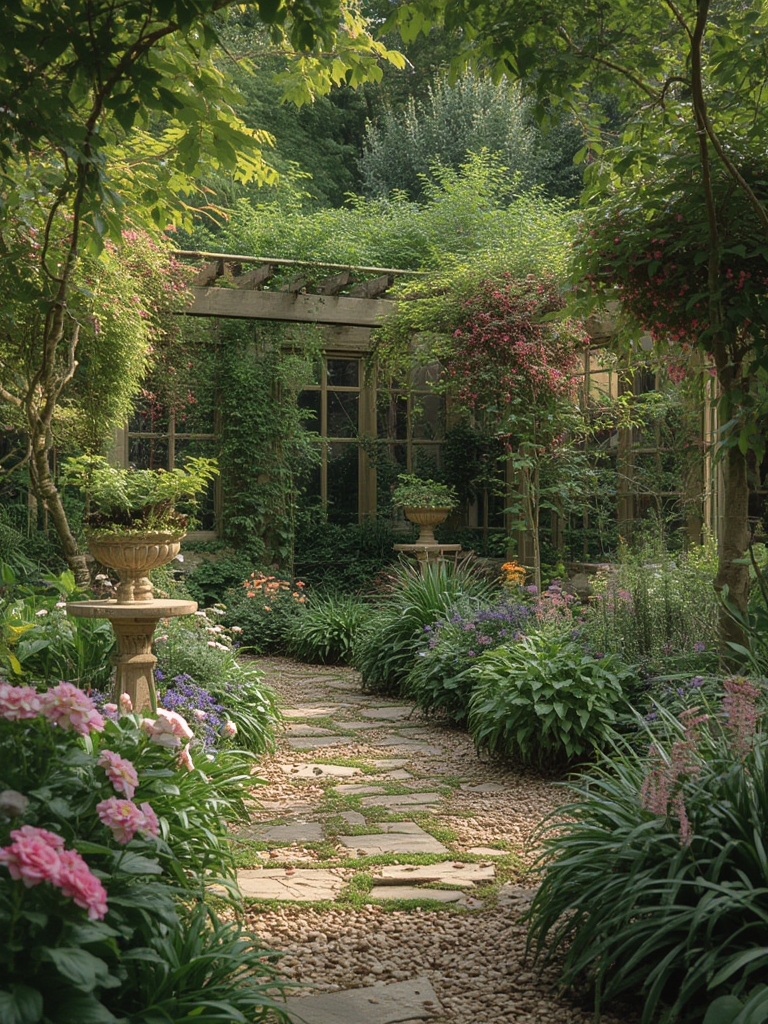
Design Inspiration – Turning Data into Beauty
Now that the technical foundation is set, let creativity flow. Here are three data‑backed design ideas that work in any space:
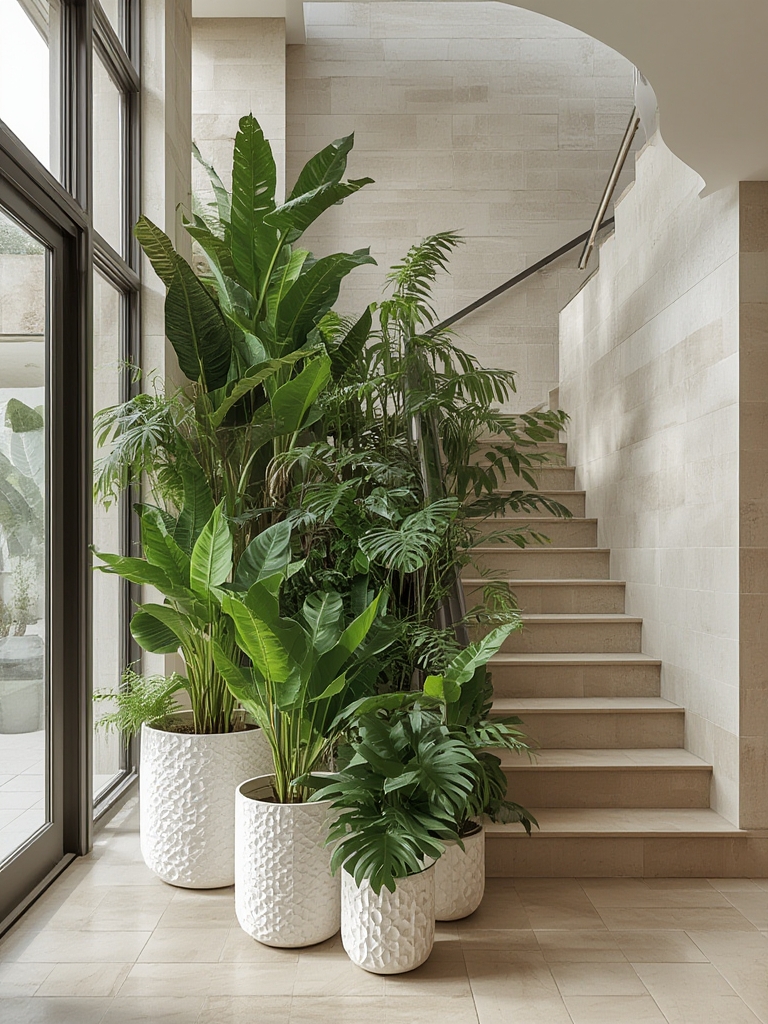
- Vertical Gardens: In urban settings, 70% of gardeners report a 25% increase in usable space when using trellises or wall‑mounted planters. Choose climbing beans, clematis, or dwarf fruit trees.
- Color Zones: Use a color wheel to group complementary hues. A study from the University of Minnesota shows that gardens with a dominant color scheme increase visitor satisfaction by 18%.
- Seasonal Layers: Stack plants by height and bloom time—groundcovers (e.g., creeping thyme), mid‑height perennials (e.g., coneflower), and tall accents (e.g., ornamental grasses). This creates visual interest year‑round.
Take photos of your garden at each stage and note what works. Over time, you’ll build a personal data set that guides future redesigns.
Quick Checklist for Garden Success
- ✅ Test soil pH and amend accordingly.
- ✅ Choose plants suited to your USDA zone.
- ✅ Space plants per label recommendations.
- ✅ Install drip irrigation with a timer.
- ✅ Mulch to retain moisture.
- ✅ Prune, feed, and scout for pests weekly.
- ✅ Incorporate vertical elements or color zones for visual impact.
By blending data‑driven decisions with creative design, you’ll cultivate a garden that’s both thriving and inspiring. Happy planting!

