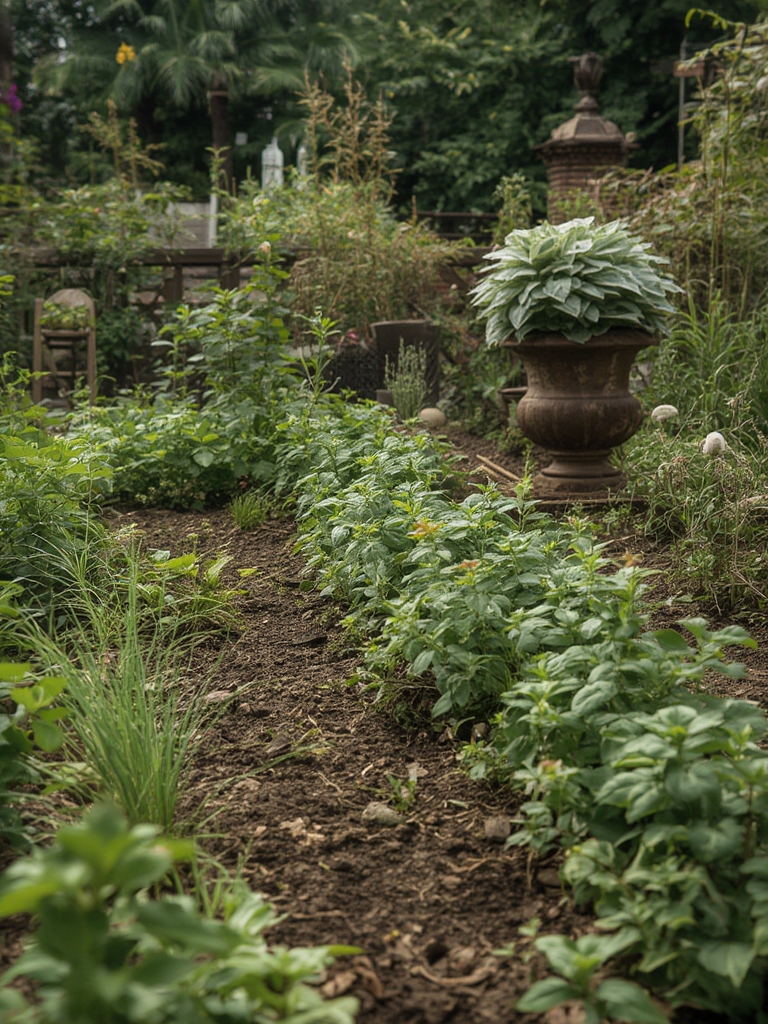
Creating a garden that thrives while protecting the planet is both rewarding and achievable. Sustainable gardening blends ecological principles with practical techniques, allowing you to grow healthy plants, conserve resources, and reduce waste. Below is a data‑driven, step‑by‑step guide that walks you through every stage—from site selection to harvest—so you can build an environmentally friendly garden that delivers consistent yields.
1. Assess and Plan Your Garden Space
Map the micro‑climate
- Use a simple sun‑tracking app or a handheld sun calculator to record sunlight exposure for each zone of your garden over a week. Aim for at least 6 hours of direct sun for most vegetables, but note shaded areas for shade‑loving herbs.
- Measure wind speed with a handheld anemometer. Areas with >15 mph winds may need windbreaks (e.g., bamboo screens or reclaimed pallets).
Set measurable goals
- Target a 30 % reduction in water use compared to a conventional garden (track weekly water meter readings).
- Plan to produce at least 40 % of your household’s leafy greens and herbs from the garden within the first growing season.
Design with biodiversity in mind
- Allocate 20 % of the garden area to native pollinator habitats (flower strips, bee houses).
- Create a “habitat mosaic” by mixing plant heights, textures, and bloom times to attract beneficial insects.
2. Build Healthy, Living Soil
Test and amend soil
- Collect samples from 6–8 spots, send them to a local extension service, and record pH, organic matter, and nutrient levels.
- If pH is below 6.0, incorporate lime at the rate recommended by the test (usually 2–5 lb per 100 sq ft).
Introduce organic matter
- Apply a 2‑inch layer of well‑composted kitchen scraps, leaf mold, or aged manure. This boosts microbial activity and improves water retention.
- Turn the amendment into the top 6 inches of soil using a broadfork or garden fork; avoid tilling deeper than 12 inches to preserve soil structure.
Implement cover crops
- Plant a winter rye or clover cover crop after the main harvest. These legumes fix nitrogen and protect the soil from erosion.
- Terminate the cover crop by mowing and mulching it into the soil 2–3 weeks before planting the next season’s crops.
3. Optimize Water Use
Install efficient irrigation
- Use drip‑line emitters set to deliver 0.5 gallon per hour per plant. Schedule watering early morning (4–6 am) to minimize evaporation.
- Connect a rain sensor or soil moisture probe to an automatic timer; the system will skip watering when soil moisture exceeds 30 % volumetric water content.
Harvest and reuse rainwater
- Place a 200‑gallon rain barrel beneath a downspout. Fit it with a fine mesh screen to keep debris out.
- Use a gravity‑fed hose or a simple pump to deliver collected water directly to the drip system, reducing municipal water demand by up to 50 %.
Mulch for moisture retention
- Spread 3‑4 inches of organic mulch (straw, shredded leaves, or wood chips) around plant bases. This can cut water loss by up to 40 %.
- Replenish mulch annually to maintain thickness and prevent weed emergence.
4. Choose the Right Plants
Prioritize native and drought‑tolerant varieties
- Consult your state’s native plant list; species like Echinacea purpurea, Coreopsis verticillata, and Salvia nemorosa require less water and fertilizer.
- For edible gardens, select heirloom varieties known for disease resistance, such as ‘Early Girl’ tomatoes or ‘Black Magic’ kale.
Implement companion planting
- Pair nitrogen‑fixing beans with heavy feeders like corn and squash (the classic “Three Sisters”).
- Plant basil beside tomatoes to deter tomato hornworms and improve flavor.
Stagger planting dates
- Use a planting calendar based on your USDA hardiness zone. Plant a new batch of lettuce every two weeks to ensure a continuous harvest.
- Record each planting date in a garden journal; this data helps predict yields and refine future schedules.
5. Mulch, Compost, and Recycle
Start a kitchen‑to‑garden compost system
- Collect fruit and vegetable scraps, coffee grounds, and eggshells in a sealed kitchen bin.
- Transfer to a backyard compost tumbler; turn the tumbler weekly to maintain an internal temperature of 130–150 °F, which accelerates decomposition.
Apply compost strategically
- Spread 1‑2 inches of finished compost around the root zone of established perennials each spring. This supplies a slow‑release source of nutrients and improves soil structure.
- Use compost tea (a 24‑hour steep of compost in water) as a foliar spray to boost plant immunity and encourage beneficial microbes.
Recycle garden waste
- Shred spent plant material with a garden shredder and use it as a mulch layer for new beds.
- Convert pruned branches into wood chips for pathways, reducing the need for purchased hardscape materials.
6. Manage Pests Naturally
Monitor with regular scouting
- Spend 10 minutes each morning walking the beds, looking for signs of aphids, spider mites, or leaf damage.
- Log observations in a spreadsheet; trends often reveal when a particular pest peaks, allowing timely interventions.
Introduce beneficial insects
- Purchase and release ladybugs, lacewings, or predatory nematodes when pest thresholds exceed 5 % of plant population.
- Provide nectar‑rich flowers (e.g., dill, fennel) to sustain these allies throughout the season.
Apply low‑impact controls
- Use neem oil or insecticidal soap at the recommended dilution (1 tsp per gallon of water) for soft‑bodied insects, applying early in the morning or late afternoon.
- Employ physical barriers like row covers or copper tape to deter slugs and cutworms.
7. Harvest, Preserve, and Close the Loop
Harvest at peak ripeness
- Use a handheld refractometer for fruit sweetness (aim for ≥12 % Brix for tomatoes) to ensure optimal flavor and nutrient content.
- Pick leafy greens in the early morning when water content is highest, preserving crispness.
Preserve excess produce
- Freeze blanched greens in portion‑size bags; this retains up to 90 % of vitamins.
- Make quick‑pickles with vinegar, salt, and herbs for cucumbers, carrots, and radishes—extending shelf life while adding probiotic benefits.
Feed the garden with leftovers
- After meals, compost vegetable peels and coffee grounds directly onto the soil surface; they decompose quickly and return nutrients.
- Use spent tea bags (plastic‑free) as a slow‑release nitrogen source when mixed into the mulch layer.
8. Track Progress and Adjust
Collect data for continuous improvement
- Record weekly water usage, plant growth rates, and pest incidents in a digital garden log (Google Sheets or a garden‑specific app).
- Analyze the data at season’s end to identify which practices reduced water consumption or increased yields the most.
Iterate based on results
- If water use remains high, experiment with additional rain barrels or deeper mulch layers.
- Adjust plant selections based on performance; replace under‑performing varieties with more resilient ones for the next cycle.
By following these evidence‑based steps, you’ll cultivate a garden that not only produces abundant, nutritious food but also safeguards natural resources. Sustainable gardening is a dynamic practice—each season offers new data, fresh insights, and opportunities to refine your approach. Start small, measure what matters, and watch your garden flourish while you make a tangible impact on the environment.

