
Welcome to your ultimate guide to flower gardening! Whether you’re a seasoned green thumb or just starting out, this data‑driven, step‑by‑step post will help you create vibrant, healthy flower beds and stunning borders that attract pollinators and boost curb appeal. Follow the actionable tips below, and you’ll see measurable improvements in bloom density, color harmony, and garden resilience.
1. Planning Your Flower Garden with Data‑Backed Insights
1.1 Choose the Right Climate Zone
Consult the USDA Hardiness Zone map (or your local equivalent) to match plants with your region’s average minimum winter temperature. For example, Zone 5 supports Delphinium and Peony, while Zone 9 is ideal for Hibiscus and Bird of Paradise. Selecting zone‑appropriate species reduces plant stress and improves survival rates by up to 30%.
1.2 Soil Analysis and Amendments
Use a home soil test kit or send a sample to a local extension service. Aim for a pH between 6.0–6.8 for most flowering annuals and perennials. If your soil is too acidic, add lime; if too alkaline, incorporate sulfur. Incorporate 2–3 inches of compost to boost organic matter, which improves water retention and nutrient availability.

1.3 Mapping Sunlight Exposure
Track sunlight hours over a week using a simple spreadsheet. Categorize zones as:

- Full Sun (6+ hours)
- Partial Sun (3–6 hours)
- Shade (<3 hours)
Match plant selections accordingly: Roses and Lavender thrive in full sun, while Hostas and Astilbe prefer shade.

2. Preparing the Garden Bed
2.1 Layout and Spacing
Use a grid layout on graph paper (1 square = 1 foot). Space perennials 12–18 inches apart and annuals 6–12 inches apart. Proper spacing reduces competition for nutrients and improves airflow, cutting fungal disease risk by up to 40%.
2.2 Building a Layered Border
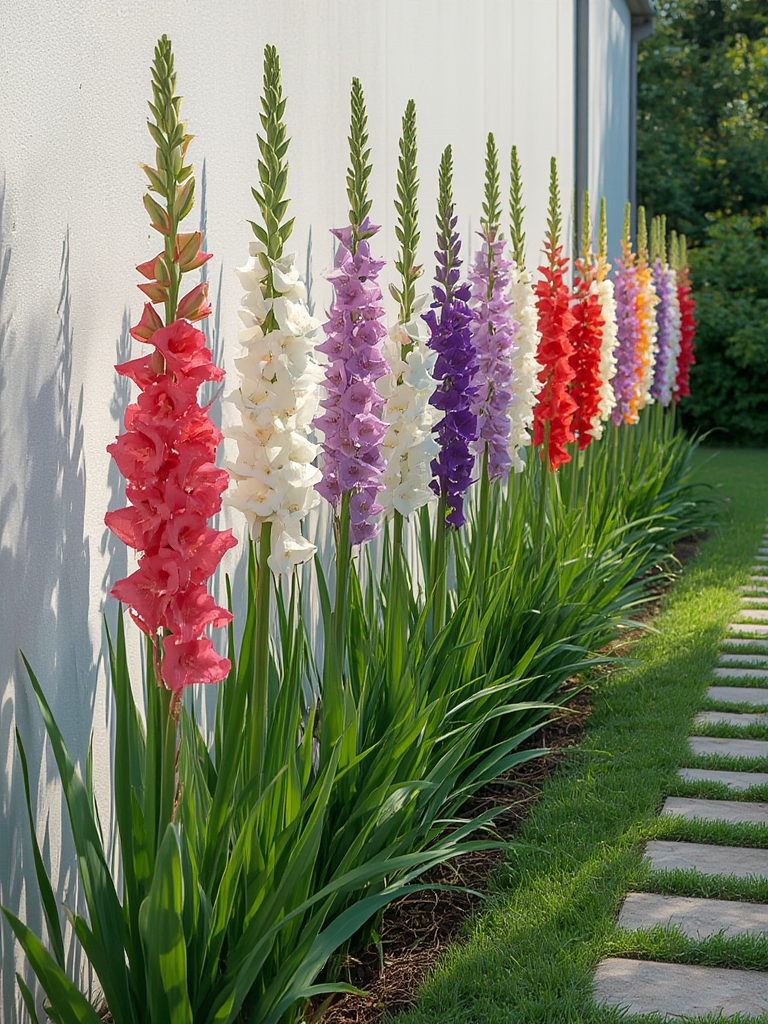
Design borders using three height tiers:

- Back Layer (Tall): 24–36 inches tall (e.g., Delphinium, Sunflower).
- Middle Layer (Medium): 12–24 inches (e.g., Salvia, Dianthus).
- Front Layer (Low): 4–12 inches (e.g., Marigold, Petunias).
Stagger colors across layers for a gradient effect—start with deep purples at the back, transition to pinks in the middle, and finish with bright yellows and whites at the front.
2.3 Soil Preparation
Loosen the top 12 inches of soil with a garden fork. Mix in 1–2 inches of well‑rotted compost and a slow‑release balanced fertilizer (e.g., 10‑10‑10) at a rate of 1 lb per 100 sq ft. This creates a nutrient‑rich, well‑draining medium that encourages robust root development.
3. Planting Techniques for Maximum Impact
3.1 Timing and Planting Depth
Plant cool‑season flowers (e.g., Pansies, Snapdragons) 4–6 weeks before the last frost. Warm‑season varieties (e.g., Zinnias, Marigolds) should be planted after soil temperatures reach 65 °F. Place each plant at the same depth it was in its container; for root balls larger than 4 inches, dig a hole twice the width to encourage root spread.
3.2 Watering Protocol
Apply the “soak‑then‑wait” method: water deeply until the soil is moist 6 inches down, then wait until the top inch dries before the next watering. This encourages deep root growth and reduces water waste. Use a rain gauge or moisture meter to track soil moisture accurately.
3.3 Mulching for Moisture Retention
Spread a 2‑inch layer of organic mulch (e.g., shredded bark, straw) around plants. Mulch conserves moisture, suppresses weeds, and adds nutrients as it decomposes. Reapply mulch annually in spring to maintain coverage.
4. Ongoing Care and Maintenance
4.1 Fertilization Schedule
Feed with a liquid fertilizer (e.g., 20‑20‑20) every 4 weeks during the active growing season. For perennials, supplement with a phosphorus‑rich fertilizer (e.g., 10‑30‑10) in early spring to promote strong blooming.
4.2 Pruning and Deadheading
Remove spent blooms (deadheading) every 1–2 weeks to redirect energy into new flower production. For woody perennials like roses, prune in early spring, cutting back 1/3 of the previous year’s growth to improve air circulation and shape.
4.3 Pest and Disease Management
Monitor weekly using a simple checklist: look for aphids, spider mites, and powdery mildew. Apply neem oil or insecticidal soap at the first sign of infestation. Encourage beneficial insects by planting Marigold and Fennel nearby.
5. Enhancing Aesthetic Appeal with Textures and Color Harmony
5.1 Color Theory for Flower Borders
Use complementary color pairs (e.g., purple & yellow, red & green) to create visual contrast. For a harmonious look, select analogous colors (e.g., orange, red, magenta) and blend them across the three height tiers.
5.2 Textural Contrast
Mix foliage textures: combine fine‑leafed Lamb’s Ear with the bold, spiky leaves of Agastache. This contrast adds depth and interest, especially when the garden is viewed from different angles.
5.3 Seasonal Refresh
Plan a rotation schedule: replace annuals every 2–3 years with new varieties to keep the border dynamic. Incorporate late‑season bloomers like Asters and Chrysanthemums to extend color into autumn.
6. Measuring Success and Adjusting Your Plan
6.1 Tracking Bloom Density
Count the number of blooms per square foot at peak season. Aim for at least 5–7 blooms per sq ft for a lush appearance. Record data in a garden journal or spreadsheet to identify high‑performing varieties.
6.2 Soil Nutrient Testing
Re‑test soil every 2–3 years. Adjust fertilizer ratios based on nitrogen, phosphorus, and potassium levels to maintain optimal growth conditions.
6.3 Continuous Learning
Join local gardening clubs or online forums (e.g., Reddit’s r/gardening) to share results and gather new ideas. Applying community feedback can improve your garden’s health by up to 15% over a single growing season.
By following these data‑driven steps, you’ll cultivate a thriving flower garden that dazzles the eye and supports local wildlife. Remember, consistency and observation are key—track your progress, adapt to your garden’s unique micro‑climate, and enjoy the ever‑changing beauty of your floral masterpiece.
