Indoor plants are more than just décor; they improve air quality, boost mood, and create a calming oasis right inside your home. Whether you’re a seasoned green thumb or just starting out, this data‑driven guide will walk you through the essential steps to select, plant, and maintain thriving indoor foliage. Follow the actionable tips below, and you’ll quickly see the difference a little greenery can make.
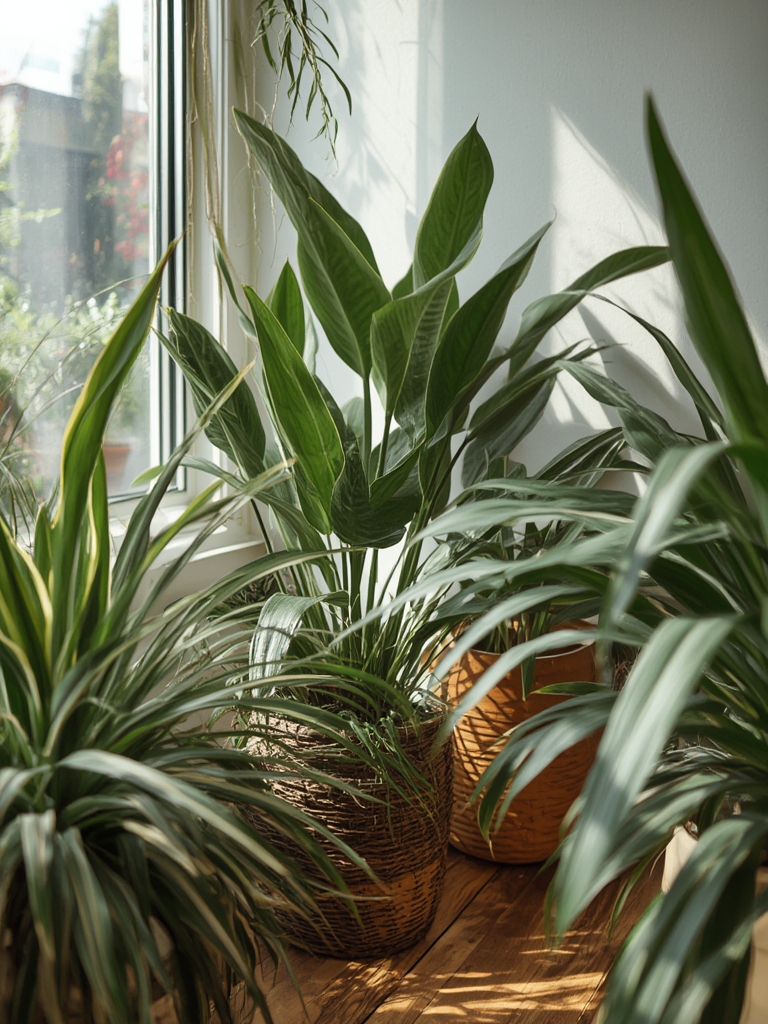
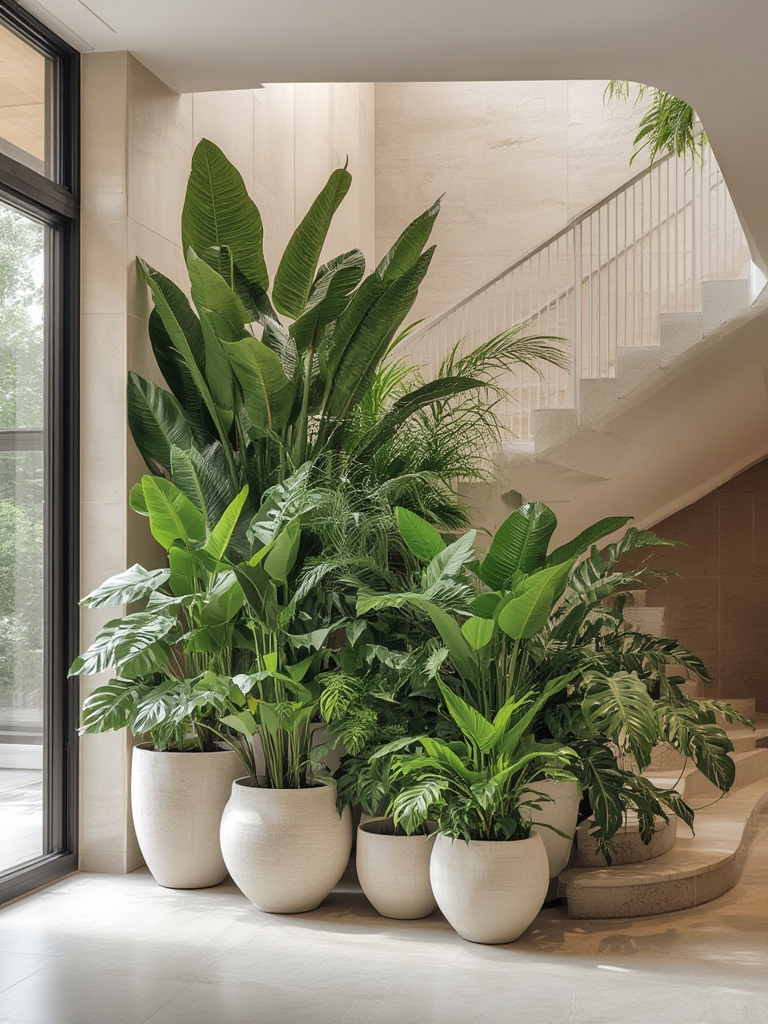
1. Choose the Right Plant for Your Space
Assess Light Levels
Use a light meter app or simply observe the room for 3–4 hours a day. Low light (≤ 100 lux) suits snake plant, ZZ plant, or pothos. Medium light (100‑300 lux) works well for peace lily, philodendron, or dracaena. Bright indirect light (300‑600 lux) is ideal for fiddle‑leaf fig, rubber plant, or monstera.
Match Plant Size to Space
Measure the floor or shelf area where the plant will sit. For a 2‑ft‑wide spot, choose a compact plant like a spider plant or a small succulent. For larger floor spaces, opt for a tall, statement plant such as a bird‑of‑paradise or a large philodendron.
Consider Maintenance Level
If you travel frequently, pick a drought‑tolerant species (e.g., aloe vera, jade plant). For a more hands‑on experience, choose a moisture‑loving plant like a Boston fern that thrives with regular misting.
2. Prepare the Potting Mix
Use a Well‑Draining Soil Blend
Combine 40 % peat moss, 30 % perlite, and 30 % compost. This mix retains enough moisture for most indoor plants while preventing root rot. For succulents, increase perlite to 50 % for extra drainage.
Add Nutrients Based on Plant Type
Incorporate a slow‑release fertilizer (e.g., 10‑10‑10) at a rate of 1 tsp per gallon of soil for foliage plants. For flowering indoor plants, add a balanced liquid fertilizer (NPK 20‑20‑20) once a month during the growing season.
3. Planting: Step‑by‑Step
Step 1: Choose the Right Container
Pick a pot with drainage holes at the bottom. The pot’s diameter should be 1‑2 inches larger than the root ball. For decorative purposes, a terracotta pot adds breathability, while a plastic pot retains moisture longer.

Step 2: Add a Drainage Layer
Place a ½‑inch layer of broken pottery shards, pea gravel, or hydroton at the pot’s base. This prevents water from pooling and protects the roots.
Step 3: Position the Plant
Set the plant in the center, ensuring the top of the root ball sits about 1 inch below the rim. Fill around the roots with the prepared mix, gently firming the soil to eliminate air pockets.
Step 4: Water Thoroughly
Water until it drains out of the bottom holes. This initial soak settles the soil and gives the roots immediate access to moisture.
4. Ongoing Care Routine
Watering Schedule
Use the “finger test”: insert your index finger 1‑2 inches into the soil. If it feels dry, water; if it’s still moist, wait another day. For most foliage plants, this translates to watering once a week in spring and every 10‑14 days in winter.
Humidity Management
Indoor air can be dry, especially with heating or AC. Increase humidity by:
- Grouping plants together to create a micro‑climate.
- Using a tabletop humidifier set to 40‑60 % relative humidity.
- Placing a shallow tray of water with pebbles beneath the pot (ensure the pot sits on the pebbles, not in the water).
Fertilizing
During the active growth period (spring‑early fall), feed foliage plants with a diluted liquid fertilizer (½ strength) every 4‑6 weeks. Reduce feeding in winter when growth naturally slows.
Pruning & Grooming
Trim yellow or dead leaves at the base using clean, sharp scissors. For bushier growth, pinch back the tips of stems every 4‑6 weeks. This encourages lateral branching and a fuller appearance.
5. Pest Prevention and Management
Regular Inspection
Check leaves weekly for signs of pests: tiny webs (spider mites), sticky residue (aphids), or white cottony patches (mealybugs). Early detection prevents infestations.
Natural Remedies
Mix a solution of 1 tsp mild dish soap in 1 quart water. Spray affected leaves, covering both sides, and repeat every 5‑7 days until pests disappear. For severe cases, use neem oil (2 tsp per gallon) as a preventive spray.
6. Seasonal Adjustments
Spring & Summer (Growth Phase)
Increase watering frequency by 20 % and move plants to brighter locations if possible. Add a balanced fertilizer every 4 weeks to support new leaf production.
Fall & Winter (Dormancy Phase)
Reduce watering to 50 % of the spring schedule. Keep plants away from drafts and direct heat sources. Cut back on fertilizer; a single light feeding in early fall is sufficient.
7. Harvesting the Benefits
By following these data‑backed steps, you’ll enjoy healthier indoor plants that not only look great but also contribute to a healthier indoor environment. Remember, consistency is key—small, regular actions lead to big results.
Fill your garden with long-lasting, easy-care blooms by selecting the right species, providing optimal soil, and maintaining a simple, repeatable care routine. Your indoor oasis will thrive, and you’ll reap the visual and wellness rewards every day.

