Indoor plants do more than just add a splash of green to your living space—they purify the air, boost mood, and can become a stylish focal point in any room. Whether you’re a complete beginner or a seasoned plant enthusiast, this guide will walk you through the best low‑maintenance indoor plants, step‑by‑step care routines, and practical tips that turn a simple pot into a thriving, air‑cleaning oasis.
Why Choose Indoor Plants?
Research from NASA and multiple indoor air quality studies shows that certain houseplants can remove pollutants like formaldehyde, benzene, and trichloroethylene from the air. In addition, the act of caring for plants reduces stress, improves concentration, and can even increase humidity—beneficial for skin and respiratory health. For beginners, the key is to start with species that tolerate a range of light conditions and require minimal watering.
Top 5 Beginner‑Friendly Indoor Plants for Clean Air and Décor
1. Snake Plant (Sansevieria trifasciata)
- Air‑purifying power: Excellent at removing formaldehyde and nitrogen oxides.
- Light needs: Thrives in low to bright indirect light.
- Watering: Allow the soil to dry completely between waterings; over‑watering can cause root rot.
2. ZZ Plant (Zamioculcas zamiifolia)
- Air‑purifying power: Filters out xylene and toluene.
- Light needs: Tolerates low‑light corners and indirect bright light.
- Watering: Water once every 2–3 weeks; the rhizomes store moisture.
3. Pothos (Epipremnum aureum)
- Air‑purifying power: Removes formaldehyde, benzene, and carbon monoxide.
- Light needs: Grows best in medium indirect light; can survive low light.
- Watering: Keep soil lightly moist; let the top inch dry before the next drink.
4. Peace Lily (Spathiphyllum)
- Air‑purifying power: Known for high efficiency at removing ammonia and VOCs.
- Light needs: Prefers bright, indirect light but tolerates low light.
- Watering: Keep soil consistently moist; mist leaves weekly for extra humidity.
5. Spider Plant (Chlorophytum comosum)
- Air‑purifying power: Effective against formaldehyde and xylene.
- Light needs: Bright, indirect light is ideal; can handle moderate shade.
- Watering: Water when the top 2 cm of soil feels dry; avoid soggy roots.
Step‑by‑Step Care Routine
Step 1: Choose the Right Pot and Soil
- Pot selection: Use a container with drainage holes to prevent water accumulation. For aesthetic appeal, choose a pot that complements your décor—ceramic for a modern look, woven baskets for a boho vibe.
- Soil mix: A well‑draining potting mix (e.g., 2 parts peat moss, 1 part perlite, 1 part vermiculite) works for most beginners. Succulents and cacti need a cactus mix with extra sand.
- Action tip: Add a thin layer of gravel at the bottom of the pot before soil to improve drainage.
Step 2: Position Your Plant for Optimal Light
- Assess natural light: Use a simple “hand test”—if your hand casts a soft shadow, the light is bright indirect; a sharp shadow indicates direct sun.
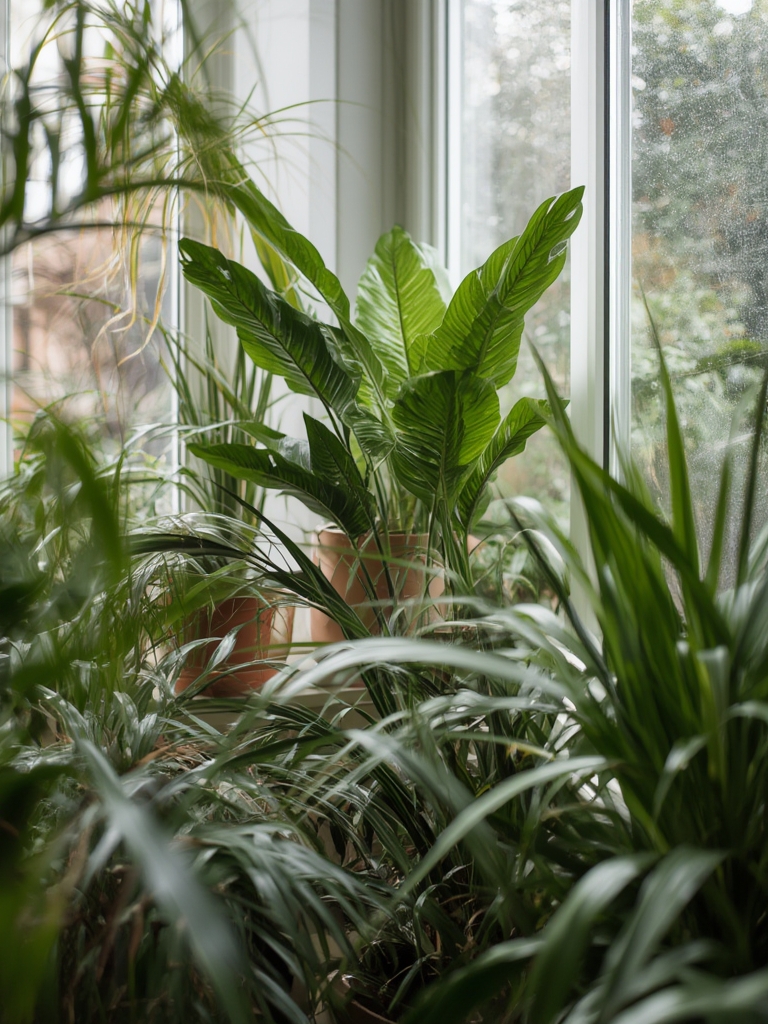
- Placement guide: Snake plants and ZZ plants can sit in low‑light corners; pothos and spider plants thrive near east‑facing windows; peace lilies prefer bright, filtered light.
- Action tip: Rotate the pot 90° every two weeks so all sides receive equal light, preventing lopsided growth.
Step 3: Water Wisely
- Check moisture: Stick your finger 2 cm into the soil; if it feels dry, water. For larger pots, use a moisture meter.
- Watering method: Water slowly until it drains out of the bottom hole. Avoid letting the pot sit in a saucer of water.
- Seasonal adjustment: Reduce watering by 30‑50% during winter when growth slows.
- Action tip: Set a reminder on your phone for each plant’s watering schedule; consistency beats perfection.
Step 4: Feed Your Plant
- Fertilizer type: Use a balanced, water‑soluble 20‑20‑20 fertilizer diluted to half strength.
- Frequency: Feed once a month during the growing season (spring‑summer). Skip feeding in fall and winter.
- Action tip: Add a pinch of liquid seaweed extract for an extra boost of micronutrients.
Step 5: Prune and Clean
- Pruning: Trim yellow or brown leaves at the base with clean scissors. This encourages new growth and prevents disease.
- Leaf cleaning: Wipe leaves gently with a damp cloth once a month to remove dust, which can block photosynthesis.
- Action tip: Use a soft brush for delicate foliage like peace lily’s leaves to avoid tearing.
Quick‑Fix Troubleshooting Guide
| Problem | Possible Cause | Simple Fix |
|---|---|---|
| Yellowing leaves | Over‑watering or nutrient deficiency | Let soil dry, reduce watering, and apply a diluted fertilizer. |
| Brown leaf tips | Low humidity or too much direct sun | Increase humidity with a pebble tray or mist, move plant away from harsh sun. |
| Wilting despite moist soil | Root rot | Remove plant, trim rotten roots, repot in fresh, well‑draining mix. |
| Leggy stems | Insufficient light | Move plant to brighter spot or add a grow light (12‑14 hr/day). |
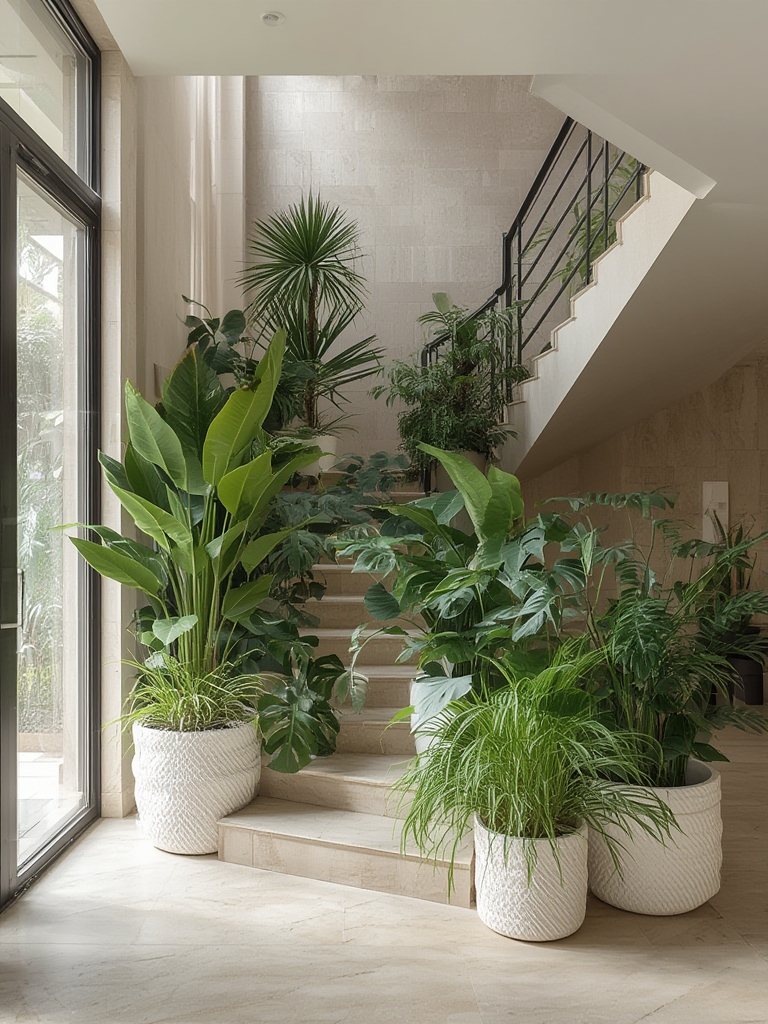
Enhancing Décor with Indoor Plants
Beyond health benefits, plants can be styled to elevate any interior:
- Vertical gardens: Hang trailing pothos or spider plant in wall-mounted planters for a living art piece.
- Layered heights: Pair a tall snake plant with a low‑lying peace lily to create visual depth.
- Seasonal swaps: Rotate a small succulent collection onto a windowsill in summer, then replace with a larger foliage plant in winter for variety.
- Color coordination: Choose pots that echo your room’s accent colors—muted terracotta for earthy tones, bright teal for a pop of color.
Final Checklist for Plant Success
- Pick a plant suited to your light and care level.
- Use a pot with drainage and a well‑draining soil mix.
- Position the plant for optimal light; rotate regularly.
- Water only when the top inch of soil is dry; adjust for season.
- Feed monthly during growth months; skip in winter.
- Prune dead foliage and keep leaves dust‑free.
- Monitor for common issues and act quickly using the troubleshooting table.
- Style your plant with complementary pots and placement for a cohesive look.
By following these data‑driven steps, you’ll not only enjoy cleaner air and a more inviting home, but you’ll also develop confidence as a plant caretaker. Start small, stay consistent, and watch your indoor garden flourish—one leaf at a time.

