Creating a garden that feels both personal and inspiring doesn’t have to be a daunting task. By blending data‑driven plant selection, thoughtful layout planning, and practical maintenance habits, you can transform any space—big or small—into a vibrant oasis. Below is a step‑by‑step guide that walks you through the entire process, from gathering inspiration to nurturing your plants for lasting success.
1. Gather Inspiration and Define Your Vision
Research Real‑World Gardens
Start by browsing reputable garden design sites, Instagram hashtags (#smallgarden, #urbanjungle, #cottagegarden), and landscape magazines. Take note of recurring themes such as:
- Color palettes that complement your home’s exterior.
- Plant groupings that thrive in similar soil and light conditions.
- Hardscape elements like pathways, raised beds, or water features.
Save at least 10 images that resonate with you. Use a free tool like Canva to create a mood board, which will become your visual roadmap.
Assess Your Space
Measure the dimensions of your garden area (length, width, and any vertical elements). Record:
- Sun exposure zones (full sun, partial shade, full shade).
- Soil type (sandy, loamy, clay) and drainage patterns.
- Existing structures (fences, walls, utilities).
These data points will guide plant selection and layout decisions, ensuring you choose species that will thrive.
2. Choose the Right Plants Based on Data
Use Climate and Soil Data
Consult USDA Hardiness Zone maps or local extension services to confirm which plants are proven performers in your region. Pair this with a soil test (available at garden centers) to determine pH and nutrient levels.
Prioritize Low‑Maintenance Staples
For beginners, consider these reliable options:

- Lavender (Lavandula spp.) – thrives in full sun, well‑drained soil, and requires minimal watering.
- Hostas (Hosta spp.) – perfect for shade, tolerates a range of soil types.
- Sedum (Sedum spp.) – drought‑tolerant succulent ideal for rock gardens.
Mix in one or two focal plants with striking foliage or blooms to add visual interest.
3. Design a Functional Layout
Sketch a Scaled Plan
Using graph paper or a digital tool (e.g., SketchUp, Garden Planner), draw your garden to scale (1 square = 1 foot). Plot the following layers:
- Hardscape – paths, patios, edging.
- Structural plants – trees, tall shrubs that create height.
- Mid‑layer – perennials, ornamental grasses.
- Groundcover – low‑growing herbs, creeping thyme.
Leave at least 18‑24 inches of space between mature plant widths to avoid overcrowding.
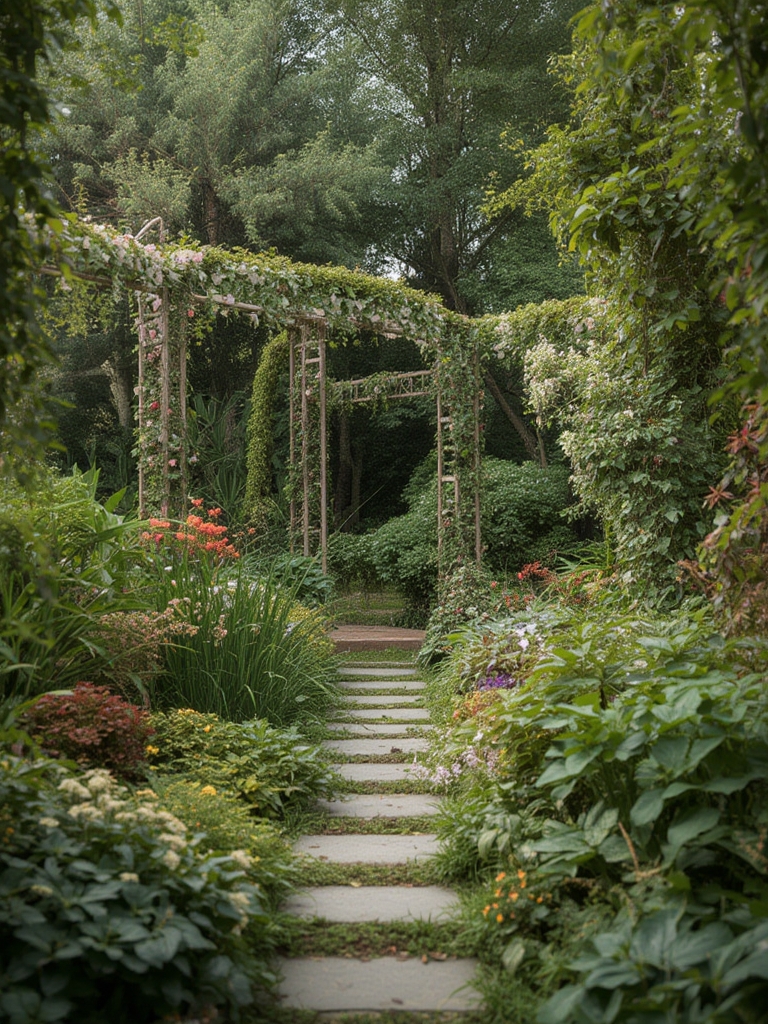
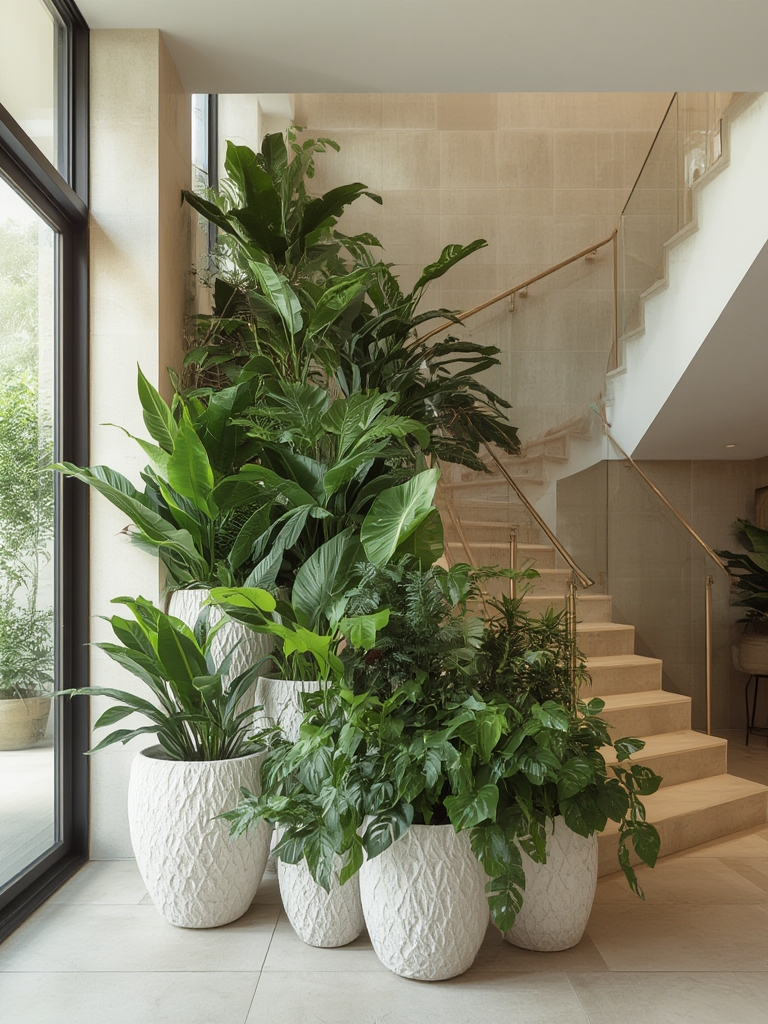
Incorporate Creative Design Elements
Consider these ideas to make your garden stand out:
- Vertical gardens using trellises or wall-mounted planters for limited floor space.
- Color zones where plants with similar bloom colors are grouped together for a cohesive look.
- Seasonal interest by selecting plants that bloom at different times, ensuring year‑round appeal.
4. Prepare the Soil and Plant
Amend the Soil
Based on your soil test results, incorporate the following amendments:
- Compost – 2–3 inches mixed into the top 12 inches of soil to improve structure and fertility.
- Gypsum (for heavy clay) – 1 cup per square foot to enhance drainage.
- Dolomite lime (if pH is low) – follow label instructions, typically 5‑10 lb per 100 sq ft.
Rake the area smooth and water lightly to settle the amendments.
Planting Technique
Follow these steps for each plant:
- Dig a hole twice as wide and the same depth as the root ball.
- Place the plant at the same depth it was in the nursery container; backfill with a mix of native soil and compost.
- Firm the soil gently and water thoroughly to eliminate air pockets.
- Apply a 2‑inch layer of mulch (bark chips or straw) to retain moisture and suppress weeds.
Mark the planting date on a calendar to track growth milestones.
5. Ongoing Care and Optimization
Watering Schedule
Use a smart irrigation controller or a simple timer:
- Newly planted specimens: 10‑15 minutes daily for the first two weeks.
- Established perennials: 1‑2 times per week, depending on rainfall.
- Deep‑rooted shrubs and trees: once every 10‑14 days.
Check soil moisture by inserting a finger 2 inches deep; water only when the topsoil feels dry.
Fertilization and Pruning
Apply a balanced, slow‑release fertilizer (10‑10‑10) in early spring and again in midsummer. For flowering plants, deadhead spent blooms to encourage repeat flowering. Prune woody shrubs in late winter to shape and improve air circulation.
Pest Management
Adopt an Integrated Pest Management (IPM) approach:
- Inspect plants weekly for signs of aphids, spider mites, or fungal spots.
- Introduce beneficial insects (ladybugs, lacewings) if infestations appear.
- Use neem oil or insecticidal soap as a last resort, following label directions.
6. Add Finishing Touches
Lighting and Accessories
Install low‑voltage LED pathway lights to highlight walkways and focal points. Add decorative elements such as:
- Solar‑powered garden statues.
- Water features (a small fountain or birdbath) for soothing sound.
- Seating areas with weather‑resistant cushions to create a relaxing spot.
Seasonal Refresh
Every autumn, replace annuals with fresh varieties, refresh mulch, and divide overcrowded perennials. In spring, evaluate soil health and add compost as needed.
7. Track Progress and Iterate
Maintain a Garden Journal
Record the following after each major task:
- Date of planting and species.
- Watering frequency and amount.
- Fertilizer type and application dates.
- Observations on growth, pests, or disease.
Over time, this data will reveal patterns, allowing you to fine‑tune watering schedules, choose better‑performing plants, and improve overall garden health.
Use Simple Analytics
If you enjoy a tech‑savvy approach, set up a spreadsheet to calculate:
- Average water usage per week (gallons).
- Growth rate (inches per month) for key plants.
- Cost per square foot for materials and plants.
These metrics help you stay within budget while maximizing visual impact.
By following this data‑driven, step‑by‑step framework, you’ll not only create a garden that looks stunning but also one that thrives with minimal effort. Remember, the most inspiring gardens evolve over time—so stay curious, keep experimenting, and let your outdoor space reflect your unique style.

