
Welcome to the world of automated gardening! If you’ve ever wished you could grow fresh herbs, lettuce, or even strawberries without spending hours watering and monitoring your plants, a smart garden kit might be just what you need. These compact, tech‑enabled systems take the guesswork out of gardening, making it easier for beginners to enjoy a thriving indoor garden. In this guide, we’ll walk you through the most important factors to consider when choosing a smart garden kit, share practical tips for getting the most out of your new setup, and point out common mistakes to avoid.
Understanding What a Smart Garden Kit Is
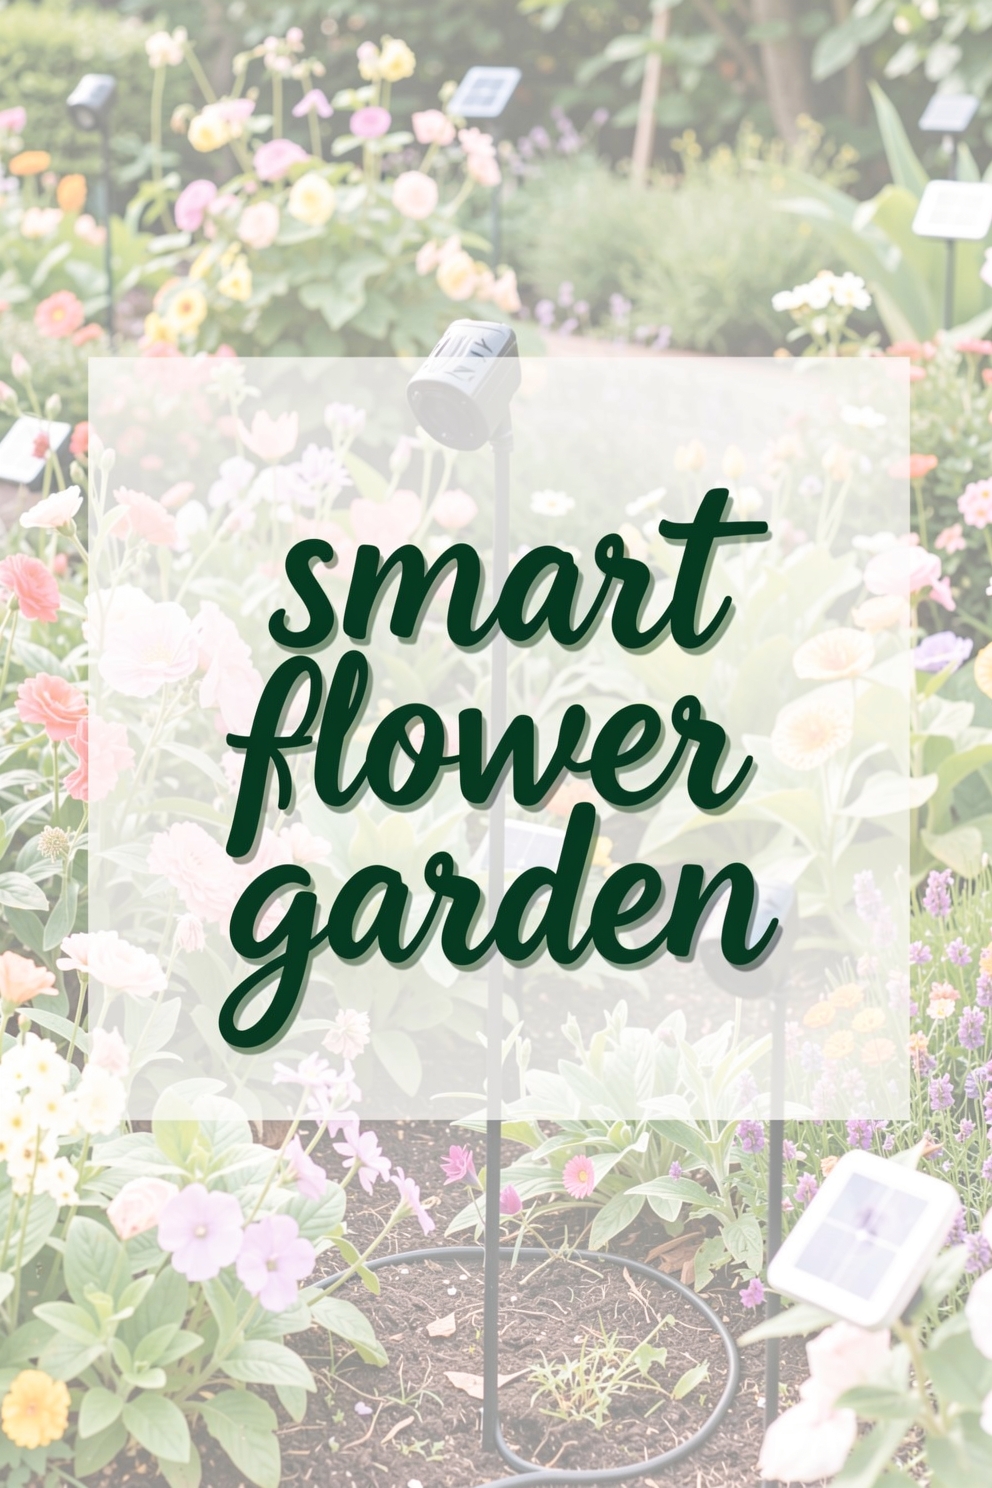
A smart garden kit combines a planter, grow lights, a water reservoir, and a control system (often an app) into one convenient package. Sensors monitor moisture, temperature, and light levels, while the app sends reminders or automatically adjusts the environment. This technology helps you grow plants year‑round, regardless of the weather outside.
Key Components to Look For
- Grow Lights: Full‑spectrum LEDs mimic natural sunlight and are essential for healthy growth. Look for adjustable intensity and a timer function.
- Water Reservoir: A larger tank means fewer refills. Some kits offer automatic watering based on sensor data.
- Control Interface: A user‑friendly app (iOS/Android) that lets you track plant progress, set schedules, and receive alerts.
- Modular Design: Expandable trays or interchangeable pots let you grow a variety of plants as your confidence grows.
Factors to Consider When Choosing a Smart Garden Kit
1. Space and Size
Measure the area where you plan to place the kit—countertop, windowsill, or a dedicated corner. Compact kits are great for apartments, while larger models can accommodate multiple trays for a mini‑farm. Remember to leave a few inches of clearance around the unit for proper airflow.
2. Plant Variety Compatibility
Some kits are optimized for leafy greens and herbs, while others can handle fruiting plants like tomatoes or strawberries. Check the manufacturer’s plant list and ensure the kit’s light spectrum and water capacity match the crops you want to grow.
3. Power Requirements
Most smart garden kits plug into a standard outlet, but a few offer battery or USB power options. If you’re setting up in a location without easy access to a socket, consider a model with flexible power options.
4. App Features and Connectivity
Look for an app that provides clear visual dashboards, step‑by‑step planting guides, and push notifications. Some advanced kits integrate with smart home ecosystems (Amazon Alexa, Google Assistant) for voice‑controlled watering or lighting.
5. Price vs. Value
While it’s tempting to go for the cheapest option, consider the long‑term value. A slightly higher‑priced kit with a larger water tank, more robust lighting, and reliable sensor accuracy can save you time and money in the long run.
Practical Tips for Setting Up Your Smart Garden Kit
Start with the Recommended Seeds
Most manufacturers include seed packets that are pre‑tested for the kit’s environment. Beginning with these ensures a higher success rate while you learn the system’s nuances.
Calibrate Sensors Before First Use
After assembling the kit, run a short calibration routine (often found in the app). This step helps the system understand the ambient temperature and humidity of your space, leading to more accurate watering and lighting cycles.
Maintain Proper Light Distance
Even though the lights are designed for close‑up growth, placing them too near can cause leaf burn. Follow the kit’s recommended distance—usually 6–12 inches from the plant canopy—and adjust as the plants mature.
Monitor Water Levels Regularly
Even automatic watering systems need a refill when the reservoir runs low. Set a weekly reminder to check the water level, especially during hot summer months when evaporation speeds up.
Rotate Plants for Even Growth
Because the light source is fixed, plants can develop a lean toward the brightest side. Rotate trays or individual pots every few days to promote balanced growth and stronger stems.
Common Mistakes to Avoid
Over‑watering or Under‑watering
Relying solely on the app’s notifications without checking the soil can lead to water stress. Use the moisture sensor as a guide, but also feel the growing medium with your fingers—if it feels soggy, let it dry slightly before the next cycle.
Choosing Incompatible Plants
Trying to grow large fruiting vegetables like cucumbers in a kit designed for herbs can result in stunted growth. Stick to the recommended plant list until you’re comfortable adjusting light and water settings for more demanding crops.
Ignoring Light Adjustments
Many beginners leave the lights on a fixed schedule. As plants grow, they may need longer or shorter light periods. Pay attention to signs such as leggy stems (need more light) or pale leaves (light may be too intense).
Neglecting Cleanliness
Dust on LED panels reduces light output, and algae can develop in the water reservoir. Clean the lights and change the water every two weeks to keep the system running efficiently.
Skipping Firmware Updates
Manufacturers often release app or firmware updates that improve sensor accuracy and add new features. Regularly check for updates to ensure your smart garden kit stays reliable.
Conclusion
Choosing the right smart garden kit is a blend of understanding your space, the plants you want to grow, and the technology that will support them. By evaluating size, plant compatibility, power options, and app functionality, you can select a system that fits your lifestyle and gardening goals. Follow the practical setup tips, stay vigilant about common pitfalls, and you’ll be on your way to enjoying fresh, home‑grown produce with minimal effort. Happy gardening, and may your indoor oasis thrive!