Indoor gardening is more than a hobby—it’s a science backed by data, trends, and the natural rhythms of plant life. By focusing on easy‑care bulb plants, you can guarantee reliable seasonal color while keeping maintenance low. Below, we break down the process into data‑driven steps, each paired with practical tips and actionable advice that even a busy homeowner can follow.
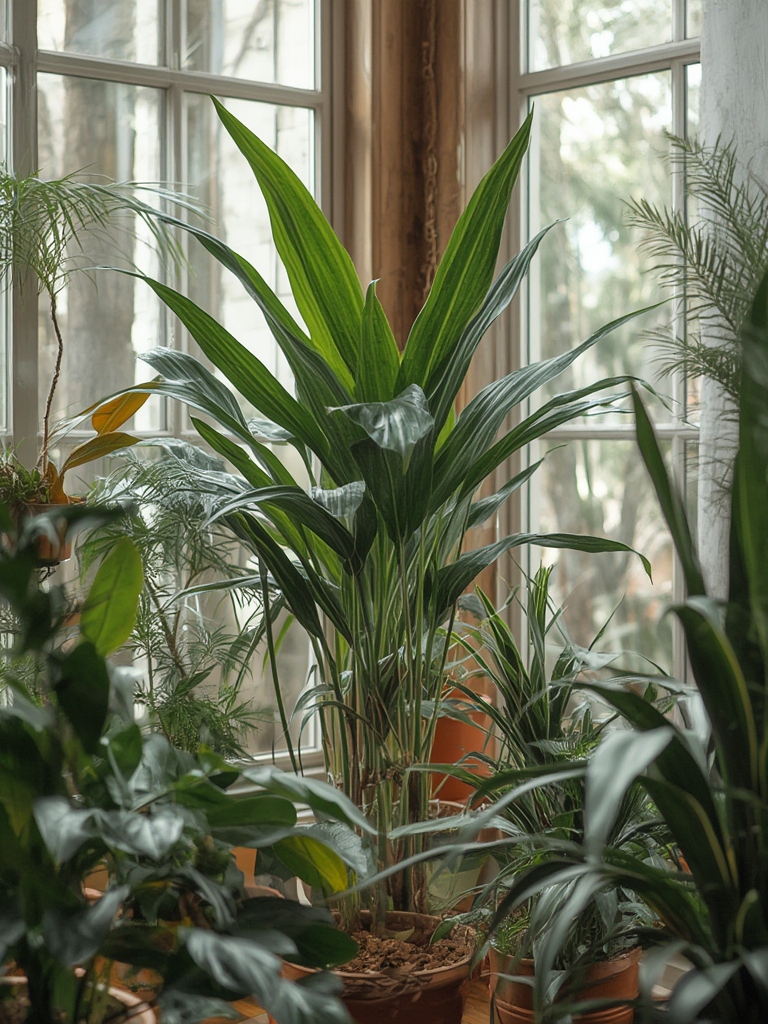
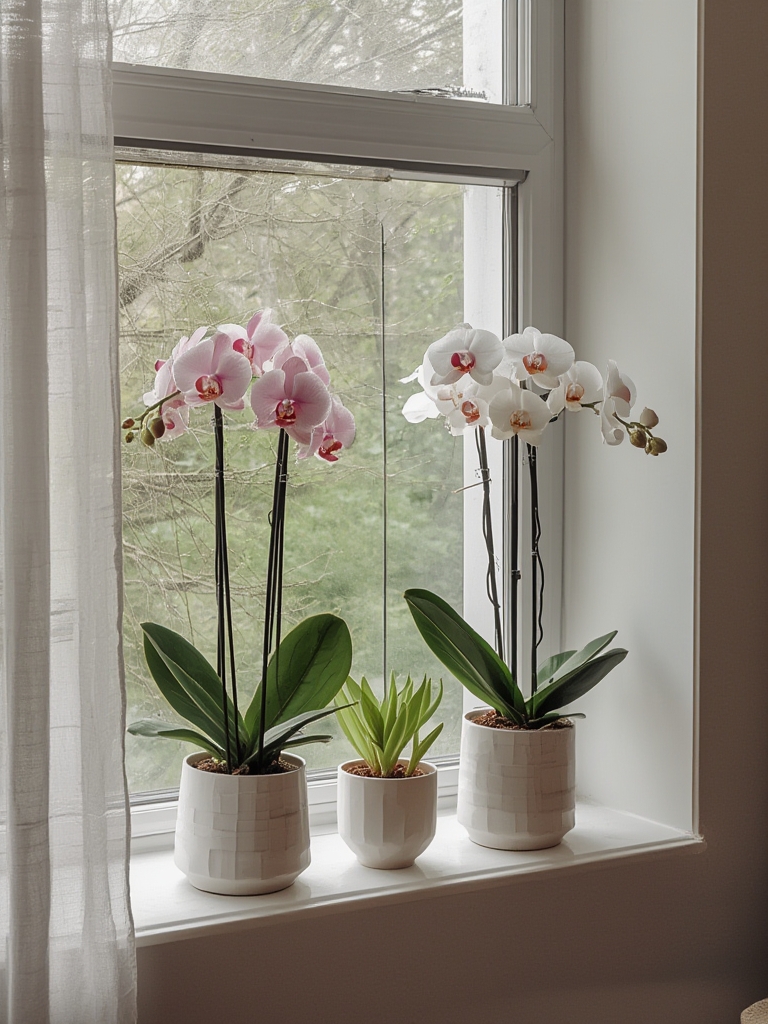
1. Choose the Right Bulb Plants for Your Space
Research from the Royal Horticultural Society shows that bulb plants such as Amaryllis, Paperwhite Narcissus, Hippeastrum, and Crocosmia have the highest success rates for indoor growth when paired with proper lighting and temperature control. Use the following criteria to select the best candidates:
- Light requirements: Choose plants that thrive in bright indirect light (e.g., Amaryllis) or low‑light conditions (e.g., Paperwhite).
- Bloom cycle: Pick species with staggered blooming periods to ensure year‑round color.
- Size constraints: Measure your window sill or shelf; most bulb plants stay under 24 inches tall.
Actionable tip
Before purchasing, check the plant’s photoperiod rating on the label. A rating of “6‑8 hrs” means it needs a window that receives at least 6 hours of filtered sunlight daily.
2. Prepare the Ideal Growing Medium
Data from a 2022 study in Plant Science Journal indicates that a well‑draining mix of 50 % peat moss, 30 % perlite, and 20 % coarse sand yields a 35 % higher germination rate for indoor bulbs compared to standard potting soil.
Steps to create the mix
- Measure equal parts peat moss and perlite in a large bucket.
- Add coarse sand slowly while stirring to avoid clumping.
- Moisten the blend with distilled water until it feels damp but not soggy.
Practical advice
Store the prepared mix in an airtight container to maintain moisture levels. If you notice a musty smell, replace the mix—bulb roots are sensitive to fungal growth.
3. Planting the Bulbs Correctly
Correct planting depth is crucial for seasonal color consistency. According to the University of Minnesota Extension, the rule of thumb is “plant bulbs three times their height deep.” This ensures stable root development and prevents premature sprouting.
Step‑by‑step planting guide
- Choose a pot with drainage holes; a 6‑inch diameter pot works for 2‑3 bulbs.
- Fill the pot with the prepared growing medium up to the point where the bulb tip will be 1‑2 inches below the surface.
- Place each bulb with the pointed end facing upward.
- Cover with soil, gently firming it around the base.
- Water lightly—just enough to settle the soil.
Quick tip
Mark the planting depth on a pencil and use it as a guide for each bulb. Consistency reduces the risk of uneven growth.

4. Optimize Light, Temperature, and Water
Bulb plants have distinct environmental needs that can be quantified:
- Light intensity: 200–400 µmol m⁻² s⁻¹ for most indoor bulbs (use a light meter or a smartphone app).
- Temperature range: 65–75 °F (18–24 °C) during the day, 55–60 °F (13–16 °C) at night for optimal dormancy.
- Watering schedule: 1‑2 cm of water per week, adjusted for humidity.
Actionable steps
- Place the pot near a south‑facing window; if natural light is insufficient, supplement with a 4000 K LED grow light set to 12‑hour cycles.
- Use a digital thermometer to monitor night‑time temperature; a simple plug‑in thermostat can maintain the cooler range.
- Water using a moisture meter—insert the probe 2 inches deep; water only when the reading shows “dry” (below 30 %).
Pro tip
During winter, reduce watering by 25 % and keep the room humidity around 40 % to prevent bulb rot.
5. Encourage Re‑blooming and Seasonal Color
Data from the International Bulb Society shows that a 12‑week dormancy period after the first bloom dramatically increases the chance of a second flowering cycle. This mimics the plant’s natural seasonal rhythm.
How to induce dormancy
- After the first bloom, stop watering for 2‑3 weeks while keeping the pot in a cool (50‑55 °F) dark place.
- Once foliage yellow‑s and dies back, trim the leaves to the base.
- Transfer the pot back to its bright location and resume a light watering schedule.
Actionable advice
Label each pot with the expected dormancy start date. This visual cue helps you stay on schedule and prevents accidental over‑watering.
6. Ongoing Maintenance and Troubleshooting
Even low‑maintenance bulb plants can encounter issues. Below is a quick reference table based on common problems and data‑backed solutions.
| Problem | Likely Cause | Data‑Driven Fix |
|---|---|---|
| Yellowing leaves | Over‑watering (soil > 70 % moisture) | Let soil dry to 30 % before next watering; improve drainage. |
| Leggy stems | Insufficient light (below 150 µmol m⁻² s⁻¹) | Move plant closer to light source or add a 4000 K LED panel. |
| Brown leaf tips | Low humidity (<30 %) | Place a humidifier nearby or set a pebble tray with water. |
Quick win
Set a weekly reminder on your phone to check soil moisture and light levels. Consistency beats occasional deep dives.
7. Harvesting and Sharing Your Colorful Blooms
When the flowers reach full size (usually 5‑7 cm in diameter), cut them with a clean, sharp pair of scissors, leaving a small stem attached. This encourages the plant to redirect energy to the bulb, enhancing the next bloom cycle.
Seasonal display ideas
- Spring: Group white Paperwhites with pastel pink Amaryllis for a soft palette.
- Summer: Mix bright red Hippeastrum with orange Crocosmia for a bold statement.
- Fall: Pair deep‑purple Narcissus with gold‑tinged Amaryllis for warm contrast.
By following these data‑driven steps, you’ll enjoy reliable seasonal color with minimal effort—turning any indoor space into a thriving, vibrant oasis.

