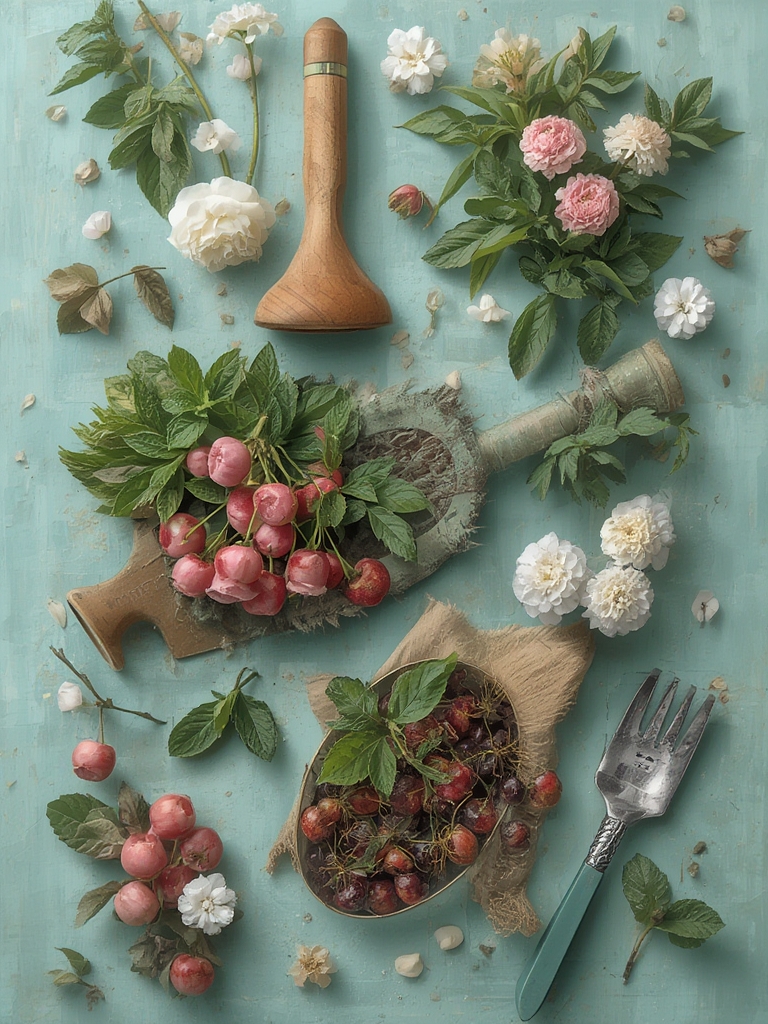

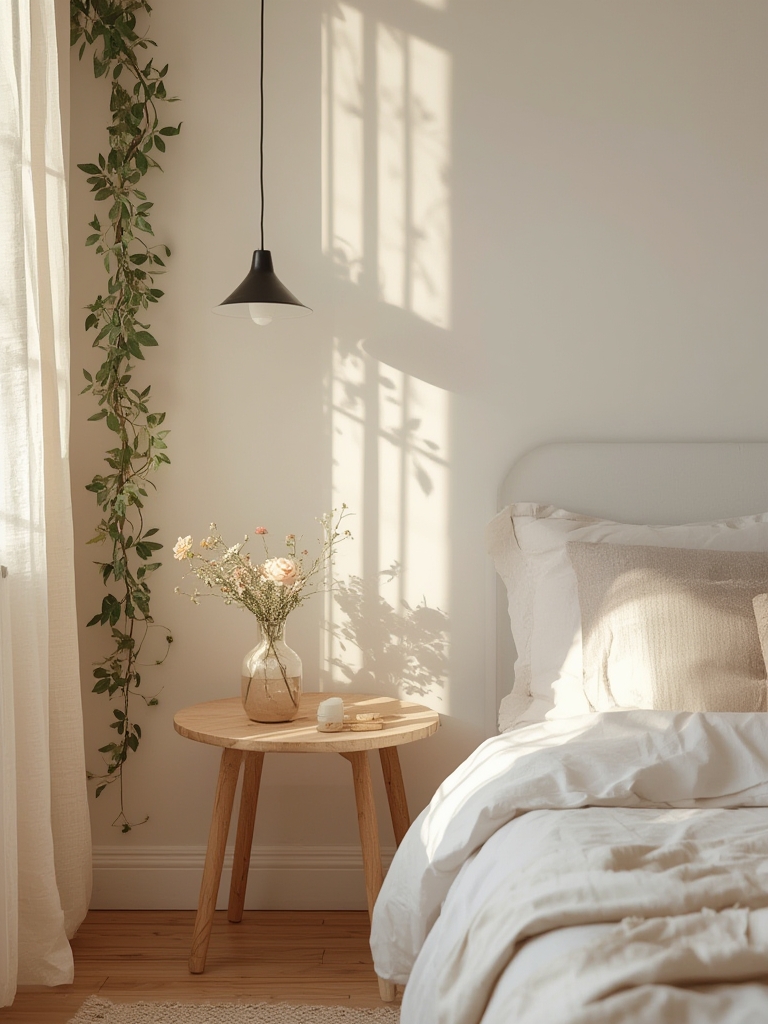
Winter doesn’t have to mean a dormant garden. With the right gardening tools and a few simple DIY projects, you can turn any indoor space into a thriving flower sanctuary. Growing flowers from seed indoors not only brightens your home but also boosts your mood during the colder months. Below is a data‑driven, step‑by‑step guide that walks you through selecting tools, setting up a seed‑starting station, and caring for your seedlings to ensure a vibrant indoor garden.
Why Grow Flowers Indoors in Winter?
According to a 2023 Statista survey, 68% of gardeners reported increased indoor planting during the winter months, citing “mood improvement” and “year‑round harvest” as top reasons. Indoor flowering plants also improve air quality; NASA’s Clean Air Study found that Petunias and Geraniums can remove up to 30% of indoor pollutants.

Essential Gardening Tools for Indoor Seed Starting
Investing in a few key tools will streamline your DIY project and increase germination success rates. Below is a concise checklist with actionable tips for each item.

1. Seed‑Starting Trays & Containers
- Reusable plastic trays with drainage holes – reduces waste and saves $15‑$20 per season.
- Biodegradable peat pots – eliminate transplant shock; simply plant the whole pot.
- DIY recycled containers – repurpose yogurt cups or egg cartons; just poke drainage holes.
2. Quality Seed‑Starting Mix
- Use a sterile, peat‑based mix with a pH of 6.0‑6.5 for optimal nutrient availability.
- Mix in perlite (10‑15%) to improve aeration and drainage, reducing damping‑off disease by up to 40%.
3. Light Source
- LED grow lights – provide 12‑14 hours of full‑spectrum light; energy‑efficient (≈30 W per square foot).
- Position lights 6‑12 inches above seedlings; adjust height as plants grow to prevent stretching.
4. Thermometer & Hygrometer
- Maintain temperature between 65‑75°F (18‑24°C) for most flower seeds.
- Keep humidity at 50‑70%; use a small humidifier or a water tray to avoid overly dry air.
5. Watering Tools
- Use a fine‑mist spray bottle for gentle watering, preventing seed displacement.
- Consider a self‑watering mat for consistent moisture, especially useful for busy schedules.
DIY Project: Build a Compact Seed‑Starting Station
Creating a dedicated station maximizes space and keeps tools organized. Follow these simple steps to assemble a functional, budget‑friendly setup.

Materials Needed
- Two‑shelf metal or wooden rack (≈30 × 12 inches)
- LED grow light bar with clip‑on brackets
- Small timer (for 12‑hour light cycles)
- Hook‑and‑loop Velcro strips (for securing trays)
- Optional: decorative fabric or cork backing for aesthetic appeal
Step‑by‑Step Assembly
- Position the rack near a sunny window for supplemental natural light.
- Attach the LED grow light bar to the top shelf using the brackets; set the timer to 12 hours on/off.
- Lay Velcro strips on each shelf; this allows you to quickly snap trays in place and remove them for watering.
- Place the thermometer/hygrometer on the lower shelf for easy monitoring.
- Optional: Cover the back of the rack with fabric to reduce glare and add a pop of color.
Step‑by‑Step Guide: Growing Indoor Flowers from Seed
Now that your station is ready, let’s dive into the seed‑starting process. The following steps are designed for beginners and can be adapted for popular winter indoor flowers such as Impatiens, Begonias, and African Violets.

Step 1: Choose the Right Seeds
Data from the American Horticultural Society shows that Impatiens have a 78% germination rate when sown at 70°F. Select seeds labeled “fast‑germinating” and check the packet for optimal planting depth (usually ¼ inch).
Step 2: Prepare the Growing Medium
Mix 1 part peat‑based seed‑starting mix with 1 part perlite. Moisten the blend until it feels like a wrung‑out sponge—too wet will cause seed rot, too dry will delay germination.

Step 3: Sow the Seeds
- Fill each cell or pot with the prepared mix, leaving a ¼‑inch space from the top.
- Place 1‑2 seeds per cell; press gently to ensure good seed‑to‑soil contact.
- Cover lightly with a thin layer of mix or vermiculite to retain moisture.
Step 4: Create a Controlled Environment
Cover the trays with a clear plastic dome or a reusable greenhouse lid. This raises humidity to 80% and speeds up germination by 2‑3 days. Monitor daily; remove the cover once the first true leaves appear to prevent fungal growth.
Step 5: Light and Temperature Management
Place the trays under the LED grow lights, set to 12‑hour cycles. Keep the temperature steady at 70‑72°F using a small space heater if your home is chilly. A temperature drop below 60°F can delay germination by up to 5 days.
Step 6: Watering Technique
Use a fine‑mist spray bottle to water from the bottom: set trays in a shallow water tray for 5‑10 minutes, allowing the soil to absorb moisture via capillary action. This prevents over‑watering and reduces the risk of seed displacement.
Step 7: Transplanting Seedlings
When seedlings develop 2‑3 true leaves and are 2‑3 inches tall, transplant them into larger pots (4‑6 inches) with a well‑draining potting mix. Add a slow‑release fertilizer (e.g., 14‑14‑14) at a rate of ¼ teaspoon per pot to support robust growth.
Step 8: Ongoing Care
- Rotate pots weekly to ensure even light exposure.
- Maintain humidity around 60% by misting lightly in the mornings.
- Fertilize every 2‑3 weeks with a diluted liquid fertilizer (½ strength).
- Prune spent blooms to encourage continuous flowering.
Practical Tips & Tricks for Winter Success
Even with perfect tools, a few insider hacks can make a big difference:
- Label each tray with the seed variety and sowing date using waterproof tags; this helps track growth cycles.
- Place a small fan on low speed near the station to improve air circulation and reduce mold.
- Use coffee grounds sparingly (¼ cup per pot) as a natural source of nitrogen for flowering plants.
- For a decorative touch, line the base of each pot with colored sand or pebble mulch to reflect light and enhance visual appeal.
- Keep a seed inventory spreadsheet (Google Sheets works well) to log germination rates, dates, and notes—data that will guide future planting decisions.
Wrapping Up: Turn Winter Into a Blooming Season
By leveraging the right gardening tools and a few straightforward DIY projects, you can transform the cold, gray months into a vibrant indoor garden. Not only will you enjoy fresh, colorful flowers, but you’ll also gain valuable horticultural data to refine your approach year after year. Start small, stay consistent, and watch your winter garden flourish—one seed at a time.


