Welcome to your garden inspiration guide! Whether you have a sunny balcony, a modest backyard, or a sprawling yard, this data‑driven, step‑by‑step post will help you grow thriving plants and style them beautifully—even if you’re just starting out. 💐🌿
1. Assess Your Garden Space and Micro‑Climate
Measure Sunlight Exposure
- Use a simple sunlight log: for one week, note the hours each area receives direct sun. Zones with 6‑8 hours are “full sun,” 3‑6 hours are “partial sun,” and <3 hours are “shade.”
- Match plant selections to these zones to avoid stress and wasted water.
Check Soil Texture and pH
- Grab a handful of soil; if it forms a loose ribbon when wet, you have loam—ideal for most plants.
- Test pH with a cheap kit (available at garden centers). Most flowering plants thrive at pH 6.0‑6.8. Amend with lime (raise pH) or sulfur (lower pH) as needed.
Map Out Water Access
- Identify the nearest water source and plan a drip‑irrigation line or soaker hose. Drip systems can reduce water use by up to 30 % compared to overhead watering.
2. Choose the Right Plants for Your Goals
Data‑Backed Plant Selection
Based on USDA hardiness zones (use the interactive map), pick plants that are proven to survive your winter lows. For example:
- Zone 5‑9: Lavender (Lavandula angustifolia) – drought‑tolerant, aromatic, and attracts pollinators.
- Zone 3‑8: Coneflower (Echinacea purpurea) – low maintenance, long‑blooming.
- Zone 7‑10: Petunias – excellent for containers and quick color.
Mixing Textures and Heights
- Use a 30‑30‑40 rule: 30 % groundcovers, 30 % mid‑height plants, 40 % vertical accents (tall grasses or trellised vines). This creates depth and visual interest.
3. Step‑by‑Step Planting Guide
Step 1: Prepare the Bed
- Clear weeds and debris. Remove roots to a depth of at least 6 in to prevent regrowth.
- Loosen soil to a depth of 12‑15 in. Incorporate 2‑3 in of organic compost for nutrient boost.
Step 2: Layout Your Design
- Sketch a simple plan on graph paper (1 sq ft = 1 sq in on paper). Place taller plants on the north side to avoid shading lower ones.
- Leave 12‑18 in between perennials and 6‑12 in for annuals, based on mature spread.
Step 3: Planting Depth and Spacing
- Dig a hole twice as wide as the root ball but no deeper. The top of the root ball should sit 1‑2 in above ground level to allow for settling.
- Backfill with a mix of native soil and compost, firm gently, and water thoroughly.
Step 4: Mulch for Moisture Retention
- Apply a 2‑3 in layer of organic mulch (shredded bark, straw, or leaf mold). This reduces evaporation by up to 50 % and suppresses weeds.
4. Ongoing Care: Water, Feed, and Prune
Watering Schedule
- Newly planted perennials need 10‑12 gal of water per week for the first 3 weeks. After establishment, reduce to 1‑1.5 gal per plant per week, adjusting for rainfall.
- Use a moisture meter: aim for a reading of 2‑3 in depth before re‑watering.
Fertilization Timing
- Apply a balanced 10‑10‑10 granular fertilizer in early spring (once plants break dormancy) and again in midsummer for repeat bloomers.
- For organic lovers, use a 5‑5‑5 compost‑based blend or a tea of worm castings (½ cup per 10 sq ft) every 4‑6 weeks.
Pruning and Deadheading
- Deadhead spent blooms weekly to encourage a second flush of flowers. Use clean, sharp scissors to cut just above the first set of leaves.
- For woody plants (e.g., roses), prune in early spring when buds are swollen but not yet open. Remove 20‑30 % of old growth to improve air flow.
5. Learn How to Style Flowers Beautifully Even If You Are Just Starting Out
Color Theory Basics
- Use a triadic color scheme (e.g., purple, orange, green) for vibrant contrast.
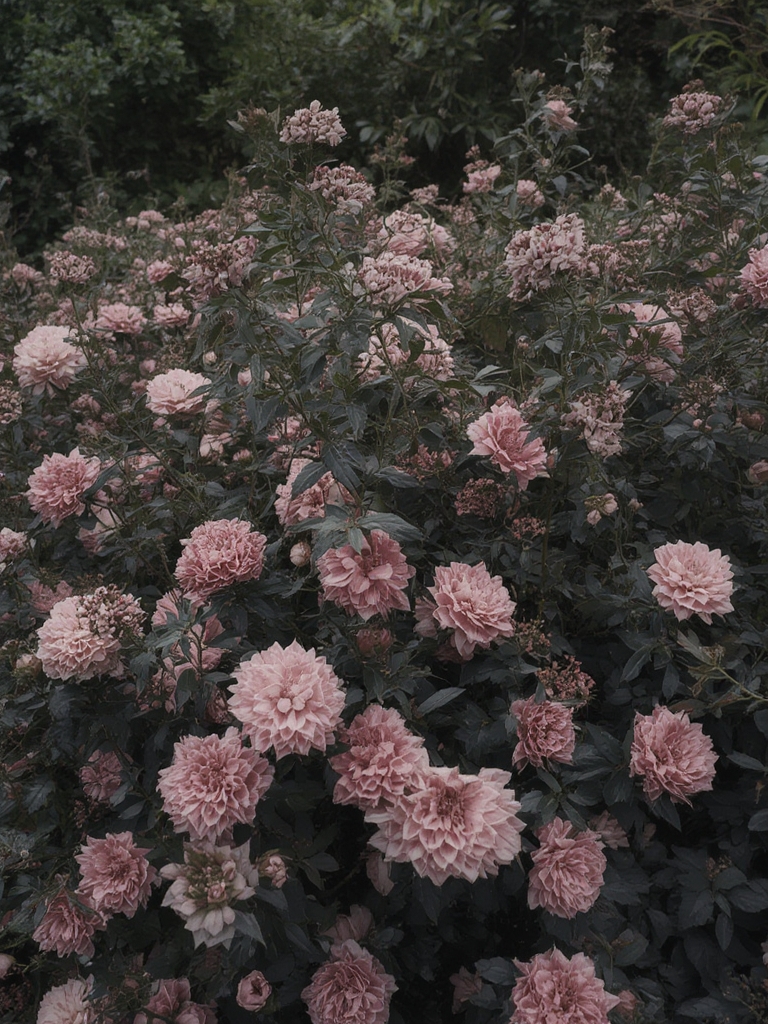
- For a calm look, stick to analogous colors (e.g., pink, red, magenta).
Creating Focal Points
- Place a bold, tall plant (like a dwarf ornamental cabbage) at a garden intersection. This draws the eye and anchors the design.
- Group plants in odd numbers (3, 5, 7) for a natural feel; even numbers can look too formal.
Container Styling Tips
- Choose containers 2‑3 in larger than the plant’s root ball. Fill the bottom with a layer of gravel for drainage.
- Mix a fast‑growing filler (e.g., alyssum) with a slower, showy bloom (e.g., geranium) to maintain continuous color.
Seasonal Swaps
- Replace summer annuals with fall foliage plants (e.g., ornamental kale) in September. This extends visual interest without extra cost.
- In winter, add evergreen sprigs (like rosemary) and a few ornamental grasses for texture.
6. Quick Action Checklist for Success
- ✅ Log sunlight for each garden zone (7‑day log).
- ✅ Test soil pH and amend as needed.
- ✅ Choose plants matched to your USDA zone.
- ✅ Prepare beds with compost and proper depth.
- ✅ Mulch to retain moisture.
- ✅ Water consistently using a moisture meter.
- ✅ Feed with balanced or organic fertilizer twice a year.
- ✅ Deadhead weekly; prune woody plants in early spring.
- ✅ Apply color theory when arranging blooms.
- ✅ Rotate seasonal plants for year‑round interest.
By following these data‑backed steps and styling tricks, you’ll transform any space into a garden that not only thrives but also looks professionally designed. Remember, the best garden grows from consistent care and a little creativity—so grab your tools, plant with confidence, and watch your garden flourish!

