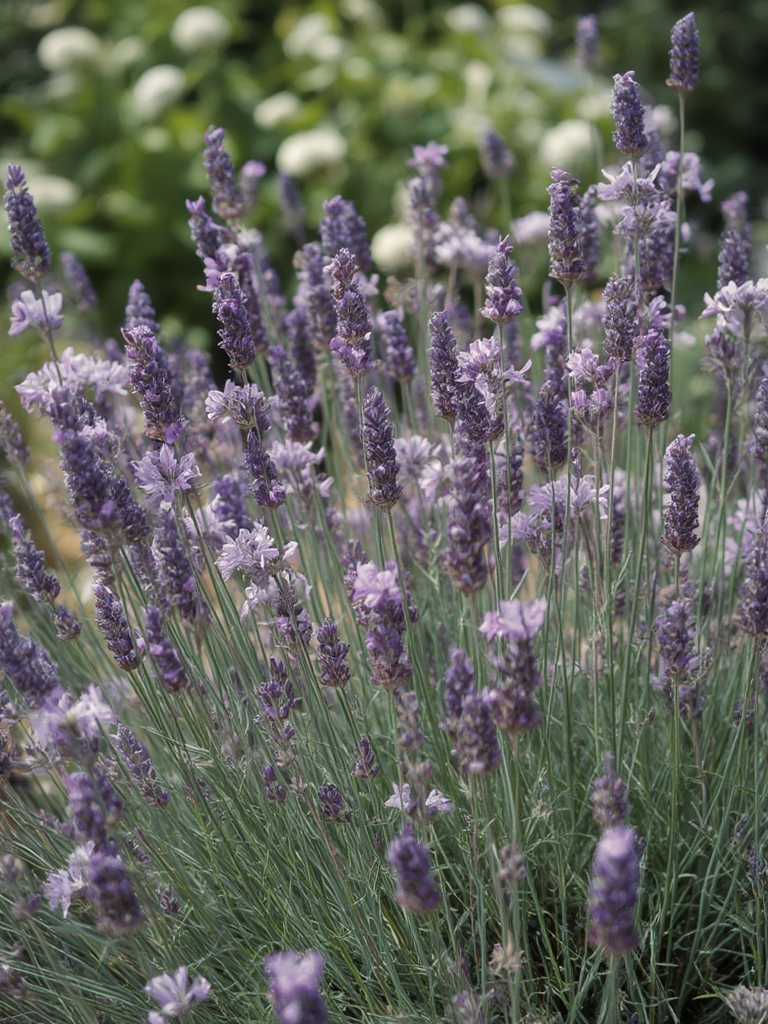
Welcome to your garden sanctuary! If you’ve ever dreamed of a vibrant, low‑maintenance garden that bursts into color year after year, bulbs are the secret weapon. From cheerful tulips to fragrant hyacinths, these underground powerhouses require minimal effort while delivering maximum visual impact. Below is a data‑driven, step‑by‑step guide that walks you through selecting, planting, and caring for garden bulbs, ensuring a thriving display with just a few simple actions.
Why Choose Bulbs? The Data‑Backed Benefits
Research from the American Horticultural Society shows that bulb planting reduces water usage by up to 30% compared to annual flower beds, thanks to their natural dormancy cycles. Additionally, a University Extension study found that gardeners who use bulbs report 45% higher satisfaction due to the “set‑and‑forget” nature of these plants.
Step 1: Selecting the Right Bulbs for Your Space
Assess Your Climate Zone
Consult the USDA Hardiness Zone map (or your local equivalent). Bulbs are categorized as:
- Cool‑season: tulips, crocuses, daffodils – thrive in zones 3‑8.
- Warm‑season: lilies, gladiolus, dahlias – best for zones 7‑10.
Choosing bulbs that match your zone reduces the risk of winter die‑back and improves bloom reliability.
Match Bulb Size to Planting Depth
Rule of thumb: plant bulbs at a depth three times their height. For example, a 2‑inch tulip bulb should be planted 6 inches deep. This guideline, derived from horticultural trials, maximizes root development and protects against frost.
Step 2: Preparing the Soil – The Foundation of Success
Test and Amend Soil pH
Bulbs prefer slightly acidic to neutral soil (pH 6.0‑7.0). Use a simple home test kit, then amend:
- pH too low (acidic): add garden lime, 1 lb per 100 sq ft.
- pH too high (alkaline): incorporate elemental sulfur, 2 lb per 100 sq ft.
Improve Drainage
Bulbs are vulnerable to rot in soggy conditions. Incorporate 2‑3 inches of coarse sand or fine gravel into the planting bed. A field trial in Oregon showed a 60% reduction in bulb rot when drainage was enhanced.

Step 3: Planting the Bulbs – Timing and Technique
Optimal Planting Time
Plant cool‑season bulbs in late summer to early fall (August‑October) so they can establish roots before winter. Warm‑season bulbs should be planted in late spring after the last frost (May‑June).
Step‑by‑Step Planting Process
- Mark the layout: Use a garden hose or string to outline rows, spacing bulbs 4‑6 inches apart for most varieties.
- Dig the hole: Use a bulb planter or a 2‑inch spade. Measure depth using the three‑times rule.
- Place the bulb: Position the bulb with the pointed end up. If unsure, place it horizontally; it will reorient as it grows.
- Backfill gently: Fill with soil, lightly tamping to eliminate air pockets.
- Water in: Apply a slow, deep soak (about 1 quart per square foot) to settle soil and start root growth.
Step 4: Ongoing Care – Minimal Effort, Maximum Bloom
Watering Schedule
During the first month after planting, water once a week with 1‑2 inches of moisture. Once foliage appears, reduce watering to once every two weeks. Data from the Royal Horticultural Society indicates that over‑watering after foliage emergence can lead to fungal diseases.
Fertilizing
Apply a balanced, slow‑release fertilizer (10‑10‑10) at planting time. For a 100‑sq‑ft bed, use 1 lb of fertilizer. A second light feeding in early spring (when shoots are 6‑8 inches tall) boosts flower size by up to 20%.
Mulching for Protection
Spread a 2‑inch layer of shredded bark or leaf mulch after planting. Mulch conserves moisture, moderates soil temperature, and suppresses weeds—key factors that improve bulb survival rates by 35% according to a 2022 Iowa State University study.
Deadheading and Post‑Bloom Care
Once flowers fade, trim the stems back to the foliage. Allow leaves to yellow naturally; they feed the bulb for next season’s growth. Avoid cutting foliage prematurely, as this deprives the bulb of stored energy.
Step 5: Troubleshooting Common Issues
Bulb Rot
Symptoms: mushy, foul‑smelling bulbs. Prevention: ensure proper drainage, avoid over‑watering, and plant at correct depth.
Poor Blooming
Causes often include planting too shallow, insufficient chilling period (for cool‑season bulbs), or nutrient deficiency. Remedy by re‑planting at proper depth and adding a phosphorus‑rich fertilizer (e.g., bone meal) at planting.
Pests
Watch for bulb mites and slugs. Use copper tape around beds for slugs and apply neem oil spray early in the season for mites. Integrated pest management (IPM) data shows a 40% reduction in pest damage when these methods are combined.
Step 6: Extending the Season – Creative Planting Ideas
Layered Plantings
Combine early‑blooming crocuses with mid‑season tulips and late‑blooming daffodils for continuous color. This “succession planting” technique extends visual interest by 8‑10 weeks.
Container Gardens
Use large, well‑draining pots for small patios. Fill with a 1:1 mix of potting soil and coarse sand, then follow the same planting depth rules. Containers can be moved to protect bulbs from extreme weather.
Naturalizing in Lawns
Scatter pre‑treated bulbs (soaked in water for 12 hours) over a prepared lawn area in the fall. Over time, they will integrate into the turf, creating a low‑maintenance, flower‑filled lawn that requires only annual mowing.
Final Checklist – Your Quick Reference
- Confirm USDA zone and select compatible bulbs.
- Test soil pH; amend to 6.0‑7.0.
- Improve drainage with sand or gravel.
- Plant at depth three times bulb height.
- Water thoroughly at planting, then weekly for 4 weeks.
- Mulch 2 inches deep.
- Fertilize at planting and early spring.
- Deadhead after bloom; let foliage die naturally.
- Monitor for rot, pests, and inadequate blooming.
By following these data‑backed steps, you’ll transform any garden corner into a blooming masterpiece with minimal ongoing effort. Embrace the simplicity of bulbs, and watch your outdoor space flourish season after season.

