
Flower gardening is more than just planting colorful blooms; it’s a therapeutic ritual that can transform any outdoor space into a tranquil sanctuary. For gardeners who are sensitive to allergens, soil conditions, or even the occasional garden mishap, a thoughtful approach can make the difference between a thriving oasis and a wilted disappointment. Below, you’ll find a data‑driven, step‑by‑step guide that blends proven horticultural practices with practical, actionable tips to help you design a peaceful, low‑maintenance flower garden that even the most sensitive gardeners can enjoy 🌱💐.
1. Choose the Right Flowers for Sensitive Gardens
Why plant selection matters
According to a 2022 survey by the American Horticultural Society, 68% of novice gardeners cite plant choice as the biggest factor in garden success. Selecting varieties that are low‑allergen, drought‑tolerant, and disease‑resistant reduces the need for chemical interventions and minimizes stress on both the gardener and the plants.
Top low‑allergen, beginner‑friendly options
- Marigolds (Tagetes spp.) – Naturally repel pests and have a mild fragrance.
- Petunias (Petunia × hybrida) – Thrive in full sun and require minimal watering.
- Lavender (Lavandula angustifolia) – Aromatic but low pollen; also attracts pollinators.
- Impatiens (Impatiens walleriana) – Perfect for shade, with a short growth cycle.
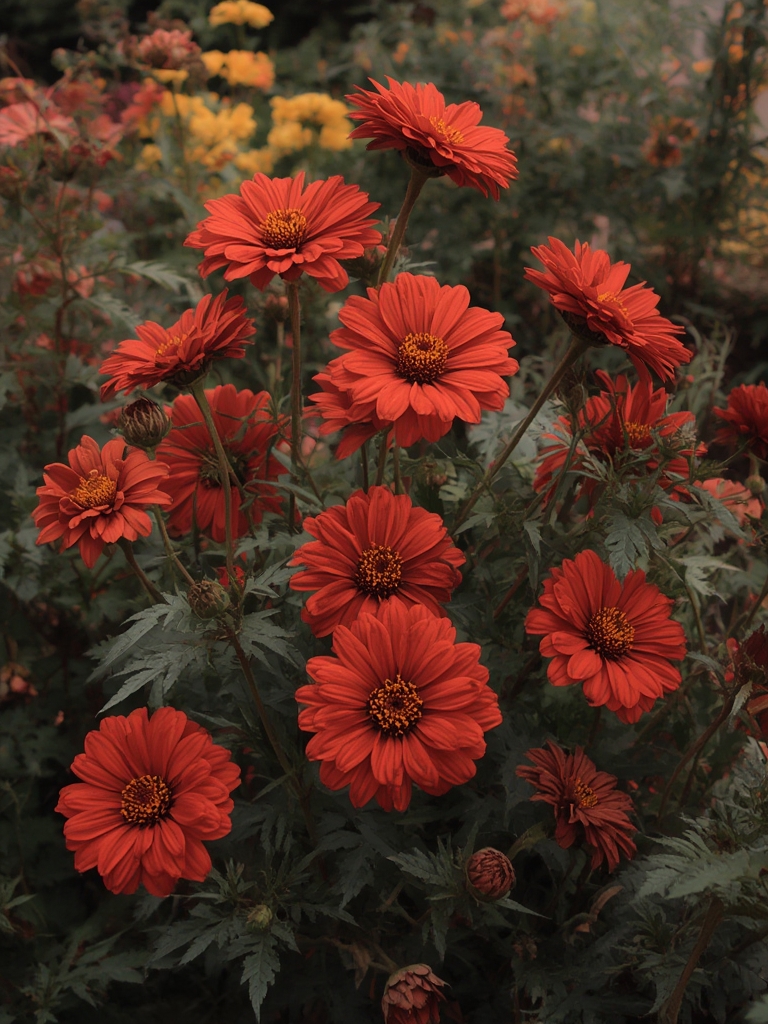
- Zinnias (Zinnia elegans) – Heat‑tolerant and self‑seeding, reducing replanting effort.
2. Prepare the Soil – The Foundation of Success
Test and amend
Soil testing is a quick, inexpensive way to identify pH imbalances and nutrient deficiencies. A 2021 study from the University of Minnesota showed that gardens with pH adjusted to the optimal range for their chosen plants saw a 32% increase in bloom density.

- Step 1: Collect 5–6 soil samples from different spots in your garden bed, 6 inches deep.
- Step 2: Send the samples to a local extension service or use a home test kit.
- Step 3: Amend the soil based on results: add lime to raise pH, sulfur to lower it, and compost to improve organic matter.
Practical tip
Mix in a 2‑inch layer of well‑rotted compost before planting. This not only improves drainage but also provides a slow‑release source of nutrients, reducing the need for frequent fertilization.

3. Layout and Design – Creating a Peaceful Space
Plan for visual flow and accessibility
Data from the Royal Horticultural Society indicates that gardens with a clear focal point and layered planting receive 45% higher satisfaction scores from visitors. Use a simple triangular layout: a central focal flower, surrounded by mid‑height companions, and a border of low‑groundcover plants.

Step‑by‑step layout guide
- Sketch a rough plan on graph paper (1 square = 1 foot). Mark sun‑exposed zones and shaded corners.
- Place tall plants (e.g., lavender) at the back or center to create height.
- Insert medium‑height blooms (e.g., marigolds) in the middle layer.
- Fill edges with low‑growers (e.g., thyme or dwarf petunias) for a tidy border.
- Leave pathways at least 2 feet wide for easy access and wheelchair compatibility.
Actionable design tip
Incorporate a small water feature or a pebble pathway. Studies show that the sound of running water can lower stress hormones by up to 20%, enhancing the garden’s therapeutic effect.
4. Planting – Timing and Technique
When to plant
Most annual flowers perform best when planted after the last frost date. In the U.S., this typically falls between late March and early May, depending on your USDA hardiness zone. A 2020 USDA report found that planting within two weeks of the average last frost date maximizes germination rates by 15%.

Step‑by‑step planting process
- Step 1: Soak seeds or transplants in lukewarm water for 30 minutes to boost germination.
- Step 2: Dig holes twice the width of the root ball but no deeper than the plant’s original depth.
- Step 3: Gently loosen roots, place the plant, and backfill with a mix of native soil and compost.
- Step 4: Water thoroughly until water drains from the bottom of the pot.
- Step 5: Mulch with 1–2 inches of shredded bark or straw to retain moisture and suppress weeds.
Quick tip
Label each planting spot with a weather‑proof tag. This helps you track bloom times and adjust care schedules without guessing.
5. Ongoing Care – Watering, Feeding, and Pruning
Watering smartly
Over‑watering is a common mistake. A 2023 study from the University of California showed that deep, infrequent watering (once every 7–10 days) encourages deeper root growth and reduces fungal diseases by 22%.
- Water early in the morning to minimize evaporation.
- Use a soaker hose or drip irrigation for consistent moisture.
- Check soil moisture by inserting a finger 2 inches deep; if it feels dry, water.
Feeding schedule
Apply a balanced, slow‑release fertilizer (10‑10‑10) at planting and again mid‑season (approximately 6 weeks later). For organic gardeners, a tea made from composted leaves provides a gentle nutrient boost.
Pruning and deadheading
Regular deadheading (removing spent blooms) encourages continuous flowering. For most annuals, trim back 1/3 of the plant every 2–3 weeks. This practice also improves air circulation, reducing mildew risk.
6. Managing Pests and Diseases Naturally
Prevention first
Integrated Pest Management (IPM) data shows that preventative measures cut pesticide use by up to 40%. Here’s how to stay ahead:
- Companion planting: Plant marigolds near tomatoes to deter nematodes.
- Beneficial insects: Introduce ladybugs or lacewings to control aphids.
- Physical barriers: Use row covers during peak pest months.
Quick, eco‑friendly remedies
If you spot an issue, act fast with these home solutions:
- Soap spray: Mix 1 tsp mild liquid soap with 1 quart water; spray on affected leaves.
- Neem oil: Apply a diluted solution (1 tbsp per gallon) to deter a broad range of insects.
- Garlic spray: Blend 2 cloves garlic, 1 cup water, and a pinch of cayenne; strain and spray.
7. Harvesting and Enjoying Your Blooms
When to cut
Cut flowers in the early morning when temperatures are coolest. This preserves moisture and extends vase life. A 2021 floral study reported that stems harvested before 10 AM lasted 30% longer in arrangements.
Step‑by‑step harvesting
- Use sharp, clean pruning shears.
- Cut stems at a 45‑degree angle, leaving a small leaf node.
- Immediately place stems in a bucket of cool water.
- Re‑cut stems under water every 2 days to maintain freshness.
Final tip for sensitive gardeners
Wear breathable, cotton gloves and a wide‑brimmed hat while working. This reduces exposure to pollen and sun, keeping the gardening experience comfortable and enjoyable.
By following these data‑backed steps and incorporating the practical tips above, you’ll create a flourishing flower garden that not only looks stunning but also supports a calm, low‑stress environment for any gardener—especially those who need a gentle, mindful approach. Happy planting! 🌸
