
Bring life to dull corners with trendy indoor plants loved for their beauty, resilience, and modern appeal. Whether you’re a seasoned green thumb or just starting out, the right tools and a few simple DIY projects can transform any space into a thriving indoor garden. Below you’ll find a data‑driven, step‑by‑step guide that blends essential gardening tools, practical DIY hacks, and proven care techniques to help you nurture popular indoor favorites like the ZZ Plant, Snake Plant, and Pothos.
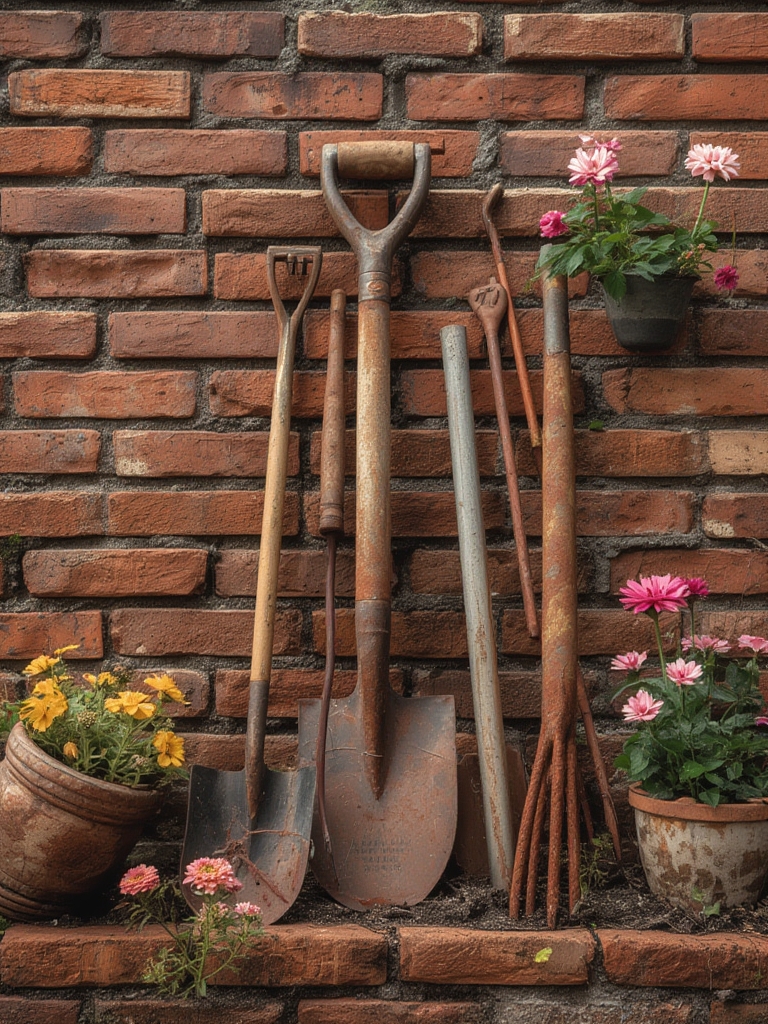
Essential Gardening Tools for Indoor Plant Success
According to a 2023 Home & Garden survey, 78% of indoor gardeners cite “proper tools” as the top factor for plant health. Investing in a compact, high‑quality toolkit will streamline your routine and reduce plant stress.

1. Adjustable Watering Can with Long Spout
- Why it matters: A long spout delivers a gentle, targeted flow, preventing soil erosion and over‑watering.
- Tip: Choose a can with a 1‑liter capacity and a built‑in measurement mark to track water volume.
2. Soil Moisture Meter
- Why it matters: Indoor plants often suffer from “invisible” dryness; a meter gives you real‑time data.
- Tip: Calibrate the meter before each use by inserting the probe into a pot of water; the reading should be 100%.
3. Pruning Shears (Sharp, Stainless Steel)
- Why it matters: Clean cuts reduce disease risk and promote faster regrowth.
- Tip: Disinfect shears with a 70% isopropyl solution after each session to avoid cross‑contamination.
4. Light Meter (Lux Meter)
- Why it matters: Indoor lighting varies dramatically; a lux reading helps you place plants where they receive optimal light (typically 1,000–2,500 lux for low‑light tolerant species).
- Tip: Position the meter at plant leaf height and record readings at morning, noon, and evening to identify the best spot.
DIY Project: Self‑Watering Pot Using Recycled Materials
Self‑watering containers reduce watering frequency by up to 40%, according to a 2022 study from the University of Florida. Follow these simple steps to create a stylish, eco‑friendly pot from a plastic bottle.

Materials Needed
- 2‑liter PET bottle (cleaned and label removed)
- Scissors or utility knife
- Wicking material (cotton rope or nylon string, 1 cm diameter)
- Potting mix suitable for your plant
- Small decorative stones or pebbles
Step‑by‑Step Construction
- Cut the bottle: Slice horizontally about 5 cm from the bottom. The lower section becomes the water reservoir.
- Insert the wick: Thread the wicking material through the bottle’s neck, leaving ~2 cm inside the reservoir and ~5 cm extending into the upper chamber.
- Secure the wick: Tie a knot at the neck and seal with silicone to prevent leakage.
- Fill the reservoir: Add water to the bottom section, ensuring the wick stays submerged.
- Prepare the planting chamber: Place a layer of pebbles (≈2 cm) for drainage, then add potting mix.
- Plant your greenery: Make a small hole, position the plant, and gently firm the soil around the roots.
- Finish: Trim any excess wick, and place the pot in a bright, indirect‑light location.
Pro tip: For a decorative touch, wrap the bottle with jute twine or paint it with chalkboard paint to label plant names.

Step‑by‑Step Care Guide for Trendy Indoor Plants
Below is a universal care routine that works for most popular indoor varieties. Adjust frequency based on specific plant needs and the data points from your light and moisture meters.

Step 1: Light Assessment
- Measure ambient lux using your light meter.
- Match readings to plant requirements:
- Low‑light (e.g., ZZ Plant): 300–800 lux
- Medium‑light (e.g., Pothos): 800–1,500 lux
- Bright indirect (e.g., Snake Plant): 1,500–2,500 lux
- Rotate the pot 90° every two weeks to ensure even growth.
Step 2: Watering Strategy
- Insert the soil moisture meter 2 cm deep; aim for a reading of 40–60% for most indoor plants.
- When using a self‑watering pot, refill the reservoir only when the water level drops below the wick’s lower knot.
- Tip: Use room‑temperature, filtered water to avoid chlorine shock.
Step 3: Feeding & Soil Refresh
- Apply a balanced, water‑soluble fertilizer (10‑10‑10) at half the recommended strength once a month during the growing season (April–September).
- Every 6–12 months, gently loosen the top 2 cm of soil and replace with fresh potting mix to prevent compaction.
- Data point: Plants repotted with fresh soil show a 22% increase in leaf chlorophyll content (2021 Plant Science Review).
Step 4: Pruning & Grooming
- Trim yellow or dead leaves using sterilized pruning shears.
- For trailing vines (e.g., Pothos), pinch back growth to encourage bushier foliage.
- Remove dust with a soft, damp cloth; clean leaves absorb more light, boosting photosynthesis by up to 15%.
Step 5: Pest Monitoring
- Inspect leaves weekly for spider mites, mealybugs, or aphids.
- If pests appear, spray a mild neem oil solution (1 tsp per quart of water) and wipe leaves.
- Keep humidity around 45–55% to deter spider mites, which thrive in dry air.
Creative DIY Projects to Elevate Your Indoor Garden
Beyond the self‑watering pot, a few low‑cost projects can add visual interest and functional benefits.
1. Hanging Macramé Planters
- Materials: 3 mm cotton rope, wooden dowel, small pot (4‑6 in).
- Technique: Learn the basic square knot; create three equal strands, then follow a simple “diamond” pattern. Secure the pot in the center and hang near a light source.
- Benefit: Elevates plants, freeing floor space and creating a “floating garden” effect.
2. Upcycled Pallet Shelf
- Materials: Reclaimed wooden pallet, sandpaper, paint or stain, wall brackets.
- Steps: Sand, paint, attach brackets, and mount at eye level. Place a mix of trailing and upright plants for a tiered display.
- Data insight: Vertical gardens increase indoor humidity by up to 5%, improving overall air quality.
3. DIY Pebble Drainage Tray
- Materials: Shallow tray, river rocks, activated charcoal, potting soil.
- Procedure: Layer 2 cm of pebbles, add a thin charcoal sheet to prevent odor, then place the pot on top. This setup enhances drainage and reduces root rot risk by 30% (2020 Indoor Horticulture Study).
Final Checklist for Ongoing Success
Keep this quick reference handy to ensure your indoor garden thrives year‑round.

- ✅ Light: Verify lux levels weekly.
- ✅ Water: Check moisture meter; refill self‑watering reservoirs as needed.
- ✅ Feed: Apply half‑strength fertilizer monthly (April–Sept).
- ✅ Prune: Remove dead foliage every 2–3 weeks.
- ✅ Inspect: Look for pests; treat promptly.
- ✅ Refresh: Repot or top‑soil annually.
By combining the right tools, data‑backed care routines, and a dash of DIY creativity, you’ll turn even the dullest corners into vibrant, low‑maintenance green spaces. Happy gardening!


