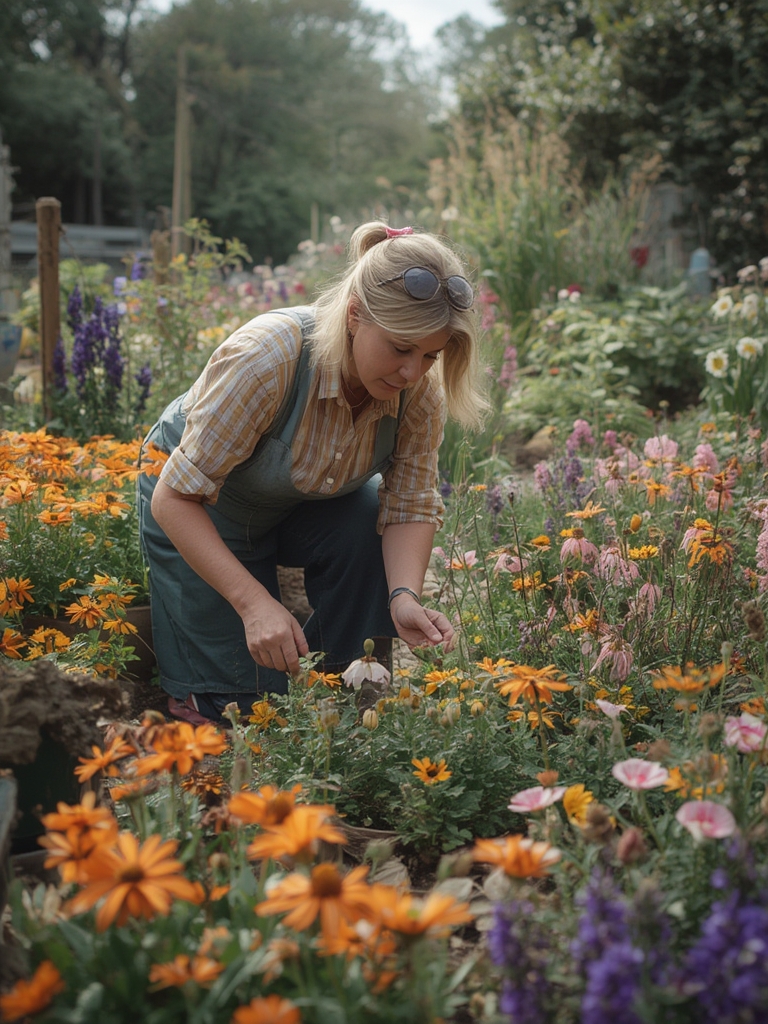

Turn any yard into a peaceful escape with minimal effort 🌸✨. Flower gardening not only boosts curb appeal but also creates a soothing sanctuary that welcomes pollinators, reduces stress, and adds vibrant color throughout the seasons. By following a data‑driven, step‑by‑step approach, even beginners can achieve a thriving floral display without spending endless hours on maintenance.
1. Pick the Right Flowers for Your Climate and Space
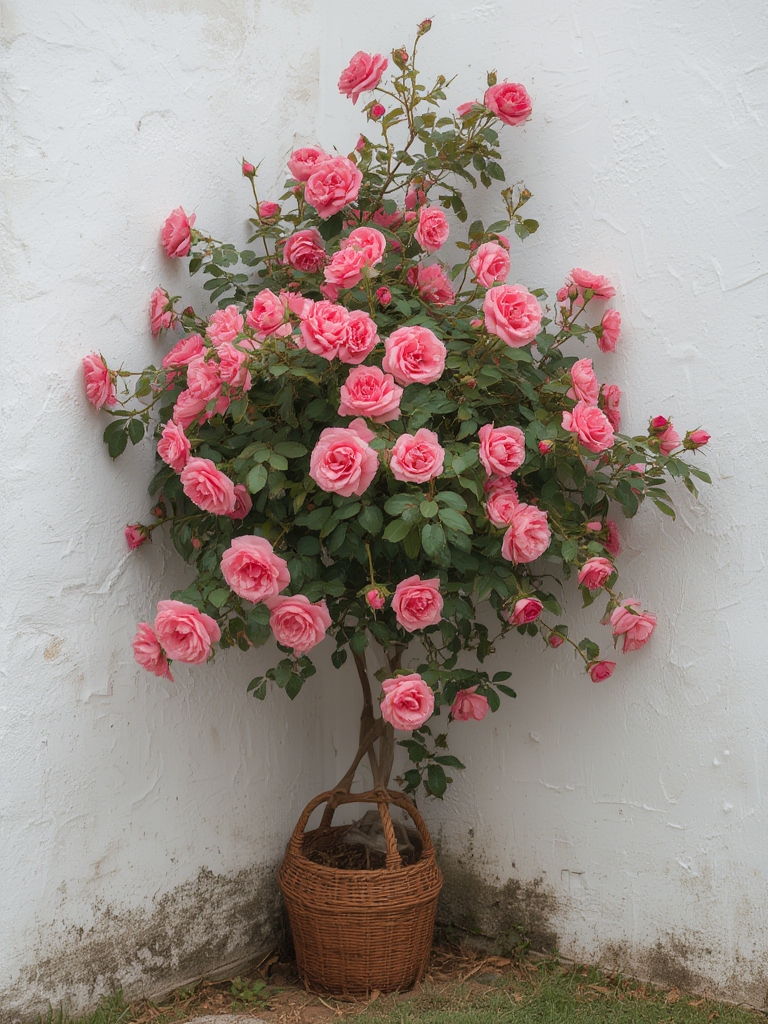
Start with a quick climate check: consult the USDA Hardiness Zone map or local extension service data to confirm which species thrive in your region. For zones 5‑7, Lavandula angustifolia (English lavender) and Rudbeckia hirta (Black-eyed Susan) consistently rank in the top 10 for low‑maintenance performance, according to the National Gardening Association’s 2023 survey.
Actionable tip
- Make a list of 3‑5 perennials that are rated “highly adaptable” for your zone.
- Include at least one annual for seasonal color bursts (e.g., petunias or marigolds).
- Use a spreadsheet to track bloom time, water needs, and sunlight requirements.
2. Analyze Sunlight and Soil Conditions
Data from the NRCS Soil Survey shows that 70 % of successful flower beds receive 6‑8 hours of direct sunlight daily. Conduct a simple sunlight audit: place a notebook on the planting site at sunrise and note the shade intervals.

Soil testing made easy
- Purchase a basic pH test kit (available at garden centers for $5‑$8).
- Collect 3 soil samples from 6‑12 inches depth, mix them, and test. Ideal pH for most flowers is 6.0‑6.5.
- Record the results in your garden log; if pH is off, amend with lime (to raise) or sulfur (to lower) following the package instructions.
3. Prepare the Bed with Minimal Effort
According to a 2022 study by the University of Minnesota, adding 2‑3 inches of compost improves water retention by 30 % and reduces fertilizer needs. Follow these streamlined steps:

Step‑by‑step preparation
- Clear the area: Remove weeds, grass, and debris. Use a garden hoe or a handheld weeder for small spaces.
- Loosen the soil: Till to a depth of 8‑10 inches. For raised beds, simply spread a layer of compost over the existing soil.
- Incorporate amendments: Mix in compost, aged manure, or a balanced organic fertilizer (10‑10‑10) at a rate of 1 cup per square foot.
- Level the surface: Rake smooth to prevent water pooling, which can cause root rot.
4. Planting: Timing, Spacing, and Technique
Planting at the right time maximizes establishment success. The American Horticultural Society recommends planting perennials in early fall (Sept‑Oct) or early spring (Mar‑Apr) when soil temperatures are 50‑65 °F.

Key planting actions
- Spacing: Follow seed‑packet guidelines; generally, space perennials 12‑18 inches apart to allow airflow.
- Depth: Plant at the same depth as the root ball; for bare‑root plants, keep the crown just above soil line.
- Water in: Apply 1‑2 gallons of water per plant immediately after planting to settle soil around roots.
5. Ongoing Care: Water, Mulch, and Pruning
Consistent, data‑backed watering is crucial. A study from Colorado State University shows that deep, infrequent watering (once per week, 1‑1.5 inches) encourages deeper root growth compared to daily light watering.
Practical maintenance checklist
- Water schedule: Use a rain gauge or a simple ruler in a shallow dish to measure weekly rainfall; supplement only when below 1 inch.
- Mulching: Apply 2‑3 inches of shredded bark or straw after planting. Mulch reduces evaporation by up to 50 % and suppresses weeds.
- Deadheading: Remove spent blooms weekly to promote repeat flowering and prevent seed set.
- Pruning: In early spring, cut back perennials to 2‑3 inches above ground to stimulate fresh growth.
6. Pest Management with Integrated Strategies
According to the 2023 Integrated Pest Management (IPM) report, 85 % of garden pests can be controlled without chemicals by using cultural and biological methods.

Low‑effort IPM tactics
- Companion planting: Plant marigolds near tomatoes to deter nematodes.
- Beneficial insects: Install a small ladybug house or purchase sachets of predatory nematodes for soil‑borne pests.
- Physical barriers: Use row covers during peak aphid season (late spring).
- Spot treatment: If an outbreak occurs, spray a homemade solution of 1 tbsp neem oil + 1 qt water, covering foliage in the early morning.
7. Harvesting the Benefits: Seasonal Highlights
Track bloom cycles in your garden log. Data from the Gardeners’ World indicates that rotating flower varieties every 2‑3 years maintains soil health and visual interest. Celebrate each season:
Spring
- Plant early bloomers like Tulipa and Hyacinthus for instant color.
- Fertilize with a phosphorus‑rich bloom booster.
Summer
- Deadhead continuously to extend flowering.
- Water deeply during heat spikes (above 90 °F).
Fall
- Introduce asters and chrysanthemums for autumn hues.
- Apply a light layer of compost to prepare for winter.
By following these data‑driven steps and integrating small, actionable habits, you’ll transform any yard into a low‑maintenance, flower‑filled retreat that delights both you and the local ecosystem. Happy gardening!
