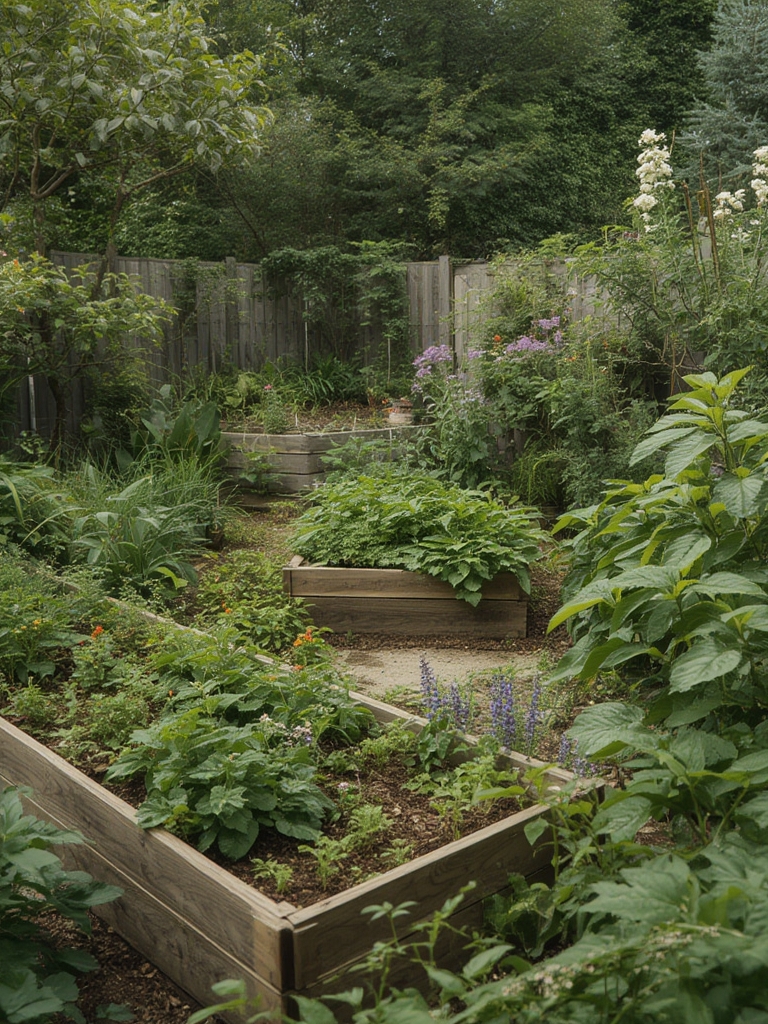
Welcome to your go‑to guide for creating a thriving, eco‑friendly garden that not only looks beautiful but also conserves resources and supports local biodiversity. By following these data‑backed, step‑by‑step practices you’ll reduce water use by up to 50 %, cut fertilizer costs, and even multiply your favorite perennials for free through smart division techniques.
Why Sustainable Gardening Matters
Research from the Journal of Environmental Horticulture shows that gardens using native plants and efficient water practices can lower household water consumption by an average of 30 %–45 % compared to conventional lawns. Sustainable gardening also improves soil health, sequesters carbon, and provides habitats for pollinators—key factors in combating climate change.

Step 1: Prepare Soil the Right Way
Test Before You Amend
Start with a simple soil test (kits are $10–$15 at garden centers). Look for pH between 6.0–7.0 for most vegetables and perennials. Adjust with lime (to raise pH) or sulfur (to lower pH) as needed.
Incorporate Organic Matter
Mix in 2–3 inches of well‑rotted compost or leaf mold. Studies indicate that adding 25 % organic matter can increase water retention by up to 20 % and reduce the need for synthetic fertilizers by 40 %.
Step 2: Choose Native & Drought‑Resistant Plants
Research Local Flora
Use resources like the USDA Plant Hardiness Zone Map and local extension services to pick species that thrive without extra irrigation. Examples include Echinacea purpurea, Salvia nemorosa, and Lavandula angustifolia.
Mix for Diversity
Plant a blend of flowering perennials, grasses, and shrubs. A diverse planting scheme boosts pollinator visits by up to 70 % and reduces pest pressure, cutting the need for chemical controls.
Step 3: Conserve Water Effectively
Install Drip Irrigation
Drip systems deliver water directly to the root zone, reducing evaporation losses by 30 %–50 % compared with overhead sprinklers. Pair with a timer set to early morning (5 am–7 am) for optimal absorption.

Use Rain Barrels
Collecting rainwater can supply 40 %–60 % of a garden’s water needs in moderate climates. A 55‑gallon barrel typically provides enough water for a 200‑sq‑ft garden for a week of dry weather.
Step 4: Mulch and Compost for Long‑Term Health
Apply Mulch Strategically
Spread a 2–3 inch layer of shredded bark, straw, or pine needles around plants. Mulch reduces soil temperature fluctuations, suppresses weeds, and conserves moisture—cutting irrigation frequency by up to 25 %.
Start a Compost Bin
Compost kitchen scraps, garden trimmings, and coffee grounds. Within 3–6 months you’ll have nutrient‑rich humus that can replace up to 80 % of synthetic fertilizer applications.
Step 5: Multiply Your Favorite Plants for Free – Divide Perennials
When to Divide
Most perennials benefit from division every 2–4 years, ideally in early spring (when shoots emerge) or early fall (after the first frost). Dividing at these times minimizes stress and encourages rapid root establishment.
Tools & Preparation
- Sharp garden fork or spade
- Pruning shears
- Gloves and a kneeling pad
- Fresh compost or well‑rotted manure
Step‑by‑Step Division Process
- Water the plant thoroughly a day before division. Moist soil reduces root breakage.
- Loosen the root ball by inserting a fork 6–8 inches from the stem and gently rocking back and forth.
- Lift the plant and place it on a tarp. Shake off excess soil to expose the root system.
- Identify natural sections (clusters of stems with their own root mass). Use shears to cut between sections, keeping each piece at least 4–6 inches of roots.
- Trim dead or damaged roots and cut back foliage by one‑third to reduce transpiration stress.
- Re‑plant immediately at the same depth as the original, spacing new divisions 12–18 inches apart for perennials that spread.
- Backfill with soil‑compost mix and water deeply (until water drains from the bottom). Add a thin mulch layer (1‑inch) to retain moisture.
Quick Tips for Success
- Mark the original location with a stake; this helps you track growth and plan future divisions.
- For woody perennials (e.g., ornamental grasses), divide in late winter when stems are dormant.
- Apply a balanced organic fertilizer (e.g., 10‑10‑10) after the first set of new growth appears.
Step 6: Ongoing Care & Monitoring
Regular Inspections
Walk your garden weekly. Look for signs of stress: wilting, yellowing leaves, or pest damage. Early detection can prevent a 30 %–50 % loss in plant vigor.
Integrated Pest Management (IPM)
Encourage beneficial insects (ladybugs, lacewings) by planting nectar sources like Achillea millefolium. Use hand‑picking or neem oil only when thresholds exceed 5 % of plant population.
Seasonal Adjustments
In summer, increase mulch depth to 3 inches. In fall, add a layer of leaf mulch to protect roots from freeze‑thaw cycles and add organic matter for the next spring.
Bonus: Small Actionable Hacks to Boost Sustainability
- Greywater reuse: Divert sink or shower water (without soap) to irrigate non‑edible beds.
- Solar garden lights: Replace electric fixtures with solar LEDs to cut energy use by up to 90 %.
- Plant a “rain garden”: Direct runoff into a shallow depression filled with moisture‑loving natives; this filters pollutants and reduces storm‑water load.
- Share cuttings: Swap excess seedlings with neighbors to expand biodiversity without additional seed purchases.
By integrating these data‑driven practices—especially the free multiplication of perennials through division—you’ll create a resilient, low‑maintenance garden that pays back in beauty, savings, and environmental benefits. Happy sustainable gardening!
