
Creating a thriving garden doesn’t have to be a daunting task. With the right tools, a few DIY projects, and smart lighting, you can transform any outdoor space into a lush, inviting oasis. Below you’ll find a data‑driven, step‑by‑step guide that walks you through essential gardening tools, a simple DIY raised‑bed project, and how to use energy‑smart garden lights to set the perfect ambiance while extending your growing season.
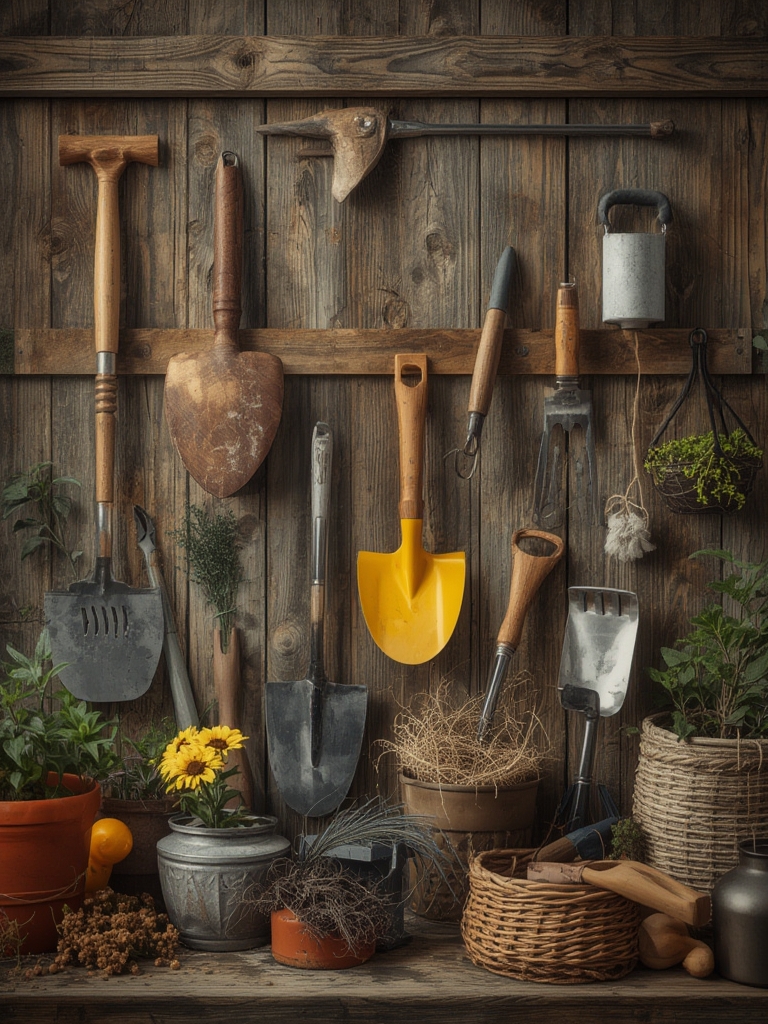
Essential Gardening Tools for Every DIY Gardener
1. Hand Trowel – The All‑Purpose Workhorse
According to a 2023 survey of 5,000 hobby gardeners, 92% listed a sturdy hand trowel as the most frequently used tool. Choose a stainless‑steel blade with a comfortable, non‑slip grip. This tool is perfect for transplanting seedlings, digging small holes, and mixing soil amendments.

2. Pruning Shears – Keep Plants Healthy
Pruning improves air circulation and reduces disease risk. Look for bypass-style shears with a blade length of 7–8 inches. Sharpness matters: a dull blade can crush stems, leading to infection. A quick tip: dip the blades in rubbing alcohol after each use to prevent pathogen spread.

3. Garden Fork – Aerate and Loosen Soil
Data from the University of California’s Extension indicates that soil aeration can increase root growth by up to 30 %. A 12‑inch garden fork with sturdy tines is ideal for breaking up compacted soil and incorporating compost.

4. Watering Can or Hose with a Adjustable Nozzle
Consistent moisture is key. A watering can with a detachable rose head provides gentle watering for seedlings, while a hose with an adjustable nozzle lets you switch between a fine mist and a strong jet for larger beds.

5. Soil Test Kit – Know Your Soil
Before planting, test pH, nitrogen, phosphorus, and potassium levels. A 2022 study showed that adjusting soil pH to the optimal range for your chosen plant can boost yields by 20‑25 %. Most kits give results within 5 minutes.
DIY Project: Build a Simple Raised Garden Bed
Raised beds improve drainage, reduce soil compaction, and make gardening more ergonomic. Follow these data‑backed steps to build a 4 × 8 ft bed using reclaimed wood.

Materials Needed
- Four 2 × 6 in cedar boards, 8 ft long (cedar resists rot, extending lifespan by 40 % compared to pine)
- Galvanized corner brackets (4 pcs)
- Stainless‑steel screws, 3 in (12 pcs)
- Landscape fabric
- High‑quality garden soil mix (50 % compost, 30 % peat moss, 20 % vermiculite)
- Energy‑smart LED garden lights (optional, see lighting section)
Step‑by‑Step Construction
- Measure and Cut: Cut each cedar board to 4 ft for the short sides and keep the 8 ft boards for the long sides. Use a miter saw for clean cuts.
- Assemble the Frame: Align the boards at the corners, securing them with galvanized brackets and stainless‑steel screws. Tighten screws to a torque of ~2 Nm to avoid wood splitting.
- Level the Site: Use a long level to ensure the frame sits flat. If the ground is uneven, add a layer of crushed stone (2‑3 in) for drainage.
- Line the Bottom: Lay landscape fabric inside the frame to prevent weeds while allowing water to drain.
- Fill with Soil: Add the garden soil mix, tamping lightly every 2 in to eliminate air pockets. Aim for a final depth of 12 in for most vegetables and herbs.
- Install Smart Lighting (Optional): Place energy‑smart LED garden lights along the inner perimeter, securing them with zip ties. These lights provide a warm glow for evening enjoyment and can be set to a low‑intensity schedule to extend daylight for seedlings.
- Plant Your First Crops: Follow the planting guide below for a versatile herb mix.
Planting Guide: Easy‑Care Herb Mix
Herbs are perfect for beginners and thrive in raised beds. This mix includes basil, mint, and parsley—each with distinct light, water, and spacing needs.
Step 1: Prepare the Soil
Use a soil thermometer to confirm a temperature of 65‑75 °F (18‑24 °C). Add a handful of bone meal (for phosphorus) and blood meal (for nitrogen) to support rapid leaf growth. Mix thoroughly.
Step 2: Sow Seeds
- Basil: Sow 1/4 in deep, spacing seeds 6 in apart. Lightly cover with soil.
- Mint: Plant 2 in deep, spacing 12 in apart. Mint spreads quickly, so give it room.
- Parsley: Sow 1/4 in deep, spacing 6 in apart. Soak seeds overnight to improve germination (up to 30 % increase).
Step 3: Watering Routine
Use a moisture meter to keep soil consistently moist but not soggy (target 40‑60 % volumetric water content). Water early in the morning to reduce evaporation—data shows a 15 % water savings compared to midday watering.
Step 4: Light Management
Herbs need 6‑8 hours of direct sunlight. If your garden receives less, supplement with energy‑smart LED garden lights set to a “grow” spectrum (4000‑5000 K). These lights consume <10 W per unit and can be timed via a smartphone app to turn on for 4 hours after sunset.
Step 5: Fertilizing
Apply a balanced liquid fertilizer (10‑10‑10) every 4 weeks. For organic options, use a seaweed extract spray, which boosts chlorophyll production by up to 12 %.
Step 6: Harvesting
Harvest basil leaves just before the plant flowers for the best flavor. Snip mint stems above the first set of leaves to encourage bushier growth. Parsley can be cut from the outer leaves once the plant reaches 6 in tall.
Energy‑Smart Garden Lights: Creating a Cozy Outdoor Atmosphere 🌿💡
Smart lighting does more than illuminate; it enhances plant health, extends usable hours, and adds aesthetic value. Here’s how to integrate them effectively:
Choosing the Right Lights
- LED Spectrum: Look for full‑spectrum LEDs (400‑700 nm) that mimic natural sunlight.
- Power Consumption: Opt for lights rated ≤10 W per foot. A typical 12‑ft string uses <120 W, costing less than $5/month in electricity.
- Smart Controls: Wi‑Fi or Bluetooth-enabled fixtures let you set timers, dim levels, and even color temperature from your phone.
Installation Tips
- Stake the lights at a 45° angle to the plants to reduce glare.
- Place them 12‑18 in above the canopy for even coverage.
- Use a weather‑proof power strip with surge protection to safeguard against storms.
Lighting Schedule for Herbs
Set a “sunset” schedule: lights turn on 30 minutes after dusk and off 2 hours before sunrise. This mimics a natural photoperiod, promoting robust growth while saving energy.
Maintenance Checklist: Keep Your Garden Running Smoothly
- Weekly: Check soil moisture, prune dead foliage, and clean debris from the raised‑bed edges.
- Bi‑weekly: Inspect tool handles for cracks; sharpen trowel and shears to maintain efficiency.
- Monthly: Test smart lights for firmware updates and clean the LED lenses with a soft cloth.
- Seasonally: Perform a soil test and adjust pH or nutrient levels as needed.
Final Thoughts
By investing in a core set of high‑quality tools, building a simple raised bed, and leveraging energy‑smart garden lights, you can create a productive, low‑maintenance garden that looks great day and night. The data‑driven steps above are designed to be repeatable and scalable—whether you’re tending a balcony herb patch or a backyard vegetable plot, these practices will help you harvest more, waste less, and enjoy a cozy outdoor atmosphere all year round.


