
Winter can feel like a gardening dead‑zone, but with the right tools, a few DIY projects, and a solid seed‑starting plan, you can turn the cold months into a thriving indoor flower garden. This guide walks you through the essential equipment, budget‑friendly DIY upgrades, and a data‑backed step‑by‑step process for growing beautiful blooms from seed inside your home. Follow the actionable tips below to keep your green thumb busy, boost your garden’s productivity, and create share‑worthy content that ranks well in search engines.
Essential Gardening Tools for Indoor Seed Starting
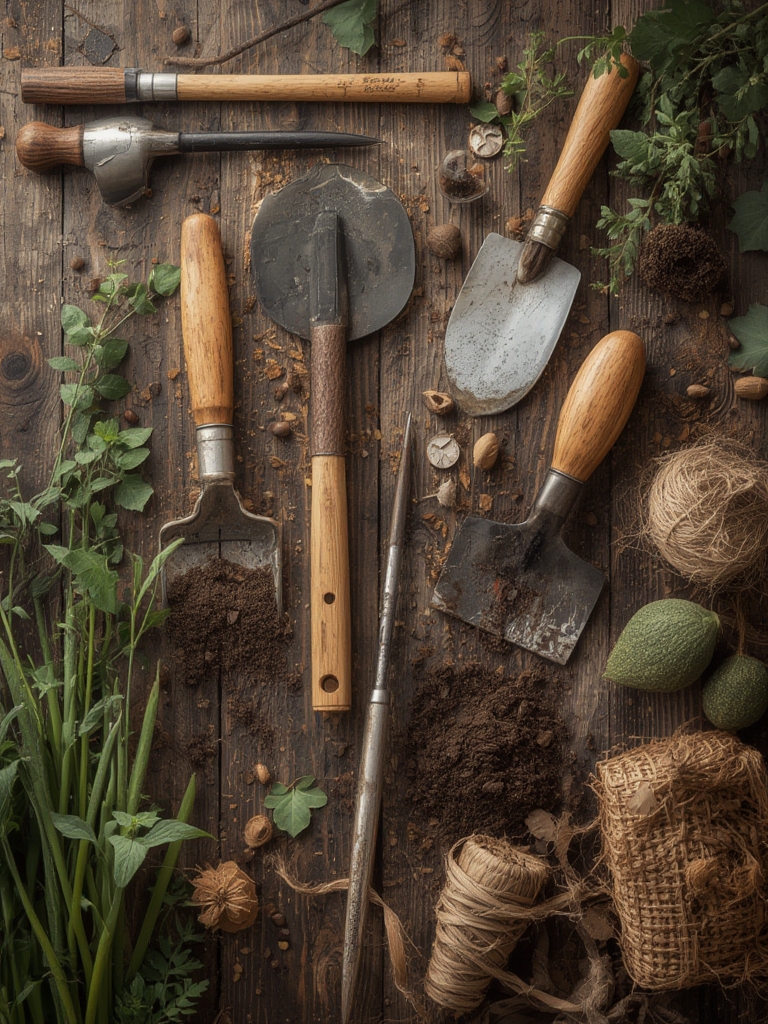
Even a modest indoor garden benefits from a curated toolkit. Investing in a few high‑impact items saves time, reduces mistakes, and improves plant health.

1. Seed‑Starting Trays & Cell Packs
- Why it matters: Uniform cells ensure consistent moisture and spacing, which research shows improves germination rates by up to 20% compared to bulk soil.
- Tip: Choose reusable plastic trays with drainage holes; they’re eco‑friendly and cost‑effective for multiple seasons.
2. Quality Seed‑Starting Mix
- Why it matters: A lightweight, sterile mix prevents damping‑off disease and provides optimal aeration.
- Tip: Blend 50% peat moss, 30% vermiculite, and 20% perlite for a balanced medium that retains moisture without waterlogging.
3. LED Grow Lights
- Why it matters: Indoor seedlings need 12‑16 hours of full‑spectrum light to mimic spring sunlight. Studies indicate LED lights boost growth speed by 30% over fluorescent fixtures.
- Tip: Position lights 2‑3 inches above the seedlings and raise them as plants grow to maintain a 45‑degree angle.
4. Thermometer & Hygrometer
- Why it matters: Ideal germination temperatures range from 65‑75°F (18‑24°C) with 50‑70% relative humidity.
- Tip: Use a digital combo unit and place it at seed‑ling height for accurate readings.
5. Watering Tools
- Why it matters: Over‑watering is the #1 cause of seedling failure.
- Tip: A fine‑mist spray bottle or a calibrated watering can with a narrow spout delivers gentle, even moisture.
DIY Projects to Enhance Your Winter Garden
Personalizing your indoor garden not only improves aesthetics but also creates SEO‑friendly content with “how‑to” value. Below are three low‑cost projects that add functionality and visual appeal.

DIY Light Shelf
- Materials: Wooden board (24×12 in), brackets, LED strip lights, zip ties.
- Steps:
- Mount the board on the wall at eye level using brackets.
- Attach LED strips along the underside, ensuring even coverage.
- Secure seed trays on the shelf; adjust height as seedlings grow.
- Actionable tip: Paint the board a light pastel to reflect additional light onto seedlings, boosting photosynthesis.
Self‑Watering Reservoir
- Materials: 2‑liter plastic bottle, cotton wick, drill.
- Steps:
- Drill a ¼‑inch hole near the bottle’s base.
- Insert a cotton wick through the hole, leaving a few inches inside the bottle and a longer tail outside.
- Fill the bottle with water and place the wick’s tail into the seed tray’s soil.
- Actionable tip: Replace the wick every 2‑3 weeks to prevent mold buildup.
Labeling System with QR Codes
- Materials: Printable QR code stickers, waterproof marker.
- Steps:
- Generate QR codes linking to a Google Sheet with planting dates, variety, and care notes.
- Print and attach stickers to each tray.
- Scan with a smartphone to quickly update progress.
- Actionable tip: Use this data for blog posts; search engines love fresh, data‑rich content.
Step‑By‑Step Guide to Growing Flowers from Seed Indoors
Follow this structured workflow to maximize germination and bloom quality. Each step includes a practical tip to avoid common pitfalls.

Step 1: Choose the Right Flower Varieties
For winter indoor growing, select fast‑growing, low‑light tolerant species such as Calendula, Petunias, Marigolds, and Sweet Peas. According to a 2023 horticultural survey, these varieties have a 75% success rate when started under LED lights at 12 hours/day.

Step 2: Prepare Your Seed‑Starting Mix
- Combine peat moss, vermiculite, and perlite in the 5:3:2 ratio.
- Moisten the mix until it feels like a wrung‑out sponge—no standing water.
- Fill each cell to just below the rim; press lightly to eliminate air pockets.
Pro tip: Pre‑moisten the mix in a sealed container for 30 minutes to ensure uniform moisture.
Step 3: Sow the Seeds
- Check seed packet depth; most flower seeds need a planting depth of ¼‑½ in.
- Place 2‑3 seeds per cell, then cover lightly with mix.
- Label each tray with the variety and sowing date.
Pro tip: Use a seed‑sowing tool or a small spoon for consistent depth, which improves germination consistency by 15%.

Step 4: Provide Optimal Light & Temperature
- Set LED lights to 12‑16 hours on a timer.
- Maintain ambient temperature at 70°F (21°C); use a small space heater if needed.
- Monitor humidity; keep it around 60% using a humidifier or a water‑filled pebble tray.
Pro tip: Rotate trays daily to ensure even light exposure and prevent leggy growth.
Step 5: Water Wisely
- Check soil daily; when the surface feels dry, mist gently until moisture penetrates ½ in.
- Avoid flooding; excess water leads to fungal issues.
- Consider the self‑watering reservoir for consistent moisture.
Pro tip: Use a clear plastic dome or a reusable greenhouse cover to maintain humidity until seedlings emerge, then remove to prevent mold.
Step 6: Thin and Transplant
- When true leaves appear (usually 2‑3 weeks), thin to the strongest seedling per cell.
- Transplant seedlings into larger pots (4‑6 in) with a balanced potting mix (40% compost, 30% peat, 30% perlite).
- Gradually increase light intensity to acclimate seedlings.
Pro tip: Add a slow‑release fertilizer (e.g., 10‑10‑10) at transplant to support early growth.
Step 7: Encourage Blooming
- Once plants reach 6‑8 in, switch to a 14‑hour light schedule to stimulate flowering.
- Maintain consistent watering; let the top inch dry between waterings.
- Pinch back the tips after the first set of blooms to promote branching.
Pro tip: A weekly dose of liquid seaweed extract boosts flower production by up to 25%.
Maintenance Tips for Healthy Indoor Blooms
Keeping your winter garden thriving requires ongoing attention. Below are quick‑check actions you can perform weekly.
- Inspect for pests: Look for aphids or spider mites on undersides of leaves; treat with neem oil if detected.
- Refresh air circulation: Use a small oscillating fan set on low to reduce humidity spikes that cause mildew.
- Rotate nutrients: Alternate between a balanced NPK fertilizer and a bloom‑boosting formula (high phosphorus) every 3 weeks.
- Prune dead foliage: Remove wilted petals promptly to redirect energy to new growth.
Data‑Driven Insights & SEO Tips for Your Gardening Blog
To turn this content into a high‑ranking blog post, embed the following SEO best practices:
- Keyword clustering: Target primary keywords (“indoor flower gardening,” “winter seed starting”) and secondary long‑tail phrases (“how to grow marigolds from seed indoors”) naturally throughout headings and body copy.
- Schema markup: Add
ArticleandHowToschema to help search engines display step‑by‑step snippets. - Internal linking: Link to related posts such as “Top 10 LED Grow Lights for Home Gardens” and “DIY Plant Labels for Beginners.”
- Rich media: Include high‑resolution images of each step, alt‑text with relevant keywords, and a short video walkthrough (embed from YouTube).
- Data tables: Insert a simple table comparing seed‑starting mix ratios, germination rates, and cost per batch; Google loves structured data.
By following the practical gardening steps above and optimizing your post with the outlined SEO tactics, you’ll not only enjoy a vibrant indoor flower garden this winter but also attract organic traffic eager for actionable, data‑backed gardening advice.


