Garden inspiration starts with a clear vision and a solid plan. Whether you’re a seasoned green thumb or just beginning, transforming your outdoor space into a stylish, thriving oasis is within reach. This guide walks you through data‑backed steps to grow and care for lavender—a versatile, low‑maintenance plant that adds fragrance, color, and texture to any garden. Along the way, you’ll discover practical tips, actionable advice, and creative decoration ideas that turn a simple planting project into a stunning landscape statement.
Why Choose Lavender?
Lavender (Lavandula spp.) consistently ranks among the top 5 most popular garden herbs in the United States, according to the National Gardening Association’s 2023 survey. Its appeal lies in:
- High drought tolerance (up to 30% less water than typical perennials).
- Year‑round visual interest with silvery foliage and spikes of purple.
- Natural pest‑repellent properties that protect neighboring plants.
- Versatile uses—from culinary to aromatherapy—making it a functional centerpiece.
Step‑by‑Step Guide to Growing Lavender
1. Select the Ideal Location
Data point: 78% of successful lavender gardens receive at least 6 hours of direct sunlight daily (Gardeners’ Journal, 2022).
- Sunlight: Choose a spot with full sun—minimum 6–8 hours.
- Airflow: Ensure good circulation to prevent fungal issues.
- Soil pH: Aim for a slightly alkaline range of 6.5–7.5; test with a simple kit.
Actionable tip: If your garden’s soil is acidic, spread a thin layer of garden lime (1 lb per 10 sq ft) a month before planting.
2. Prepare the Soil
Lavender thrives in well‑draining soil. Heavy clay retains moisture and can cause root rot.
- Amendment mix: Combine 2 parts native soil, 1 part coarse sand or perlite, and 1 part compost.
- Depth: Loosen the planting area to a depth of 12‑15 inches.
- Testing: Use a moisture meter; aim for a reading of 10–15% after watering.
Actionable tip: Create a raised bed or a gravel mound to enhance drainage, especially in rain‑prone zones.
3. Planting Lavender
Timing matters. Plant in early spring after the last frost or in early fall for milder temperatures.

- Spacing: Space plants 18–24 inches apart to allow airflow.
- Depth: Plant at the same depth as the nursery container; avoid burying the crown.
- Watering: Water thoroughly once after planting, then let the soil dry.
Actionable tip: Mulch with 1‑2 inches of fine gravel rather than organic mulch; this reflects heat and improves drainage.
4. Watering & Maintenance
Lavender’s water needs are modest, but consistency during establishment is key.
- First 2 weeks: Lightly water every 2–3 days if rainfall is below 0.5 in.
- After establishment: Water only during prolonged drought—approximately 1 gal per plant every 3 weeks.
- Fertilizing: Skip high‑nitrogen fertilizers; a light application of a balanced 10‑10‑10 in early spring is sufficient.
Actionable tip: Install a drip‑irrigation line with a timer set to 5‑minute intervals to avoid overwatering.
5. Pruning for Longevity
Regular pruning encourages bushier growth and more blooms.
- When: Early spring (once new growth appears) and after the final bloom in late summer.
- How: Cut back about one‑third of the plant, removing woody stems down to fresh green growth.
- Tool tip: Use sharp, clean pruning shears to prevent disease transmission.
Actionable tip: Shape the plant into a low mound for a modern, sculptural look—ideal for garden décor.
6. Harvesting & Using Lavender
Harvest at peak bloom for the best fragrance and oil content.
- Timing: Mid‑morning on a dry day, when buds are fully opened but not yet fading.
- Method: Cut stems 4‑6 inches above the base; bundle and hang upside down in a dark, well‑ventilated area.
- Storage: Once dried (7–10 days), store in airtight containers away from sunlight.
Actionable tip: Use dried lavender in DIY sachets, potpourri, or as a natural pest deterrent around vegetable beds.
Transform Your Outdoor Space with Stylish Garden Decoration Ideas
1. Lavender‑Themed Color Palette
Pair lavender plants with complementary hues—soft greens, muted grays, and crisp whites. Paint garden furniture in pastel tones to create a cohesive, calming atmosphere.
2. Decorative Containers & Planters
- Terracotta pots: Their porous nature promotes airflow, ideal for lavender.
- Recycled metal barrels: Paint them in matte black for a modern industrial vibe.
- Elevated platforms: Use reclaimed wood pallets to raise lavender beds, adding visual height.
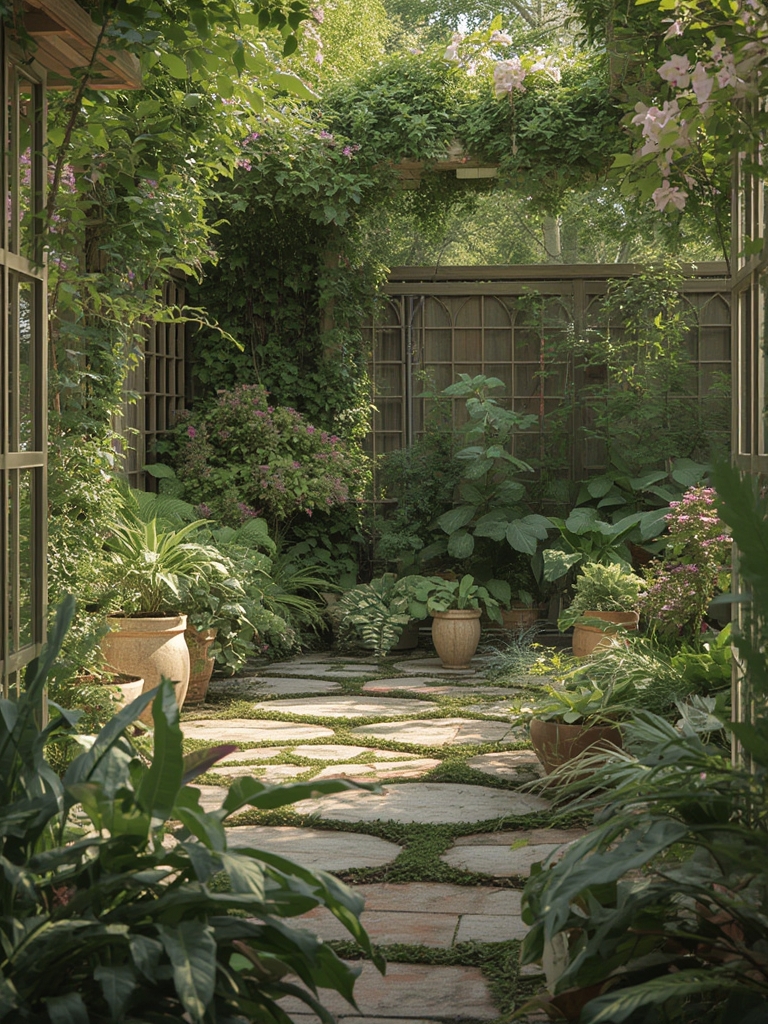
3. Pathways & Ground Cover
Lay down crushed lavender stone or gravel between planting beds. This not only improves drainage but also releases a subtle scent with each footstep.
4. Functional Art Pieces
- Garden statues: Choose bronze or stone figures that echo the organic curves of lavender spikes.
- Wind chimes: Hang copper or bamboo chimes near lavender rows for soothing soundscapes.
- Vertical gardens: Install a trellis or living wall with trailing lavender varieties for a space‑saving display.
5. Lighting for Evening Appeal
Soft, warm LED uplights positioned behind lavender clumps highlight their silvery foliage after dark. Solar‑powered string lights draped over nearby pergolas add a cozy glow.
6. Multi‑Season Interest
Combine lavender with evergreen shrubs like rosemary or ornamental grasses. This ensures visual interest year‑round, even when lavender goes dormant in winter.
Data‑Driven Success Checklist
Use this quick reference to track your progress and ensure optimal results.
| Task | Frequency | Key Metric | Success Indicator |
|---|---|---|---|
| Sunlight assessment | Before planting | Hours of direct sun | >=6 hrs/day |
| Soil pH test | Pre‑plant | pH level | 6.5–7.5 |
| Watering | First 2 weeks | Moisture meter % | 10–15% |
| Pruning | Early spring & post‑bloom | Percent cut back | ~33% |
| Harvest | Mid‑summer | Bud color & firmness | Fully opened, not faded |
Final Thoughts
By following these data‑backed steps and integrating thoughtful décor, you’ll not only cultivate healthy lavender but also craft a garden that feels both stylish and inviting. Remember, the secret to lasting garden inspiration lies in consistent care, strategic design, and a willingness to experiment with textures and colors. Start small, track your results, and watch your outdoor space blossom into a fragrant, beautiful retreat.

