Welcome to the world of smart gardening! If you’ve ever wished you could grow fresh herbs, juicy tomatoes, or vibrant flowers without the guesswork, you’re in the right place. This guide walks you through every step of how to start a smart garden at home, from picking the right technology to troubleshooting common hiccups. By the end, you’ll have a thriving, low‑maintenance garden that even a busy beginner can manage.
Why Choose a Smart Garden?
Traditional gardening relies heavily on intuition and experience, which can be intimidating for newcomers. Smart gardens, on the other hand, combine sensors, automated watering, and data‑driven insights to create an environment where plants receive exactly what they need—when they need it. The benefits are clear:
- Water efficiency: Sensors detect soil moisture levels, preventing over‑ or under‑watering.
- Optimized lighting: LED grow lights adjust intensity based on plant growth stages.
- Real‑time feedback: Mobile apps provide alerts and recommendations, turning gardening into a data‑driven hobby.
Step 1: Assess Your Space and Light
Indoor vs. Outdoor Options
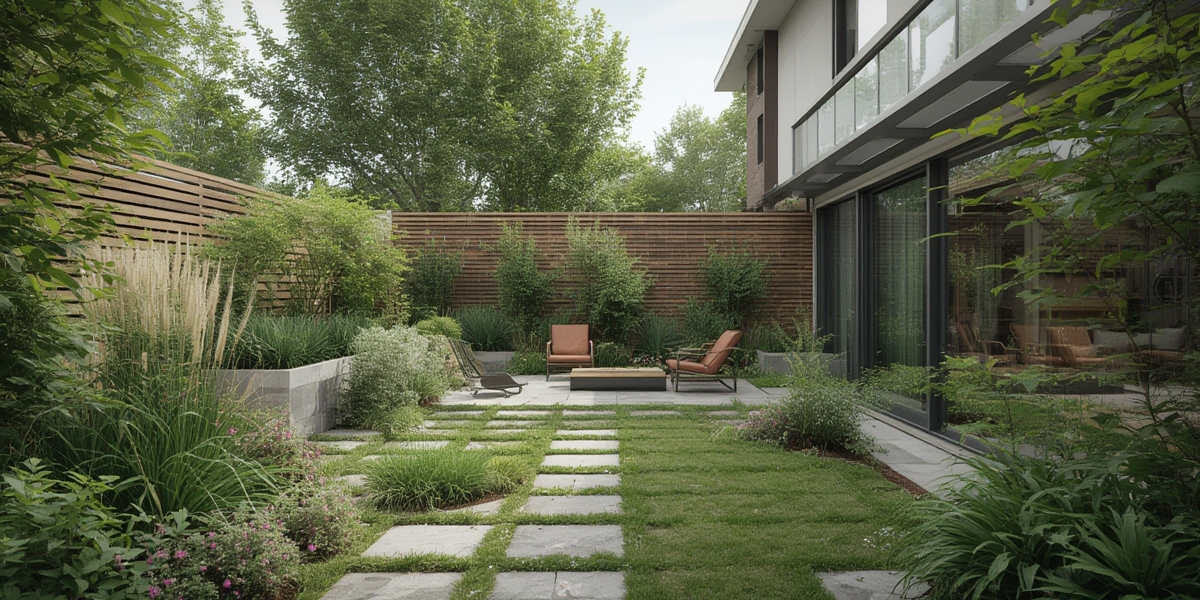
Start by deciding where you’ll place your smart garden. Indoor setups are perfect for apartments or homes with limited yard space, while outdoor kits work well on patios, balconies, or small backyards. Measure the area and note any natural light sources.
Understanding Light Requirements
Most vegetables and herbs need 6–8 hours of light daily. Use a lux meter (or a smartphone app) to measure ambient light. If your space receives less than 2,000 lux, you’ll need supplemental LED grow lights. Choose lights with a full spectrum (400–700 nm) to mimic sunlight.
Step 2: Choose the Right Smart Garden System
Key Features to Look For
- Soil moisture sensors: Provide accurate readings to automate watering.
- pH and EC (electrical conductivity) sensors: Help you monitor nutrient levels.
- Integrated app: Offers dashboards, alerts, and plant‑specific care calendars.
- Modular design: Allows you to expand the garden as your confidence grows.
Popular Choices for Beginners
Brands like Click & Grow, AeroGarden, and Gardyn offer plug‑and‑play kits that include everything from seed pods to a mobile app. Compare specifications, read user reviews, and pick a system that matches your budget and space.
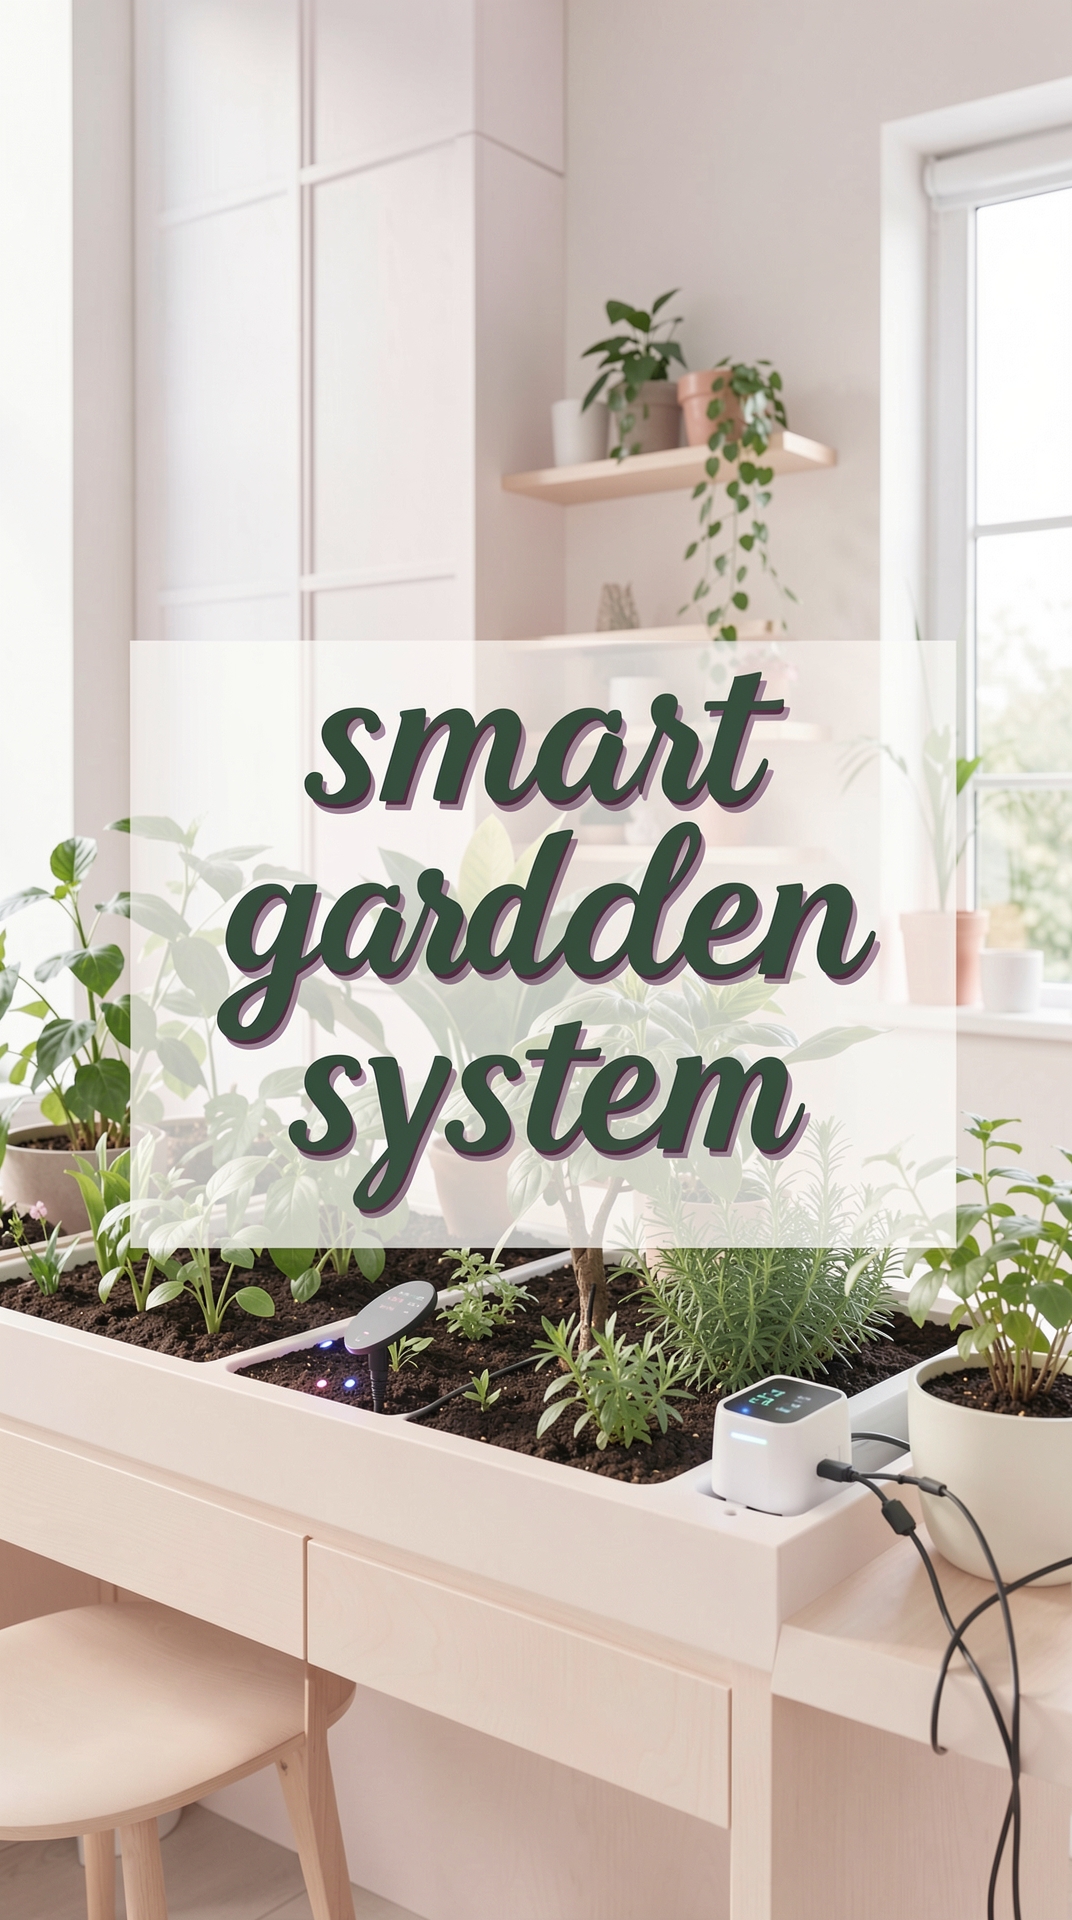
Step 3: Set Up Your Smart Garden
Unboxing and Assembly
Follow the manufacturer’s instructions step‑by‑step. Most kits involve:
- Assembling the frame or tray.
- Installing the water reservoir and connecting the pump.
- Placing sensors in the growing medium.
- Mounting LED lights at the recommended height (usually 12–24 in above the canopy).
Calibrating Sensors
Before planting, calibrate each sensor according to the user manual. For moisture sensors, insert the probe into a sample of the growing medium and set the “dry” and “wet” baselines. Accurate calibration ensures the system’s watering algorithm works correctly.
Step 4: Choose Your Plants and Planting Medium
Best Plants for Smart Gardens
Start with easy‑going varieties that thrive in controlled environments:
- Herbs: basil, mint, cilantro, parsley.
- Leafy greens: lettuce, spinach, arugula.
- Small fruiting plants: cherry tomatoes, strawberries, peppers.
Growing Medium Options
Most smart garden kits use a soilless mix (coconut coir, peat, or perlite). These media provide excellent aeration and water retention, which complement sensor data. If you prefer a DIY approach, blend 50% coconut coir with 50% perlite for a balanced medium.
Step 5: Planting and Initial Care
Seeding or Transplanting
Follow the seed packet or seed pod instructions for depth and spacing. For seedlings, gently remove them from their containers, keeping the root ball intact, and place them into the pre‑drilled holes in your smart garden’s tray.
First Watering Cycle
After planting, the system will typically run an initial watering cycle to settle the medium. Monitor the moisture sensor reading for the first 24 hours to ensure the medium is uniformly moist but not soggy.
Step 6: Monitor, Adjust, and Harvest
Using the Mobile App
The app will display real‑time data on moisture, temperature, and light intensity. Set thresholds for alerts (e.g., “notify me when moisture drops below 30%”). Most apps also suggest fertilization schedules based on plant type.
Fertilization and Nutrient Management
Smart gardens often use liquid nutrient solutions. Follow the manufacturer’s dosage chart—typically 1 ml per liter of water for leafy greens and 2 ml for fruiting plants. Adjust based on EC readings: a higher EC indicates more nutrients, while a low EC may signal a need for additional feeding.
Harvest Timing
Harvest herbs once they reach 4–6 inches in height, cutting just above a leaf node to encourage regrowth. For lettuce, pick leaves when they’re about 3 inches tall, or harvest the whole head when it’s dense and firm. Tomatoes and peppers should be harvested when fully colored and slightly soft to the touch.
Common Mistakes and How to Avoid Them
Over‑watering
Even with automated systems, it’s easy to over‑water if the moisture sensor is miscalibrated. Regularly check the sensor reading against a manual soil moisture test (feel the medium with your finger). If it feels soggy, reduce the watering duration in the app settings.
Ignoring Light Gaps
Plants may stretch (become leggy) if they don’t receive enough light. If you notice tall, thin stems, raise the LED intensity or lower the lights closer to the canopy. Aim for a light intensity of 300–500 µmol m⁻² s⁻¹ for most vegetables.
Neglecting pH Balance
Most smart garden media work best at a pH of 5.5–6.5. Use a pH test kit weekly and adjust with pH‑up or pH‑down solutions as needed. An unbalanced pH can lock out nutrients, leading to yellowing leaves.
Skipping System Maintenance
Clean the water reservoir and pump every 2–3 weeks to prevent algae buildup. Replace the filter (if your system has one) according to the manufacturer’s schedule—usually every month.
Data‑Driven Tips for Ongoing Success
Track Growth Metrics
Maintain a simple spreadsheet or use the app’s log feature to record:
- Date of planting
- Average daily moisture level
- Light intensity readings
- Fertilizer dosage
- Harvest dates and yields
Analyzing this data over time reveals patterns—such as which plants thrive best under your specific light setup—allowing you to fine‑tune future cycles.
Seasonal Adjustments
Even indoor gardens benefit from seasonal tweaks. In winter, ambient room temperatures may drop, slowing growth. Increase the LED photoperiod to 14–16 hours and consider a small heater to keep the air around 68–72 °F (20–22 °C). In summer, ensure adequate ventilation to prevent overheating of the LED fixtures.
Conclusion
Starting a smart garden at home transforms gardening from a trial‑and‑error hobby into a predictable, rewarding experience. By assessing your space, selecting the right system, calibrating sensors, and monitoring data, you’ll enjoy fresh produce and beautiful greens year‑round. Remember to avoid common pitfalls like over‑watering and neglecting light, and keep a simple log of your garden’s performance. With these steps, even the most novice gardener can cultivate a thriving smart garden that brings both nourishment and joy to the home.