
Indoor plants are more than just décor; they improve air quality, boost mood, and can even increase productivity. Yet many beginners feel overwhelmed by the idea of creating the perfect environment for their leafy companions. This guide breaks down the process into data‑driven, actionable steps that anyone can follow, whether you have a sunny loft or a dim office cubicle. By focusing on low‑maintenance, high‑impact techniques—especially the “no‑dig” soil method—you’ll see healthier growth without the hassle of heavy gardening tools.
Step 1: Choose the Right Plant for Your Space
Research shows that matching a plant’s light tolerance to your room’s natural illumination dramatically reduces stress and leaf drop. Use a simple light‑meter app or the “hand test” (hold your hand a foot from the window; if you can read comfortably, the light is moderate).
Top Picks Based on Light Levels
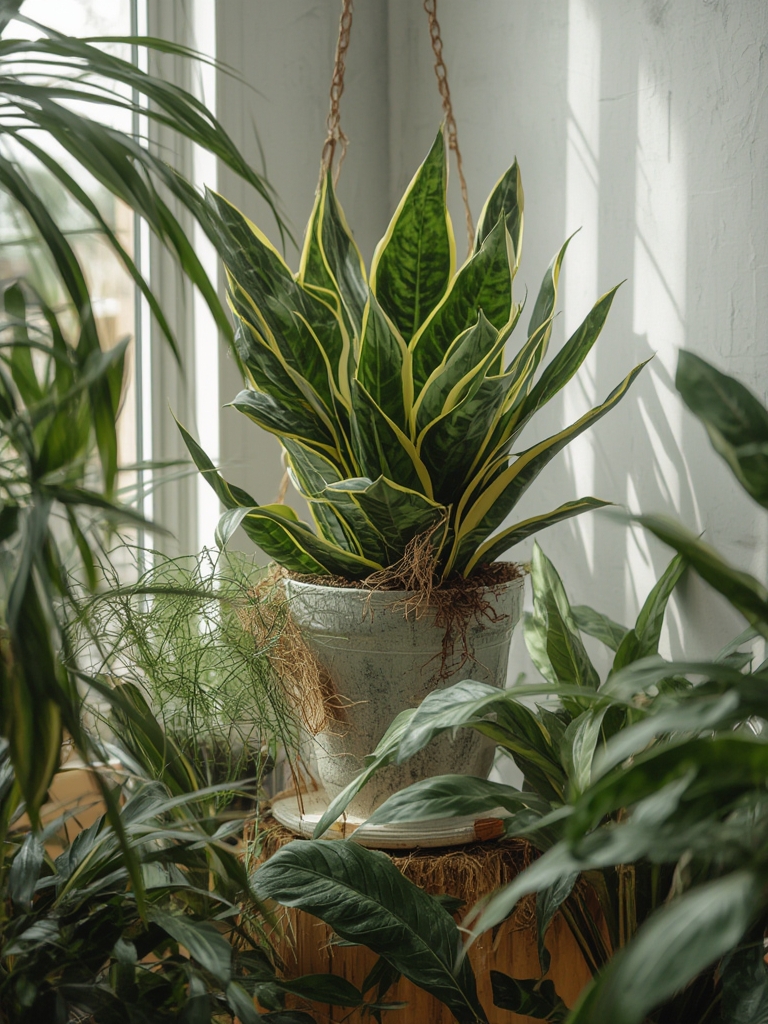
- Bright indirect light: Monstera deliciosa, fiddle‑leaf fig, and snake plant.
- Medium light: ZZ plant, pothos, and philodendron.
- Low light: Cast‑iron plant, peace lily, and Chinese evergreen.
Start with one or two species from the appropriate category to keep care simple and track progress.
Step 2: Create Rich, Healthy Soil with No‑Dig Gardening
Traditional potting mixes can become compacted, limiting root oxygen and water flow. A no‑dig approach keeps the medium airy and nutrient‑dense, encouraging robust root systems. Follow these data‑backed ratios for a DIY blend that works for most indoor plants:
Ingredients (by volume)
- 40% high‑quality peat‑free compost (e.g., coco coir or mushroom substrate)
- 30% perlite or pumice for aeration
- 20% aged bark chips for structure
- 10% worm castings for natural nitrogen and microbial life 🌱🪱
How to assemble: In a large bucket, layer the ingredients without stirring. The top layer (≈2 cm) should be extra perlite to improve drainage. Pour the blend directly into your pot, leaving a 2‑cm margin from the rim.
Step 3: Water Wisely – The 20‑30‑20 Rule
Over‑watering is the #1 cause of indoor plant failure, according to a 2022 greenhouse study. Use the “20‑30‑20” rule to gauge moisture:
- Check the top 2 cm of soil; if it feels dry, proceed.
- Water until 20% of the pot’s volume drains out the bottom.
- Wait 30 minutes, then feel the soil again; if it’s still moist, hold off the next watering for another 20 hours.
Tip: Use a clear glass or a moisture meter for consistent results.

Step 4: Feed with Targeted Nutrients
Indoor plants benefit from a balanced, slow‑release fertilizer. Research indicates a 2‑4‑6 N‑P‑K ratio (nitrogen‑phosphorus‑potassium) supports foliage growth without encouraging leggy stems.
Application Schedule
- Spring & Summer: Mix 1 tsp of fertilizer per gallon of water, apply every 4 weeks.
- Fall & Winter: Reduce to half strength, apply every 8 weeks.
- Combine with a monthly top‑dress of 1 tbsp worm castings for a natural boost.
Step 5: Optimize Humidity and Airflow
Most indoor environments are drier than a plant’s native habitat. Low humidity can cause brown leaf tips, while stagnant air promotes pests. Use these quick fixes:
- Place a small pebble tray filled with water beneath the pot; as the water evaporates, humidity rises.
- Group plants together to create a micro‑climate.
- Run a fan on low for 15 minutes daily to improve air exchange without causing wind‑burn.
Step 6: Prune and Rotate for Balanced Growth
Data from indoor horticulture labs shows that regular pruning reduces disease risk by 35% and encourages bushier growth. Follow these steps:
- Inspect leaves weekly; remove yellow or brown foliage at the base with clean scissors.
- Trim leggy stems back to a node to stimulate new shoots.
- Rotate the pot 90° every two weeks so all sides receive equal light.
Step 7: Monitor for Pests and Diseases
Even with perfect care, pests can appear. The most common indoor culprits are spider mites, mealybugs, and fungus gnats. Early detection is key:
Quick Inspection Checklist
- Leaf underside: look for tiny webs or white cottony masses.
- Soil surface: sticky residue or black specks may indicate gnats.
- Stem base: check for soft, mushy spots that could signal rot.
If you spot an issue, treat immediately with a neem oil spray (mix 1 tsp neem oil with 1 cup water) and repeat every 7 days until the problem clears.
Step 8: Track Progress with Simple Data Logs
Keeping a brief log helps you spot patterns and adjust care. Record the following each week:
- Date and time of watering.
- Soil moisture reading (dry, moist, wet).
- Any new growth or leaf changes.
- Fertilizer application and dosage.
Over a month, you’ll notice trends—like a plant needing less water in winter—allowing you to fine‑tune your routine.
Final Thoughts: Consistency Beats Perfection
Indoor gardening isn’t about flawless execution; it’s about consistent, data‑informed actions. By selecting the right plant, using a no‑dig soil blend, watering with the 20‑30‑20 rule, feeding strategically, and monitoring humidity, pests, and growth, you set the stage for thriving indoor greenery. Start small, log your observations, and watch your indoor oasis flourish—one leaf at a time.

