Transform your home into a green sanctuary with indoor plants that purify the air, boost your mood, and add effortless style to every room 🌿🏡✨. Whether you’re a seasoned plant parent or just starting, this data‑driven guide walks you through the essential steps to select, plant, and maintain thriving indoor greenery. Each step includes practical tips, tricks, and small, actionable advice you can apply today.
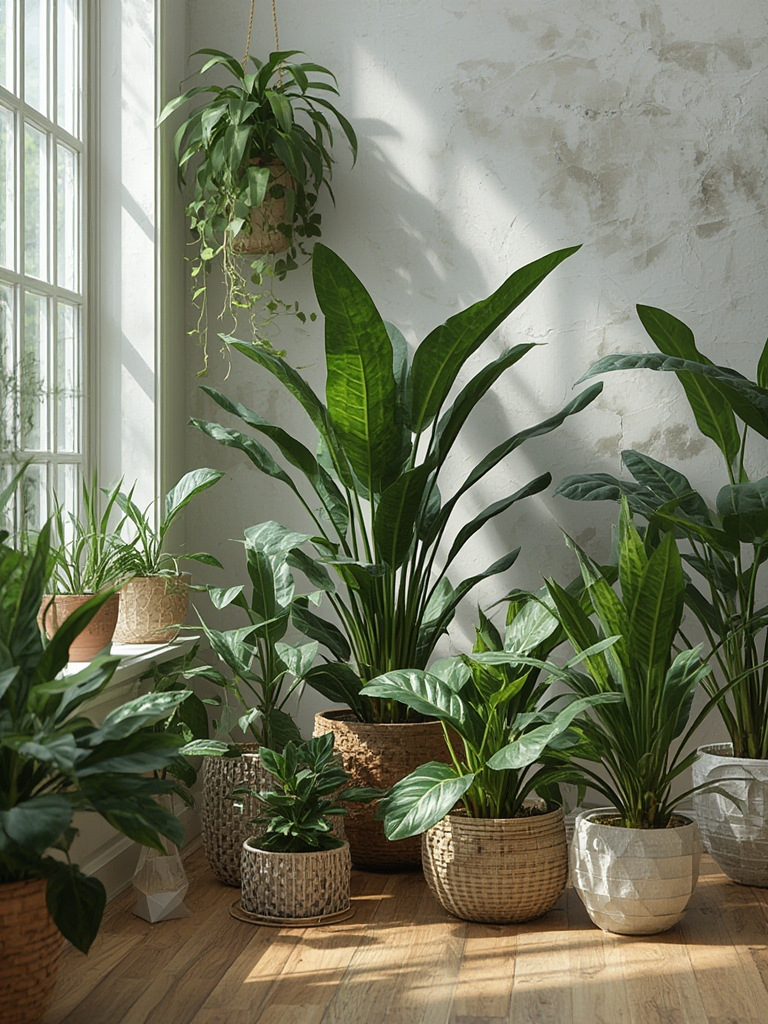
1. Choose the Right Plant for Your Space
Start by matching plant needs to your environment. Use the following quick‑check table to narrow down options based on light, humidity, and maintenance level:
- Low‑light zones (e.g., north‑facing rooms, offices): Snake Plant, ZZ Plant, Cast Iron Plant.
- Bright indirect light (e.g., near east‑west windows): Monstera, Philodendron, Pothos.
- High‑light spots (south‑facing windows): Succulents, Cactus, Fiddle‑Leaf Fig.
- High humidity areas (bathrooms, kitchens): Boston Fern, Spider Plant, Peace Lily.
Action tip: Place a small sticky note on each window with the light level (Low/Medium/High). When you shop, cross‑reference the note with the table above to avoid guesswork.
2. Pick the Perfect Pot and Soil Mix
Pot selection
Choose containers with drainage holes to prevent root rot. For decorative flair, use a breathable fabric pot for moisture‑loving plants or a terracotta pot for succulents (it absorbs excess water).
Action tip: Before potting, poke an extra 2‑3 holes in the bottom of plastic pots with a drill to improve drainage.
Soil composition
Most indoor plants thrive in a well‑aerated, peat‑based mix. Adjust the base mix as follows:
- Succulents & cacti: 2 parts potting soil, 1 part coarse sand, 1 part perlite.
- Foliage plants (e.g., Monstera): 1 part peat moss, 1 part compost, 1 part perlite.
- Air‑purifying ferns: Add 10 % peat moss to standard potting mix for extra moisture retention.
Action tip: Pre‑moisten the soil mix for 10 minutes before filling the pot; this reduces air pockets and speeds up root establishment.

3. Planting: Position, Depth, and Initial Watering
Positioning the plant
Place the plant at the center of the pot, ensuring the root ball sits 1‑2 cm below the rim. This spacing prevents water from spilling over the edge during watering.
Depth guidelines
For most foliage plants, the top of the root ball should be level with the soil surface. Succulents need the crown slightly above soil to avoid rot.
First watering
After planting, give a thorough soak until water drains from the bottom. Then, let excess water fully drain before placing the pot on a saucer.
Action tip: Use a clear glass jar to measure 250 ml of water for a 15‑cm pot; this standardized amount helps avoid over‑watering.
4. Ongoing Care: Water, Light, and Feeding
Watering schedule
Data from the Royal Horticultural Society shows that most indoor plants need water when the top 2‑3 cm of soil feels dry. Use a moisture meter or the finger test for accuracy.
- Low‑light plants: Water every 10‑14 days.
- Medium‑light plants: Water every 7‑10 days.
- High‑light plants: Water every 5‑7 days.
Action tip: Set a recurring reminder on your phone with the plant name and next watering date.
Light adjustments
Rotate pots 90° every two weeks to ensure even growth and prevent one side from becoming leggy.
Action tip: Use a simple smartphone light meter app to check that your plant receives 1,000–2,000 lux for medium‑light species.
Feeding (fertilizing)
During the growing season (spring–early fall), feed every 4‑6 weeks with a balanced 20‑20‑20 liquid fertilizer diluted to half strength. Reduce feeding in winter when growth naturally slows.
Action tip: Keep a small measuring spoon in your kitchen drawer; a “½ teaspoon per gallon of water” rule eliminates guesswork.
5. Managing Common Issues
Yellowing leaves
Often a sign of over‑watering or nutrient deficiency. Check soil moisture first; if it’s wet, let the pot dry for 3‑5 days before the next watering.
Pest control
Spider mites, mealybugs, and aphids are the most common indoor pests. A quick spray of diluted neem oil (1 % solution) every 7 days resolves infestations without harming the plant.
Humidity boost
Ferns and tropical foliage love 50‑60 % humidity. Place a pebble tray with water beneath the pot or run a small humidifier nearby.
Action tip: Group plants together; they create a micro‑climate that naturally raises humidity.
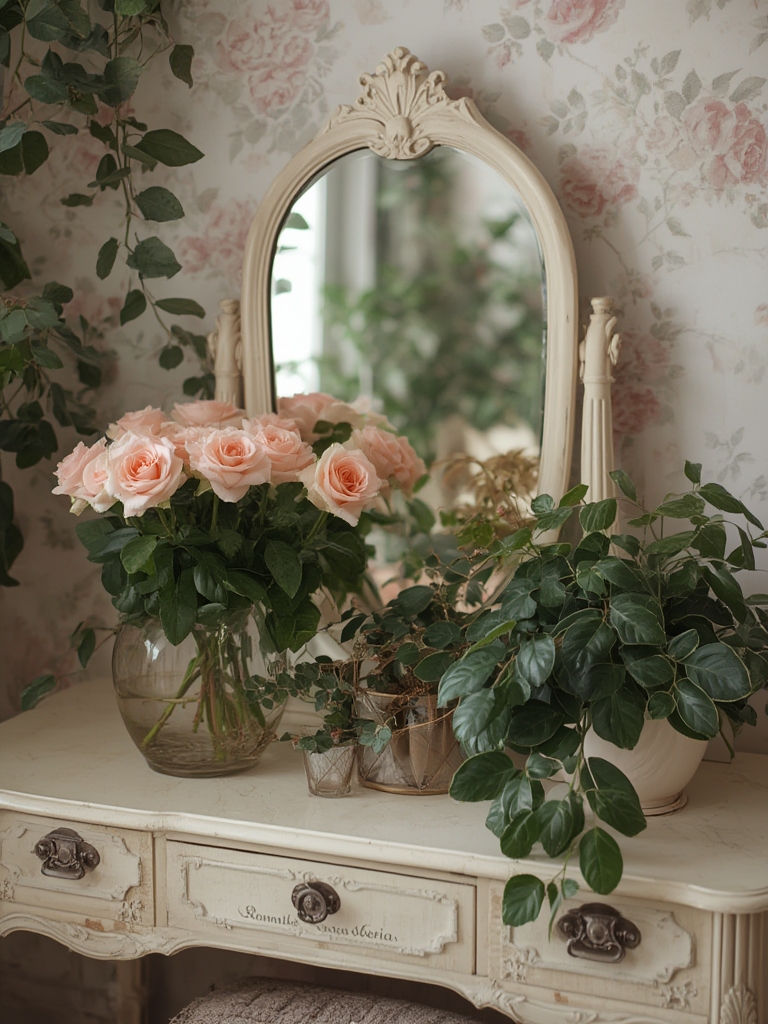
6. Styling Your Green Sanctuary
Use plant placement to enhance interior design:
- Vertical interest: Hang trailing Pothos or String of Pearls in macramé planters near windows.
- Layered texture: Combine tall Monstera with low‑lying ZZ Plant for depth.
- Color pops: Add a bright‑leafed Calathea near a neutral sofa for visual contrast.
Remember to keep pathways clear—use plant stands or wall‑mounted shelves to free floor space.
7. Tracking Progress with Simple Data
Maintain a small spreadsheet or note‑taking app with columns for:
- Plant name
- Location (room, light level)
- Last watering date
- Fertilizer applied
- Observed issues (pests, yellowing)
Review the log monthly; patterns emerge that help you fine‑tune watering intervals and light placement.
Conclusion: Your Path to a Healthier Home
By following these data‑backed steps—selecting the right plant, using proper soil and pots, establishing a consistent watering routine, and monitoring health—you’ll turn any room into a thriving, air‑purifying oasis. Small, actionable habits like setting phone reminders, using a moisture meter, and keeping a simple care log make indoor gardening effortless and enjoyable. Start with one easy‑care plant today, and watch your confidence—and your home’s green vibe—grow.

